Elements - System Administrator and User Guide - Hosted
Workspace
| End-User Guide > Workspace |
The workspace is where all primary collections activities are performed on clients, contacts and loans.
There are five different types of workspaces in Elements: Queue, Search, History, Dialer and Core Search. The only difference between these different types of workspaces is the way accounts are accessed.
The box to the left of the DQ indicator indicates the type of workspace that is open. Multiple Search and History workspaces can be open at the same time but only one Queue Workspace can be open at a time.
This topic contains an overview of the workspace.
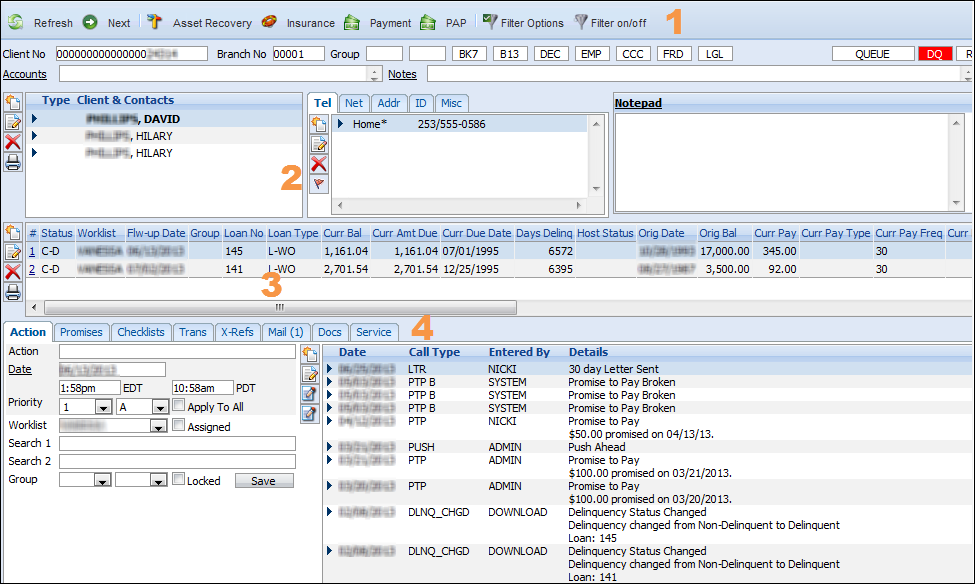
The workspace contains the four sections described below.
The toolbar contains the following buttons.
| Button | Description | ||
 |
Click this button to refresh the information displayed in the workspace. | ||
 |
Click this button to proceed to the next account in the queue and search workspaces.
|
||
 |
Click this button to return to the previous account in the search workspace.
|
||
| Asset Recovery |
Click this button to access the Asset Recovery element from within the workspace.
|
||
| Insurance |
Click this button to access the Insurance element from within the workspace.
|
||
| Payment |
Click this button to access the Payment element from within the workspace.
|
||
 |
Click this button to create a Pre-Authorized Payment on the account.
|
||
 |
Click this button to control the amount and type of information that is displayed in the workspace. Please see the Filter Options topic of this guide for more information. | ||
 |
Click this button to turn the configured filter on or off.
|
The Client & Contacts section of the workspace displays the account's clients and contacts, as well as their addresses, emails, phone numbers, ID and miscellaneous information. The Client Number, Branch Number, assigned Groups and Flags are also located in this section, as well as a Notepad that is a free-form text box to record any notes about the account and account holders.

This section also contains the following indicators and buttons.
| Indicator/Button | Description | ||||
 |
The first indicator displays the type of workspace (Queue, Search, History, Dialer) that is currently opened.
The second indicator appears red when a loan is delinquent. It appears white when there are no delinquent loans. The third indicator appears green when the real time connection to the core is active. It appears white when real time is not active.
|
||||
 |
Click this button to add a new contact or a new phone, email or address record for the client or contact. | ||||
 |
Highlight an address record and click this button to copy the address record for the client or contact. | ||||
 |
Highlight a record and click this button to edit a client, contact, phone, email or address record. | ||||
 |
Highlight a record and click this button to delete a client, contact, phone, email or address record.
|
||||
 |
Click this button to print the Client Detail Report. | ||||
 |
Highlight a record and click this button to flag a phone number, email or address as the default for the client or contact. |
 |
For more information on these functions, please refer to the following topics of this guide: |
The Loan Grid on the workspace displays all loan information for the client.
|
Each user can define the order in which the columns are displayed in the grid in their User Preferences. |

This section contains the following buttons.
| Button | Description |
|
Click this button to create a new loan. |
|
Highlight a loan in the grid and click this button to edit it. |
|
Highlight a loan in the grid and click this button to delete a loan. |
|
Click this button to print the Loan Detail Report. |
|
For more information on these functions, please refer to the Loan Maintenance topic of this guide. |
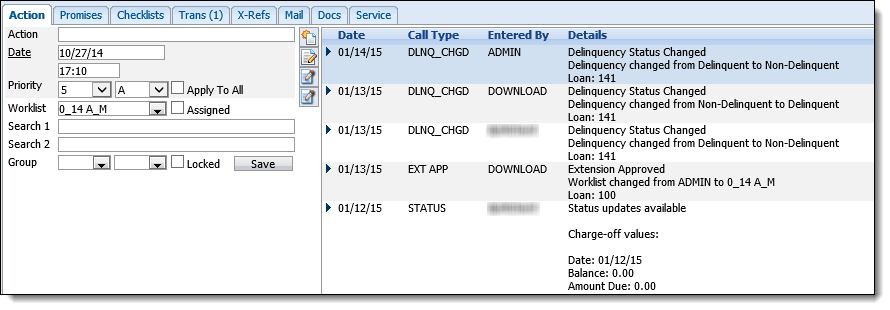
The workspace contains eight tabs in which client and loan information can be recorded.
|
For more information on these tabs, please refer to the following topics of this guide: |