The account assignments show each account that has been assigned to a specific queue using the Assignment or Distribution workflow steps. The assignments can be changed or removed.
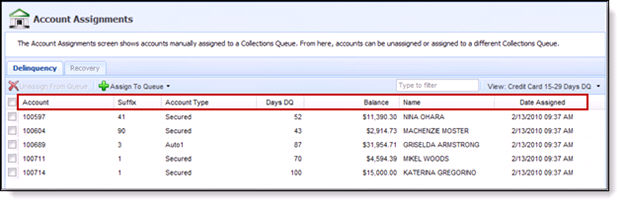
| Column Name | Description |
| Account | The Account Number assigned to the respective queue. |
| Suffix | Displays the suffix of the account. |
| Account Type | The Account Type of the listed account in the queue. |
| Days DQ | Denotes how many days delinquent the respective account is. |
| Balance | Displays the outstanding balance on the account. |
| Name | The Primary’s name on the account. |
| Date Assigned | Denotes the date in which the account was manually assigned to that queue. |
From this page administrators can assign, reassign and remove queue assignments from accounts.
To re-assign a manually assigned account to a different collection queue:
- Select the queue from the View drop down to populate assigned accounts in that queue.
- Highlight one or multiple accounts and click the Assign To Queue dropdown. The dropdown displays a list of all active Collection queues found within the Framework.
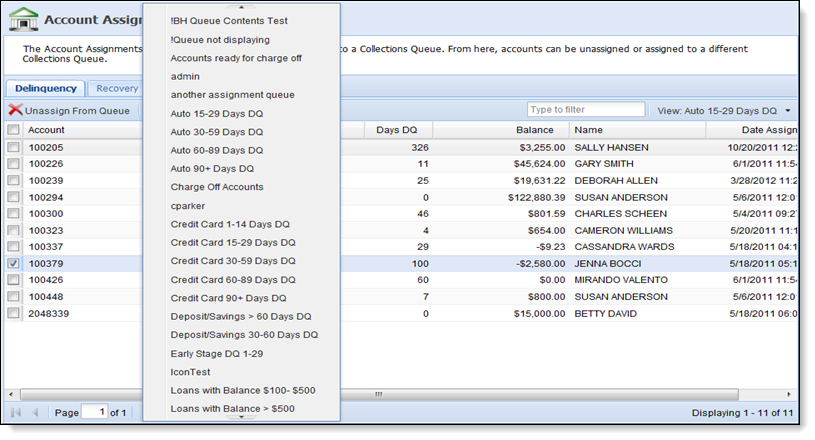
- Select the queue to which an account is to be assigned.
- A Processing Queue message appears. If the account is assigned successfully to a queue, a success message appears.
- The account now displays in the queue to which it is assigned. Click the View dropdown and select that queue to view the account.
To un-assign accounts from queues:
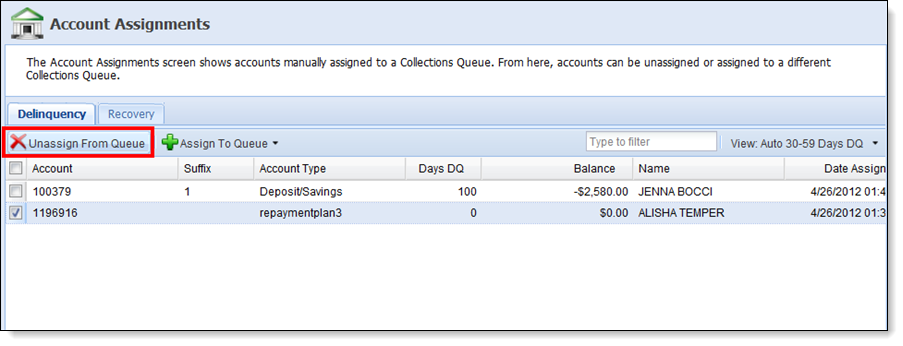
- Highlight one or multiple accounts and click Unassign from Queue.
- A success message appears showing the account was unassigned successfully. Once removed, the account now follows the normal queue processing and queue logic built to place the account into the appropriate queue.