Clicking the Dashboards icon in the Framework ribbon opens the Dashboards page. The following columns display in this page:
| Column Name | Description |
| Name | The name of the dashboard. |
| Last Modified | Denotes when the last modification was made to the dashboard. |
| Modified By | Denotes who made the last modification to the dashboard. |

Creating a Dashboard
General Tab
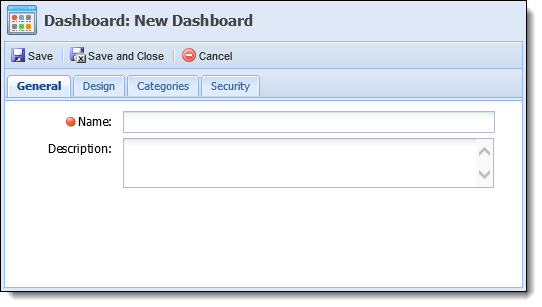
- Click Create. The New Dashboard screen appears.
- Within the General tab, enter a name and a description, if necessary, for the new dashboard.
Design Tab
Within the Design tab, design the layout of the new dashboard by adding pre-defined web parts.
- Determine how many columns there in the dashboard by selecting the number from the Dashboard Layout drop down.
- To add a web part, click Add Web Part. Select a web part from the list and click OK.
- To adjust properties of a web part, highlight the web part and click Properties.
Not all web parts have properties associated to them. For web parts such as Views, Reports, Workflow Queue Detail, Case Detail, etc., users need to click on Properties to choose what the view should display. If Properties need to be set on a web part and an attempt to save is made, a message appears indicating that properties must be set to continue.

- To remove a web part, highlight the web part to be deleted and click Remove Web Part.

Categories Tab
Within the Categories tab, assign categories to have access to the dashboard.

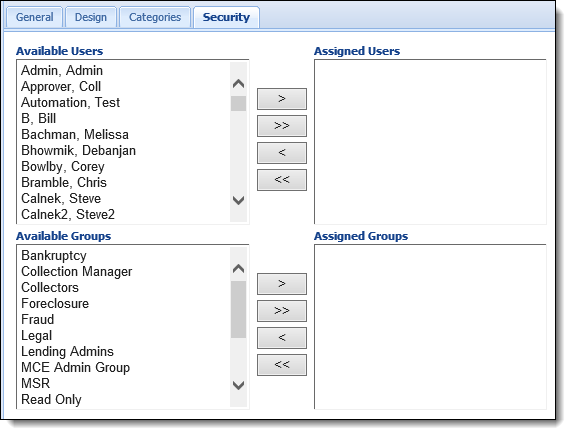
Security Tab
Within the Security tab, assign available Users and/or Groups to have access to the dashboard.
When finished entering information in all of the tabs, click Save or Save and Close to save the new dashboard and return to the Dashboards page. The new dashboard populates in the list and is now available to be accessed by users given permission in the Framework.
Copying a Dashboard
- Highlight the Dashboard to be copied and click Copy.
- The Copy Dashboard screen appears.
- Navigate through the tabs and make any necessary changes to the Dashboard.
- When finished, click Save or Save and Close to save the new Dashboard and return to the Dashboards page.
Editing a Dashboard
- Highlight the Dashboard that is to be edited and click Edit.
- The Edit Dashboard screen appears.
- Navigate through the tabs and make any necessary changes to the Dashboard.
- When finished, click Save or Save and Close to save the Dashboard and return to the Dashboards page.
Deleting a Dashboard
- Highlight the Dashboard that is to be deleted and click Delete.
- A confirmation message appears. Click Yes to delete the Dashboard. Click No to return to the Dashboards page without deleting.
Running a Dashboard
- Highlight the Dashboard that is to be run.
- Click the Run drop down. Dashboards can either be opened in a new Internet Explorer tab or window.

- The Dashboard appears on the screen. Users can access accounts displayed in the Dashboard by double-clicking them.
