This section provides details on how to perform three required backups in order to complete the upgrade installation.
Perform a Database Backup
Prior to upgrading to a new version, it is required that a backup of the database is performed. To back up the database:
-
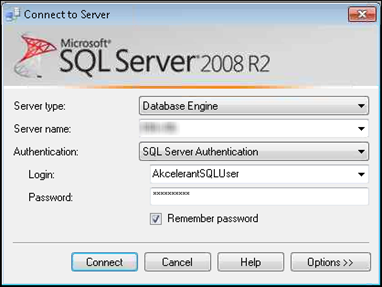
Open Microsoft SQL Server Management Studio and connect to the server where your Akcelerant database is housed.
-
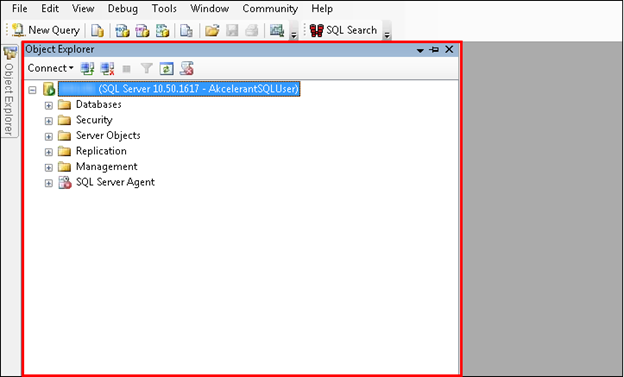
Press F8 to open the SQL Server Object Explorer.
-
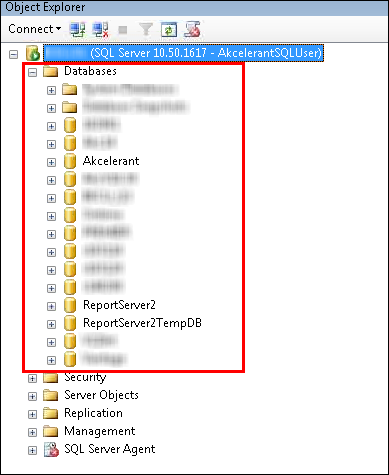
Press the + icon to expand the Databases node.
-
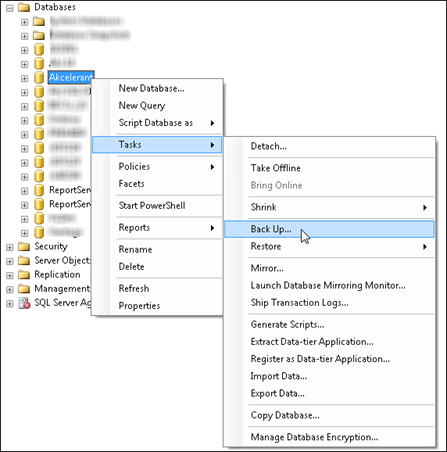
Right-click on the database that is being backed up and navigate to Tasks. Click Back Up.
-
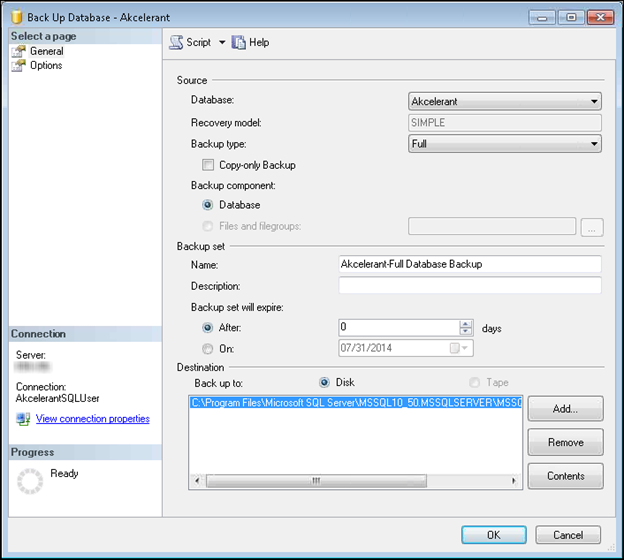
A new window titled Back Up Database [Database Name] opens.
-
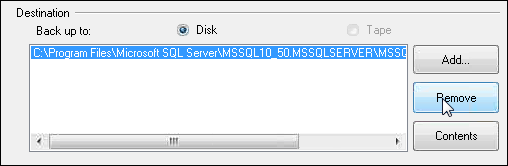
In the Destination section, click Remove to remove the default backup location.
-
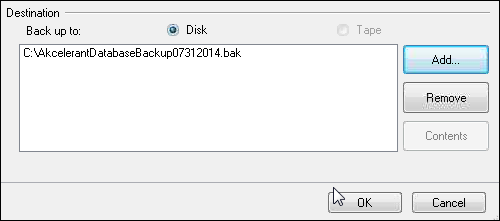
Ensure the Disk radio button is selected in the Destination section. Click Add.

-
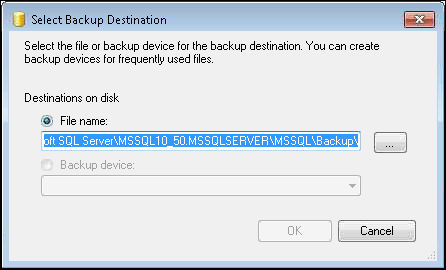
A new window titled Select Backup Destination opens.
-
Click on the
 button to locate the desired directory where the backup is being placed.
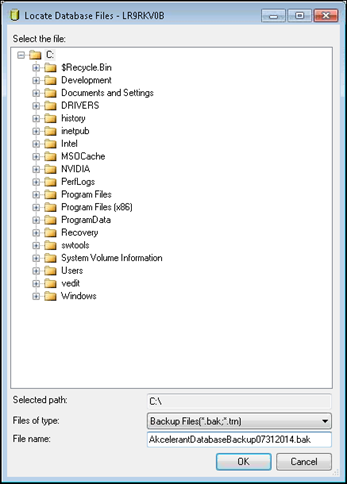
-
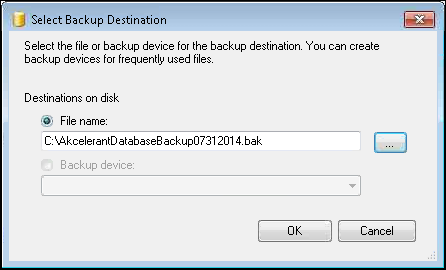
In the File Name field, give the backup a meaningful name that ends with the file extension .bak. Click OK.

It is recommended that a date is included in the file name.
-
The Locate Database window closes and the File Name field in the Select Backup Destination window populates the chosen file name. Click OK.
-
The Select Backup Destination window closes and the File Name appears in the Destination section of the Back Up Database [Database Name] window. Click OK to begin the backup.
-
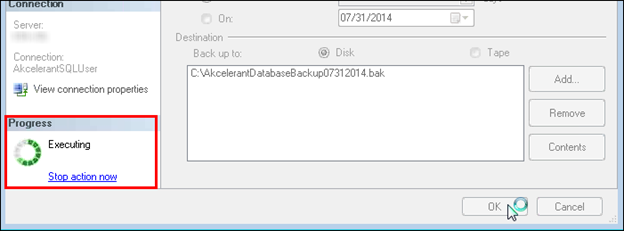
The Progress section indicates the backup is executing.
-
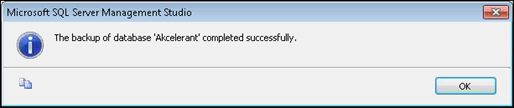
Upon completion, a success window appears. Click OK to return to SQL Server.
Perform a Sharepath Backup
Prior to upgrading to a new Framework version, it is required that a backup of the sharepath is performed. To back up the sharepath:
-
Open Microsoft SQL Server Management Studio and connect to the server where your database is housed.
-
Click the
 button.
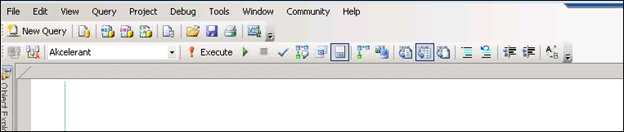
-
Select the Akcelerant database from the drop-down.

The database may have a different name.
-
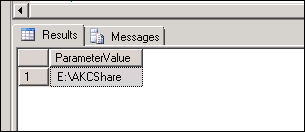
Type the following query:
SELECT ParameterValue FROM tblGlobalParameter WHERE ParameterCode = 'SHAREPATH'
-
Click the
 button.
 -
The Results window displays the sharepath location.
-
Using windows explorer, navigate to the location in the results panel.
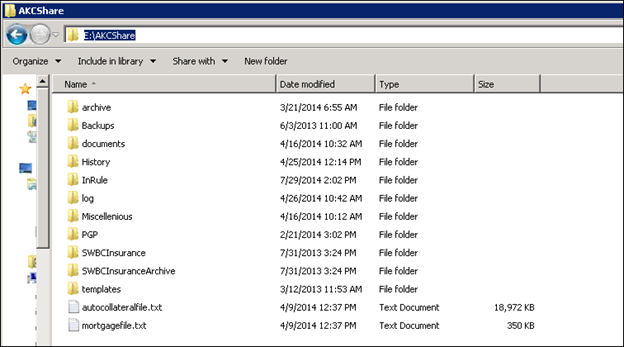
-
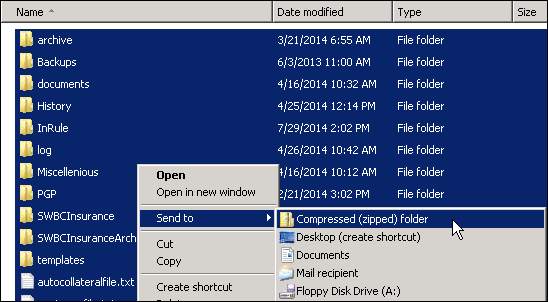
Select all folders and files in this location. Right-click on the selection and select Send To > Compressed (zipped) folder.
-
The compressed folder populates in the sharepath location. Rename the compressed folder a meaningful name.
It is recommended that a date is included in the folder name.
-
Move the compressed folder to a secure location.
Backup all Program Files
-
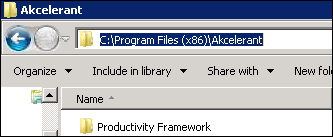
Open windows explorer and navigate to the Framework installation location.
-
Right-click on the Productivity Framework folder and select Send To > Compressed (zipped) folder.
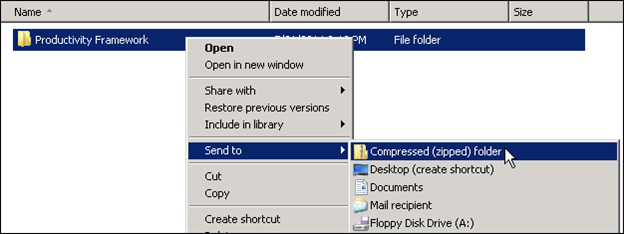
-
The compressed folder populates in the installation location. Rename the compressed folder a meaningful name.
It is recommended that a date is included in the folder name.
-
Move the compressed folder to a secure location.