Following the Framework's installationupgrade, open Server Manager to complete the follwoing post-installation tasks:
Start Services
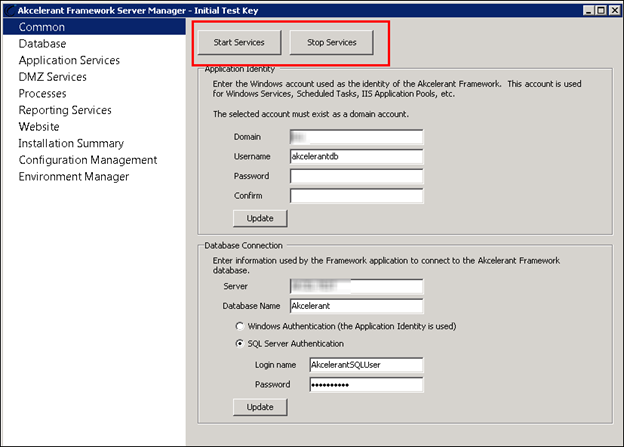
Within Server Manager, navigate to the Common settings to Start Services. Click Start Services to enable database, application, DMZ, reporting and other supporting processes.
 |
Stop Services suspends Akcelerant Framework database, application, DMZ, reporting and other supporting processes. |
Clicking Start Services or Stop Services generates a pop-up which provides details of the items being started or stopped. Any service errors experienced are displayed.

|
For additional information, refer to the Common topic within the Server Manager guide. |
Add Application Services
Within Server Manager, navigate to Application Services. Validate that the Service Root is correct.
|
Typically the name of the server is entered (http://[YOUR SEVER NAME HERE]/). If using a load balanced environment, the name of the load balancer is entered. |
Once the Service Root is validated, ensure that application service for your institution's core is added.
| If Your Core Is | Add This Service |
| Collection, Service or Recovery | |
| Fiserv DataSafe | DataSafe Collection |
| DNA | OSI Collection |
| Spectrum | Summit Collection |
| Symitar | Symitar Collection |
| XP2 | XP Collection |
| Metevante | Metevante Collection |
| Corelation KeyStone | CONNECT.KeyStone COLLECTION |
| Loan Origination or Account Origination | |
| Fiserv DataSafe | CONNECT.Fiserv_DataSafe Lending |
| DNA | CONNECT.OSI Lending |
| Symitar | CONNECT.Symitar Lending |
| Corelation KeyStone | CONNECT.KeyStone Lending |
To install an application, click the Add button. When prompted, click Yes to confirm the installation. Once confirmed, the application service installs on the server. The corresponding URL populates in the URL column.
|
For additional information, refer to the Application Services topic within the Server Manager guide. |
Regenerate RDLs
Within Server Manager, navigate to Reporting Services and ensure the following fields are properly configured:
- Server Name
- Reports Folder
- Web Service Virtual Directory
- Secured HTTP
- Service URL
|
For additional information, refer to the Reporting Services topic within the Server Manager guide. |
Within the Actions field, select Regenerate Reports from the drop-down to regenerate standard reports. This option regenerates the RDLs for all standard reports in the Framework database and uploads the new RDLs to Reporting Services. This process ensures that standard and scheduled reports execute correctly after installing a new version of the Framework.
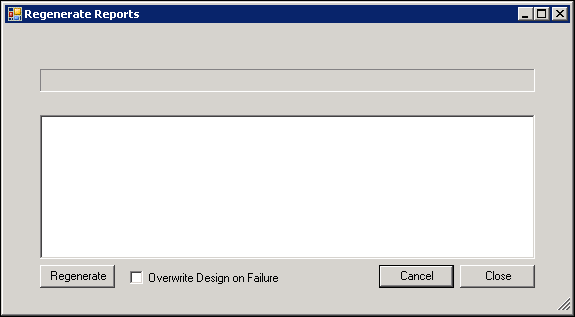
Upon selecting Regenerate Reports and clicking Update, the Regenerate Reports pop-up window appears. Click Regenerate. The status of report regeneration displays in the status box.
|
Reports with subscriptions may fail to regenerate if SMTP is not setup in Reporting services. To resolve this failure update Reporting Services Configuration Manager with SMTP and regenerated reports. |
To cancel the regeneration process, click Cancel. Once the process completes, click Close to close the window.
|
Leave the Overwrite Design on Failure check box unselected. If the report upgrade fails, please contact Akcelerant to perform manual updates to the reports. |
Click Update to commit any changes.