Many workflows have been enhanced to include multi-account functionality in order to support person-centric. This capability saves time when working through a person’s account. Instead of working each account individually, multiple accounts can be worked at the same time. When setting up a workflow, determine whether or not the workflow should be multi-account capable.
 |
Any account or case can be selected for multi-accounts despite user security restrictions. Only configure a workflow to be multi-account if end-users should have the ability to associate multiple accounts or cases with the workflow. |
Creating a Multi-Account Workflow
Multi-Account Workflows are created by navigating to System Management>Workflow>Workflows.
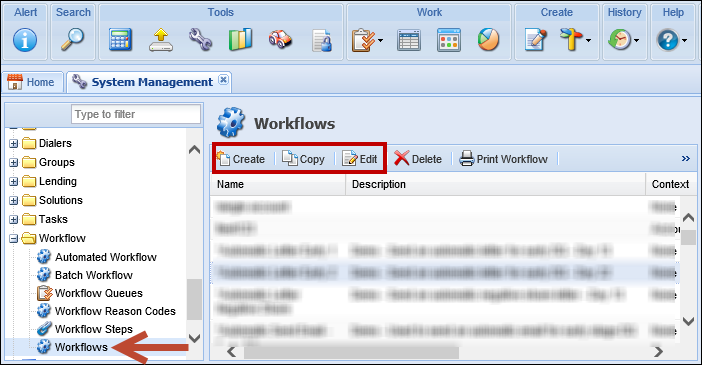
Selecting Create, Copy or Edit displays a Workflow dialog box.
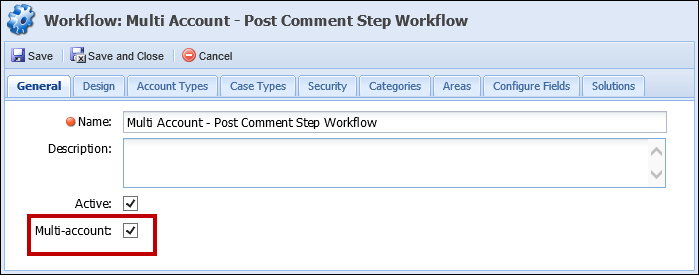
To make a workflow multi-account capable, select the Multi-account checkbox on the General tab for the workflow.
|
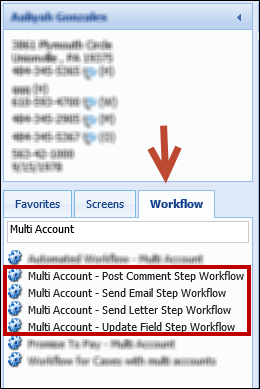
When naming a Multi-Account workflow, it is not required to title it Multi-Account, however, doing so allows for easier identification on the Workflow tab in the workspace.
|
When Multi-account is selected, workflow steps that are multi-account capable appear when a new step is added to the workflow within the Design tab.
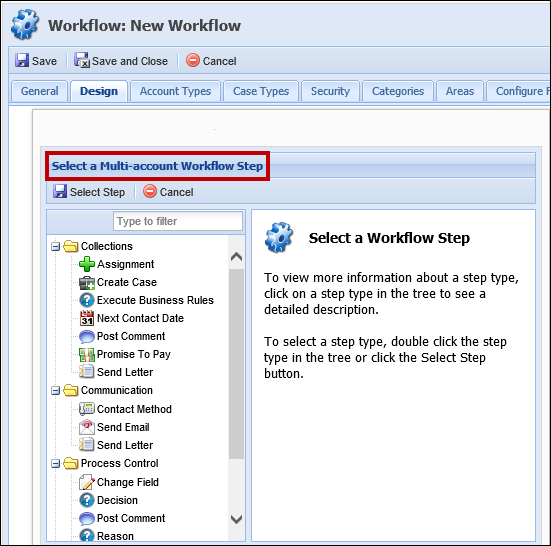
The process to create a Multi-account workflow can now be completed in the same manner as other workflows. For more information on how to create a workflow, please see Creating a Workflow within the Workflows topic of this Guide.
 |
In order to run a Multi-Account workflow, a Related Accounts panel must appear on the workspace. If a Related Accounts panel does not appear on the workspace and a Multi-Account workflow is selected, the following error message displays: 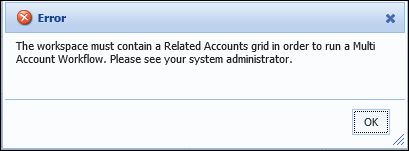
Additional information about configuring the workspace can be found in the Areas section of this Guide. |