
Temenos Lifecycle Management Suite - Account Origination Product Guide
Credit Reporting Screen
| End-User Guide > Application Processing > Origination > Pulling Credit > Credit Reporting Screen |
The Credit Reporting screen allows users to pull new credit reports and view details regarding previously pulled credit reports and searches. This screen can be assigned to the Workflow and Screens sections in the Application Navigator.
The Credit Reporting screen contains a toolbar that includes the following functions:
| Icon | Description | ||||
 |
Allows users to save the credit reportsthat have been selected to use for the application. | ||||
 |
Allows users to request a new credit report. | ||||
 |
Allows users to request a new stand-alone Military Lending Act status search.
|
||||
 |
Allows users to review a previously-generated credit report or MLA status search. |
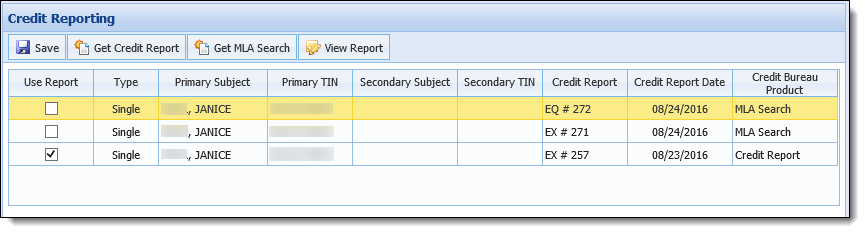
The Credit Reporting screen contains a grid that populates with all credit reports and MLA searches on file for each applicant on the application. The Credit Report grid contains the following columns:
| Column | Description | ||||
| Use Report |
Select the Use Report check box that corresponds with the credit report to use for the application.
|
||||
| Type | Indicates whether the credit report is single or joint. | ||||
| Primary Subject | Indicates the name (Last, First) of the primary applicant for whom the credit report was pulled. | ||||
| Primary TIN | Indicates the tax ID number of the primary applicant for whom the credit report was pulled. | ||||
| Secondary Subject | Indicates the name (Last, First) of the secondary/joint applicant for whom the credit report was pulled. | ||||
| Secondary TIN | Indicates the tax ID number of the secondary/joint applicant for whom the credit report was pulled. | ||||
| Credit Report | Indicates the credit report and the bureau source. | ||||
| Credit Report Due | Indicates the date the credit report was pulled. | ||||
| Credit Bureau Product | Indicates whether a credit report was pulled. |
To request a new credit report for an applicant, click . The Get Credit Report screens opens in a new window.
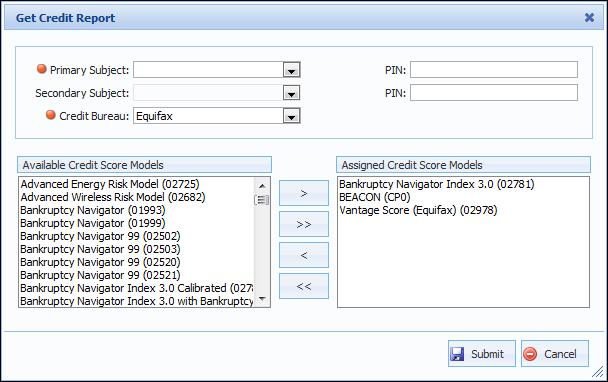
Complete the following information within the Get Credit Report screen:
| Field Name | Description | ||
| Primary Subject |
From the drop-down, select the applicant to use as the primary subject of the credit report.
|
||
| PIN |
If the primary subject has locked/frozen their credit report, enter the PIN required to pull the credit report.
|
||
| Secondary Subject |
From the drop-down, select the applicant to use as the secondary subject of the credit report.
|
||
| PIN |
If the secondary subject has locked/frozen their credit report, enter the PIN required to pull the credit report.
|
||
| Credit Bureau |
From the drop-down, select the bureau to receive the credit report request.
|
Upon selecting a credit bureau from the Credit Bureau drop-down, the Assigned Credit Score Models list populates with the defaults configured by an administrator within Account Application Types. To modify the currently assigned score models or to add additional score models, select the score models within the Available Credit Score Models or Assigned Credit Score Models lists and use the arrow buttons to move the models between the two lists.
When all parameters have been completed within the Get Credit Report screen, click  . The credit report is retrieved and a Credit Bureau Response message displays confirming that the report was successfully retrieved from the credit bureau. The response message also provides the ability to view the credit report. Click Yes to review the report now or No to return to the Credit Reporting screen.
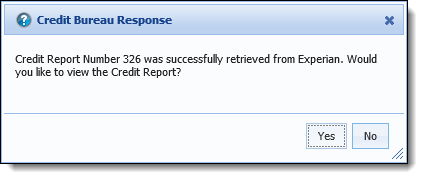
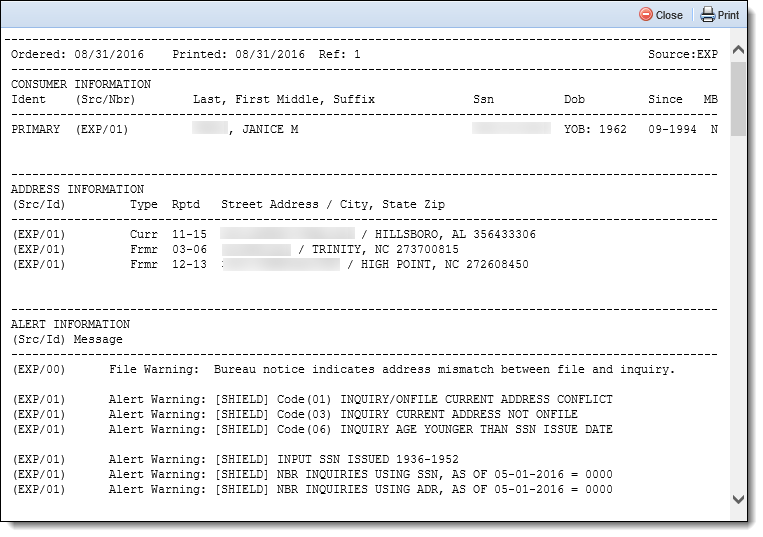
If Yes is selected, the credit report is displayed in a new window. The credit report contains valuable information such as military status, information mismatches, and credit history for the person in context.
 |
For details on the information that is displayed within a credit report, please see the Credit Report Format How-To within this guide. |
To print the report, click  . To close the credit report window, click
  .
.
Upon clicking  , the credit report window automatically closes and the new credit report record is displayed within the Credit Reporting screen.
To request a new stand-alone military status search for an applicant, as required by the Military Lending Act, click . The Get MLA Search window is displayed.
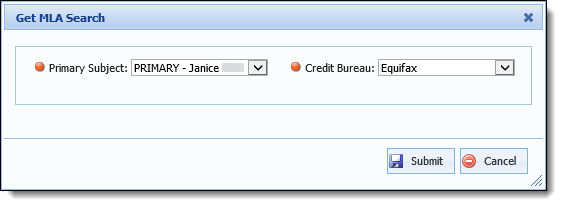
Complete the Get MLA Search window using the following fields:
| Field | Description | ||
| Primary Subject | From the drop-down, select the applicant to serve as the primary subject of the military status search. | ||
| Credit Bureau |
From the drop-down, select the credit bureau being used to obtain the applicant's military status.
|
Once the Primary Subject and Credit Bureau are defined, click to send the military status search request to the selected bureau. Upon retrieving the military status from the credit bureau, an MLA Search Response window is displayed to confirm the status report was successfully obtained. The response message also provides the ability to view the MLA status report. Click Yes to review the report now or No to return to the Credit Reporting screen.
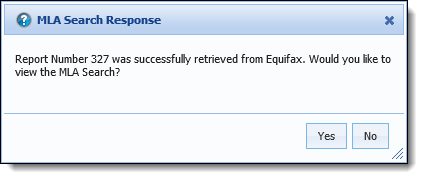
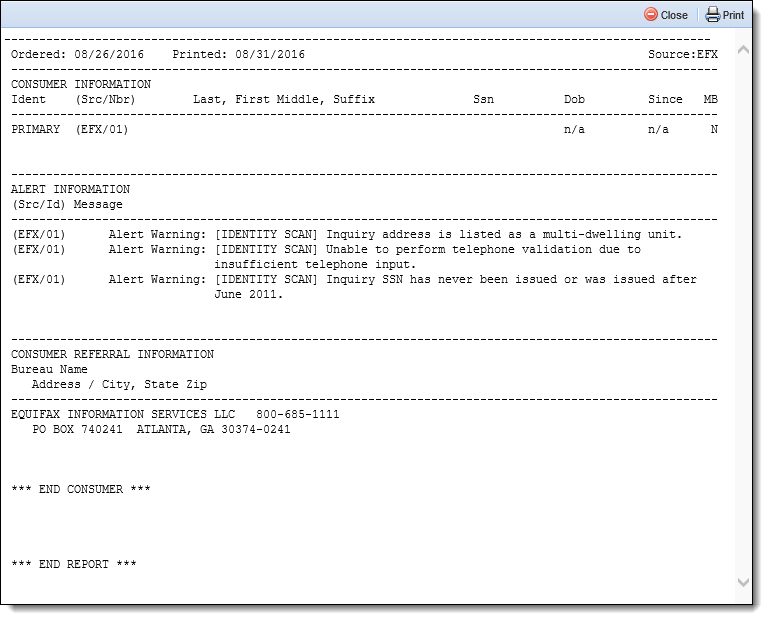
If Yes is selected, the MLA status report is displayed in a new window. The MLA status report contains valuable information such as military status, alert information, and consumer referral information for the person in context.
|
The military borrower status is indicated in the last column (MB) within the Consumer Information section of the report. |
 |
The ability to obtain military borrower status within a credit report must be configured by a system administrator within the credit bureau connector pages. |
To print the report, click  . To close the credit report window, click .
Upon clicking , the MLA status report window automatically closes and the new search record is displayed within the Credit Reporting screen.
To view a previously-pulled credit report or military status search, select the report or search record within the grid on the Credit Reporting screen and click .
The credit report or MLA search opens in a new window. Click to print the report or search.
Click to close the report or search results window.
Credit is reprocessed when a new credit report is selected for the application, through the Use Report check box, within the Credit Reporting screen. During credit reprocessing, data from the previous credit report is overwritten with data from the core. The data from the core is then overwritten by information from the new credit report.
|
The update from the core during credit reprocessing is not recorded in the Lifecycle Management Suite. |
Additionally, the following automatically occurs during credit reprocessing:
|
If information for a liability, such as the percentage to include for an applicant, has been edited within the Liabilities screen or panel, the edits must be manually reapplied after credit is reprocessed. |
