
Temenos Lifecycle Management Suite - Recovery Product Guide
Field Configurations
| Administrator Guide > Field Configurations |
Field Configurations eliminate the need to retype the same information each time a field needs to be filled. Lookup lists allow for the creation of fields to store data that have a limited number of possible values. When a field needs to be completed, simply click the drop-down arrow and select the appropriate value.
Navigate to System Management > Field Configurations. From this screen, administrators can edit System Lookups and Default Values.
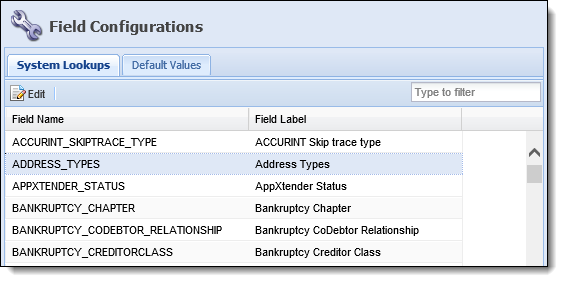
System Lookups are predefined lookups that come with the Lifecycle Management Suite. These cannot be edited but additional values can be added to the lookup.
The System Lookups tab contains the following columns:
| Column Name | Description |
| Field Name | The name of the field in the database. |
| Field Label | The user-friendly label of the field in the Lifecycle Management Suite. |
To edit a lookup, double-click on the lookup, click the lookup and click the Edit button or type in any text in the filter box to refine the list of fields then select the desired field. The Edit System Values screen appears.
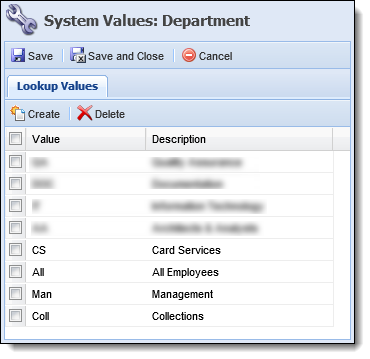
To create an additional lookup value, click Create. An additional row appears at the bottom of the list of values. Type in the desired value and description in the new row.
 |
System-defined values are displayed in grey boxes and cannot be edited, but they can be deleted. |
|
If authoring Business Rules, it is recommended to select the Sync.Lookups button on the Application Toolbar in Rules Manager before authoring a new rule in order to ensure the newly created Lookup Values are available within the Rules Management Application. |
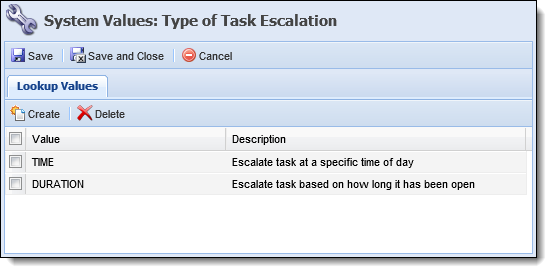
To delete a lookup value, select the check box next to the value and click Delete. A confirmation prompt appears. Click Yes to delete the selected value(s) or No to retain the selected value(s).
When finished modifying the values, click Save or Save and Close. Click Cancel to disregard any changes and return to the System Lookups tab.
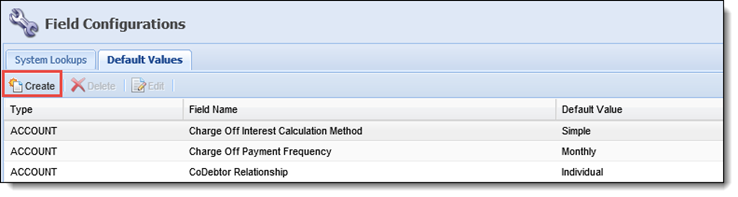
Default Values can be set up on the Default Values tab so that when a new account is created or added to the Lifecycle Management Suite, the system updates the account level field with the chosen default value, if the field does not already have a value.
The nightly process that sets default values only runs for new accounts and is triggered when a new account is added from the workspace via Create Account or Import Account, after the daily account import process is complete and after any third party account import processes are complete. This nightly process sets the default values for the configured account fields for all new accounts.

The Default Values tab contains the following columns:
| Column Name | Description |
| Type | The type of field that has a default value. This will always be Account. |
| Field Name | The name of the field. |
| Default Value | The default value assigned to the field. |
To create a new default value, click Create.
The Configure Default Value window appears.
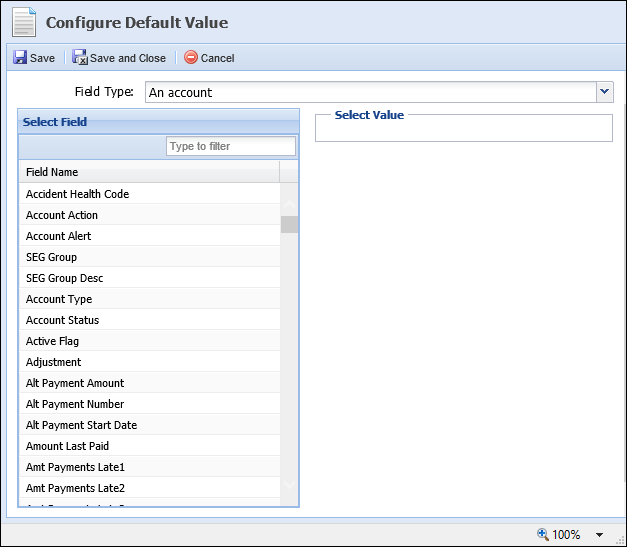
|
The Field Type drop-down defaults to Account. This cannot be changed. |
Select the desired field from the Select Field section of the screen by scrolling through the list or typing the field name in the filter box.
Click the field to highlight it blue.
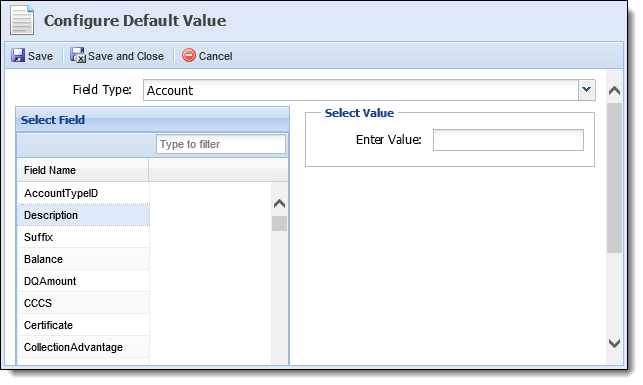
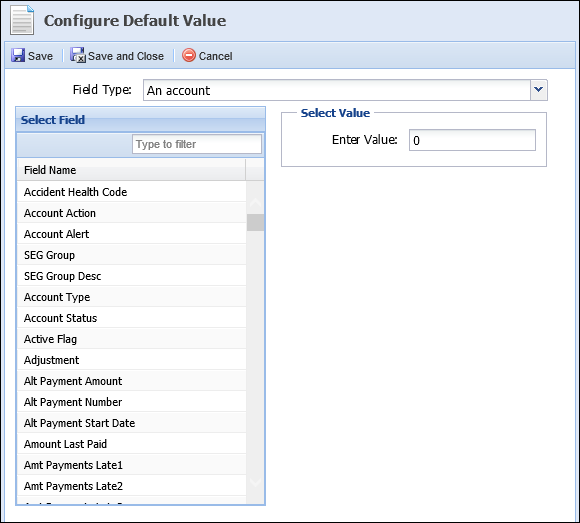
The field chosen drives the value that can be entered in the Select Value section of the screen. The following controls can be displayed in this section:
Field Type Control Rendered Lookup Field A drop down control with available values for that lookup. Date Field A calendar control with the option to set the date formula like TODAY+1D. Decimal Field A textbox for entering decimal values only. Integer Field A textbox for entering integer values only. Boolean Field A checkbox. String Field A standard textbox.
For example, when creating a default value for Delinquent Flag, a boolean field (checkbox) is displayed.
Once the value is entered, click Save or Save and Close. The new Default Value is added to the list on the Default Values tab. Click Cancel to return to the Default Values tab without saving any changes.
To edit a Default Value, click the value to highlight it and click Edit or double-click the value. The Configure Default Value window appears.
When finished editing the default value, click Save or Save and Close. Click Cancel to return to the Default Values tab without saving any changes.
To delete a Default Value, click the value to highlight it and click Delete. A confirmation prompt appears.
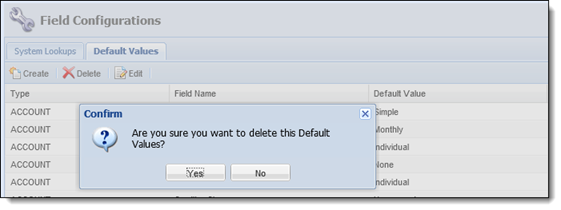
Click Yes to delete the value. Click No to retain the value.
 Editing a Lookup