Temenos Lifecycle Management Suite - Account Origination Product Guide
Client Portal Reference Guide
The Client Portal (Portal) provides an effective and organized way for Temenos and financial institutions to communicate with one another regarding issues and questions about Temenos Infinity and other Temenos products. Communication occurs through cases, which track the history of the issue, question, or request. The purpose of this guide is to assist Temenos and financial institutions with submitting, viewing, and working support cases in the new Client Portal, launched in Q1 of 2017.
 |
While this topic has been updated to reflect the new Temenos Infinity branding, Lifecycle Management Suite will continue to appear in certain images on the Client Portal until such a time that the branding can be updated. |
Listed below are the attributes and actions that can be taken while using the Client Portal:
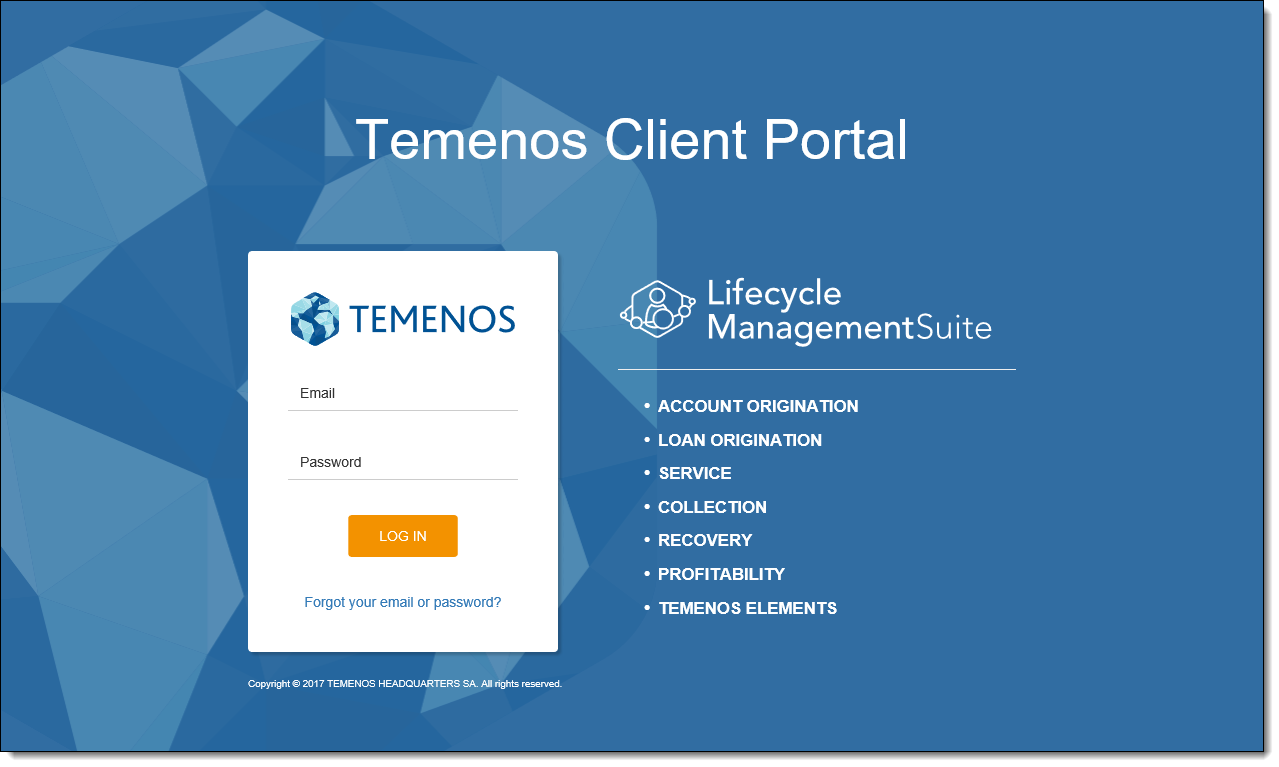
To log into the Client Portal, simply browse to the Portal URL, and enter the email address and password of the user.
 |
If the login information established during creation of the portal user has been forgotten, click the Forgot your email or password? link to display the Customer Care support phone number. |
The Client Portal contains a top ribbon bar, a left navigation panel, and a main display area.
|
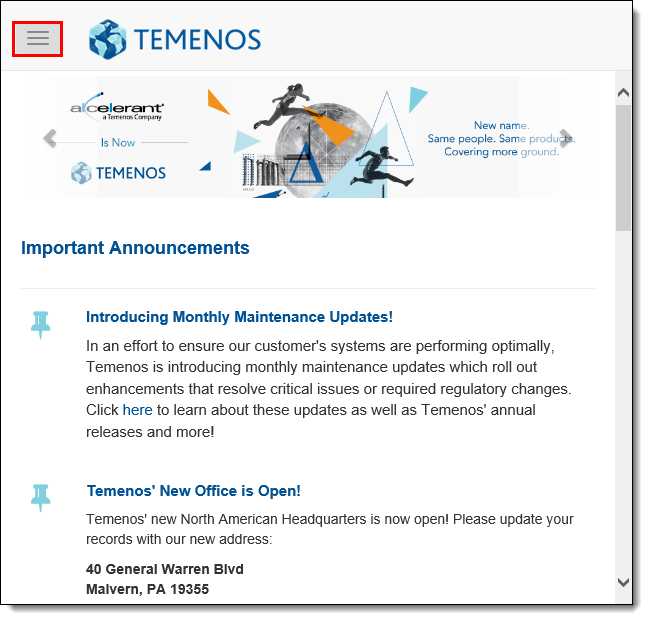
When accessing the Client Portal using a mobile device, the left navigation panel becomes a navigation button located within the ribbon bar. When clicked, options to Change Password and Log Out are displayed along with all of the navigation items described in the 2 - Left Navigation Panel section below.
|
The ribbon bar includes the name of the user currently logged in to the Portal. When the user's name is clicked, a drop-down is displayed with options to change the password or log out of the Portal.

To change the password used to access the Portal, select Change Password. Within the Change Password screen, enter the current password in the Current Password field, and the new password in the New Password and Confirm Password fields. When finished, click Change Password.
To log out of the Portal, select Log Out. The user is automatically logged out of the Portal.
The left navigation panel includes various links to navigate to different pages within the Portal and provides users with the ability to create and review support cases.
The left navigation panel contains sections: Main and Cases.
The Main section of the left navigation panel provides all Portal users with the ability to navigate to various pages in the Client Portal.

The Main section contains the following navigation options:
| Option | Description | ||
| Home | Select Home to navigate to the Client Portal home page. | ||
| Customer Care | Select Customer Care to view Temenos' Customer Care mission and policies. | ||
| Documentation | Select Documentation to navigate to the Documentation home page, which provides links to documentation for each Temenos module and connector. | ||
| Training | Select Training to view Temenos Infinity and Elements Professional Services training menus as well as quick links to recorded webinars. | ||
| Account Management | Select Account Management to view details about the Account Management team as well as some common account management resources. | ||
| Installations | Select Installations to view a list of releases available for install. | ||
| Projects | Select Projects to view a list of projects for the financial institution. | ||
| Roadmap Features |
Select Roadmap Features to navigate to the Temenos Roadmap to vote for features the financial institution would like to see included in a future software release.
|
The Cases section of the left navigation panel contains links to create a new support case and view existing support cases.
For more information on the functions contained within the Cases section, please refer to the Creating and Submitting a Support Case and Accessing a Support Case sections of this guide.
To create a new support case within the Portal, select the Create a Case link from the left navigation panel. The Create Case screen is displayed.
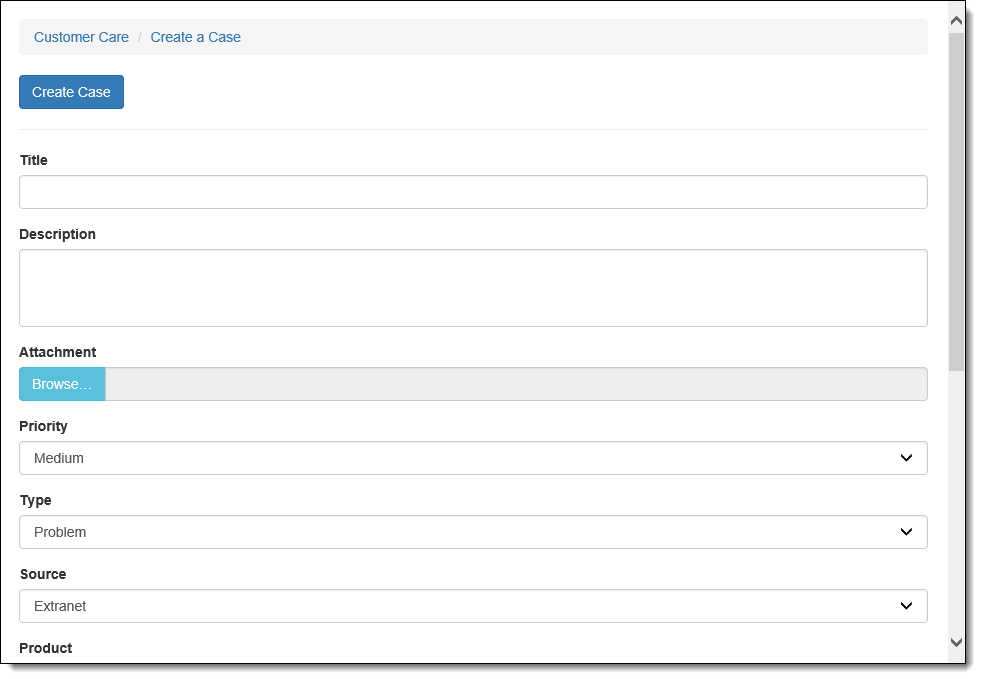
Enter information within the following case detail fields:
|
Temenos is able to update the values within these fields, such as the case Priority or Type, if they do not match the case submission standards. |
| Field | Description | ||||||||||||
| Title | Enter a brief yet descriptive title for the case. For example, the title “Unable to Add Merge Fields to Letters” is more helpful than “Letters.” | ||||||||||||
| Description | Enter the complete details regarding the case. As much information as possible should be provided to ensure a quick turnaround and resolution. | ||||||||||||
| Attachment | Click Browse... to locate any supporting documents to load to the case. For example, if account data appears differently between Temenos Infinity and the financial institution’s core system, it would be helpful to include screen shots of the data in question in both systems to assist with troubleshooting. | ||||||||||||
| Priority |
From the drop-down, select one of the following priorities:
|
||||||||||||
| Type |
From the drop-down, select one of the following types:
|
||||||||||||
| Product |
From the drop-down, select the Temenos module for which the case is regarding. The following options are available for selection:
|
||||||||||||
| Project | From the drop-down, select the project for which the case is regarding. | ||||||||||||
| Case Owner |
By default, the Case Owner field displays the name of the Portal user who is creating the case, but a new case owner can be selected, if desired. The case owner receives email notificiations when activities occur on the case.
|
When finished entering the case details, click Create Case to submit the case to Temenos. A unique eight digit number is assigned to the case upon submission.
Existing cases can be accessed in four ways: based on status, through a search, by looking up the case number, or by viewing a list of cases assigned to the logged in user.
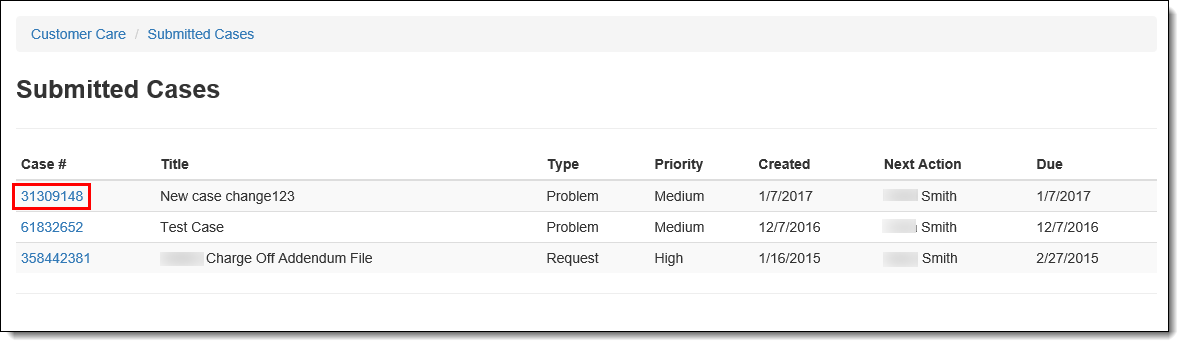
To view a list of existing support cases according to status, select the Submitted, Active, Resolved, or Closed links from the left navigation panel. The number of cases in each status is displayed in parenthesis following the status.
Upon selecting a status link, a list of all cases in that status is displayed. To view a case, click the desired Case # link.
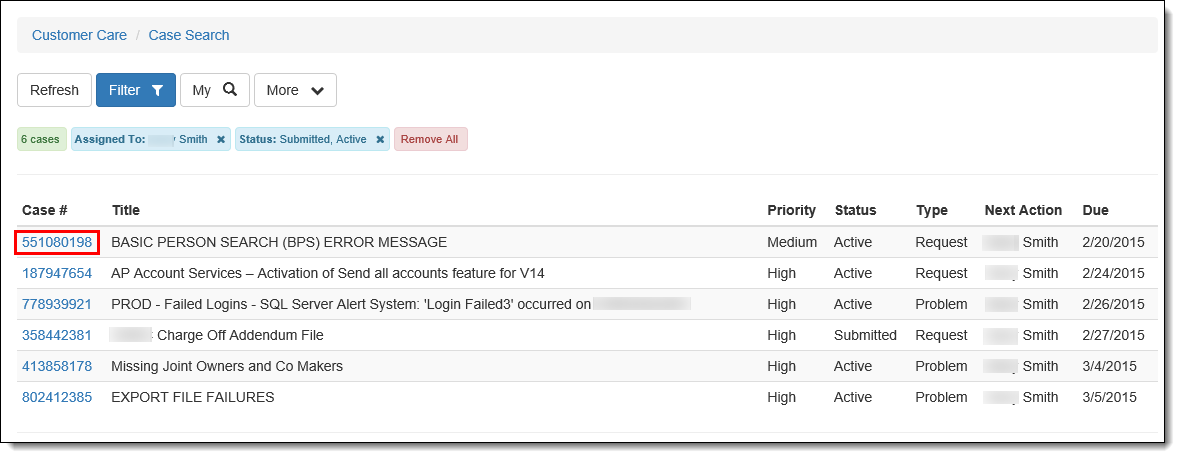
If a specific case number is not known, a search can be performed for cases that meet certain criteria.
To search for an existing case, select the Search Cases link in the left navigation panel. By default, within the Case Search screen, the filter is set to display all cases in Submitted or Active status assigned to the logged in user. If desired, click  to change the filter options.
|
Click |
Upon selecting the desired filter(s), the case list automatically updates. To view a case, click the desired Case # link.
|
The case list displays up to 200 cases. |
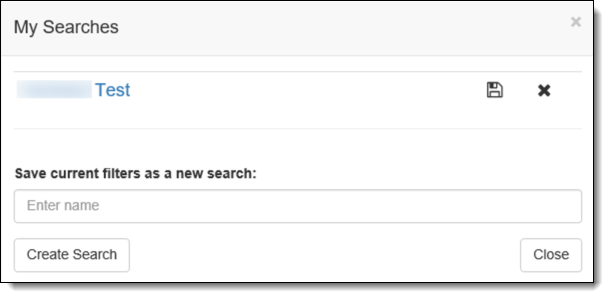
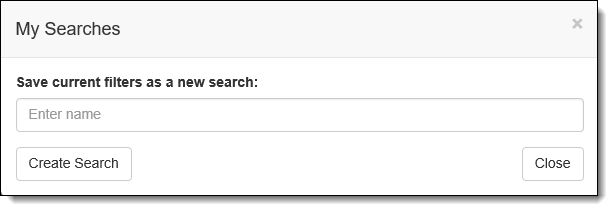
The current search criteria can be saved for later use by clicking  within the Case Search screen. Within the My Searches window, enter a name for the search and click Create Search. When finished, click Close.
|
Once created, saved search criteria can be accessed by clicking
|
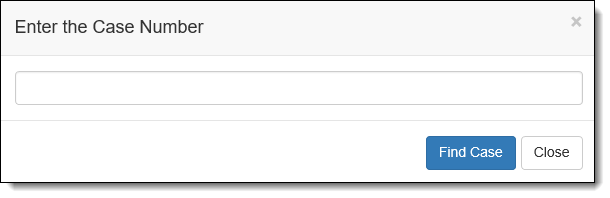
If a specific case number is known, select the Case Lookup link within the left navigation panel. Within the pop-up window, enter the case number and click Find Case. The case automatically opens in a new Internet Explorer tab.
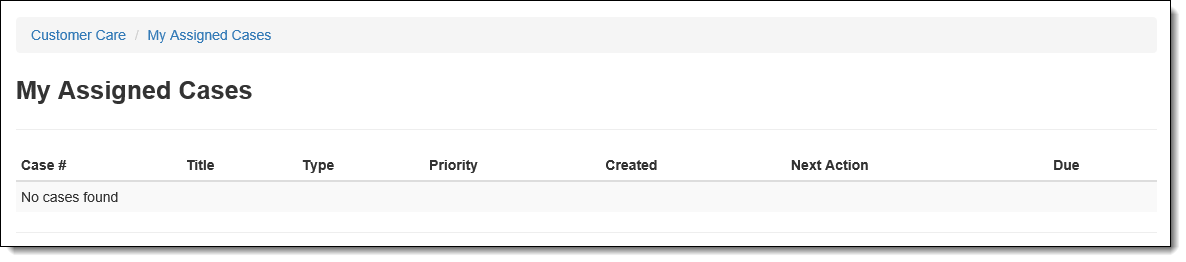
To view all cases assigned to the currently logged in user, select the My Cases link in the left navigation panel.
|
The number of cases currently assigned to the logged in user is displayed in parenthesis following the My Cases link. |
To view a case, click the desired Case # link.
Upon accessing a support case according to status or through a search, the case opens in a new Internet Explorer tab and contains a left navigation panel, which contains three sections.
|
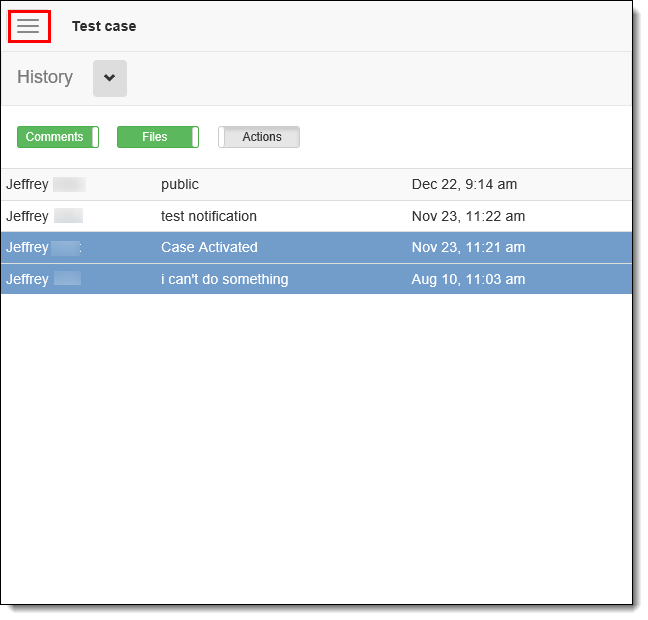
When accessing a support case using a mobile device, the left navigation panel becomes a navigation button located within the Portal ribbon bar. When clicked, all of the navigation items described in the following sections are displayed.
|
The Case Actions section of the case left navigation panel contains five case-related functions: Comment, Attach, Relate Case, Print, and Save.
Comments are an integral part of cases, as they are used to record the progress being made on a case and assign a case to other users.
To add a new comment to a case, select the Comment link in the left navigation panel.
Within the Add Comment window, enter the comment within the text box. When finished, click Next.
The Assign Next Action screen is displayed and indicates the user to which the case is currently assigned, and provides options to leave the case assigned to the currently assigned user, assign to the Temenos user, or assign to another user. Once the next action user has been assigned, select the date by which the action is to be completed by clicking within the Set the due date for this action box. Clicking within this box displays a calendar from which a date can be chosen. Once a next action user and date have been selected, click Add Comment.
Upon clicking Add Comment, the comment as well as any changes in case assignment and action date are added to the case’s History tab.
Clicking the Attach link within the left navigation panel provides users with the ability to attach a document to the case.
|
For further instructions on how to add an attachment to a case, please refer to the Attachments section of this topic. |
Clicking the Relate Case link within the left navigation panel provides users with the ability to link two similar cases together.
|
For further instructions on how to relate cases, please refer to the Related Cases section of this topic. |
Clicking the Print link within the left navigation panel provides users with the ability to print the case using the standard Windows print dialog window. Make any modifications to the printing preferences displayed within the Windows print dialog and click Print.
Clicking the Save link within the left navigation panel provides users with the ability to save the case after an action has been performed, such as updates to basic case information on the Info tab.
The Case Information section of the case left navigation panel contains basic information related to the case, such as the financial institution's core, case type and priority, next action owner, client and Temenos owners, key case dates, and the number of attachments, related cases, and notifications on the case.
|
The majority of the information within the Case Information section is read-only; however, clicking the client or Temenos user's name opens a blank email form that can be completed and sent directly to the user.
|
All cases share the same common attributes. When a case is accessed according to status or through a search, the History, Info, Resolution, Attachments, Related Cases, and Notifications tabs are displayed across the top of the case screen.
|
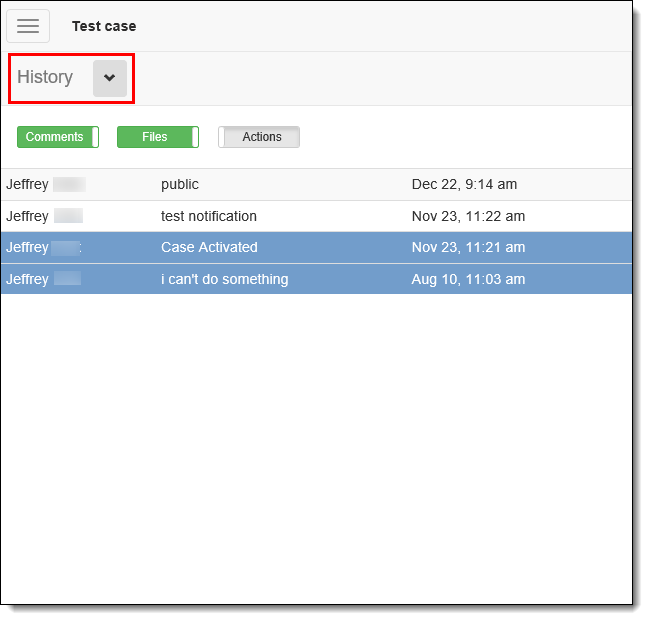
When accessing a support case using a mobile device, the attribute tabs are listed within a drop-down beneath the ribbon bar. When clicked, options to view all of the attributes described in the following sections are displayed.
|
The History tab is displayed by default and lists a record of each action taken on the case, including the name of the user who performed the action, the action performed, and the date the action was performed.
buttons appear above the history records to provide users with the ability to easily click to filter the items displayed within the History tab. A button is on, and displaying the corresponding history records, when it appears green. A button is off, and the corresponding history records are not displayed, when it appears grey.
The Info tab displays basic information about the case, such as the case type, priority, module, and owner. The projected resolution date and the amount of time the case has been assigned to Temenos and the institution are also displayed. Any information that is edited within the Info fields is updated on the case in real time.
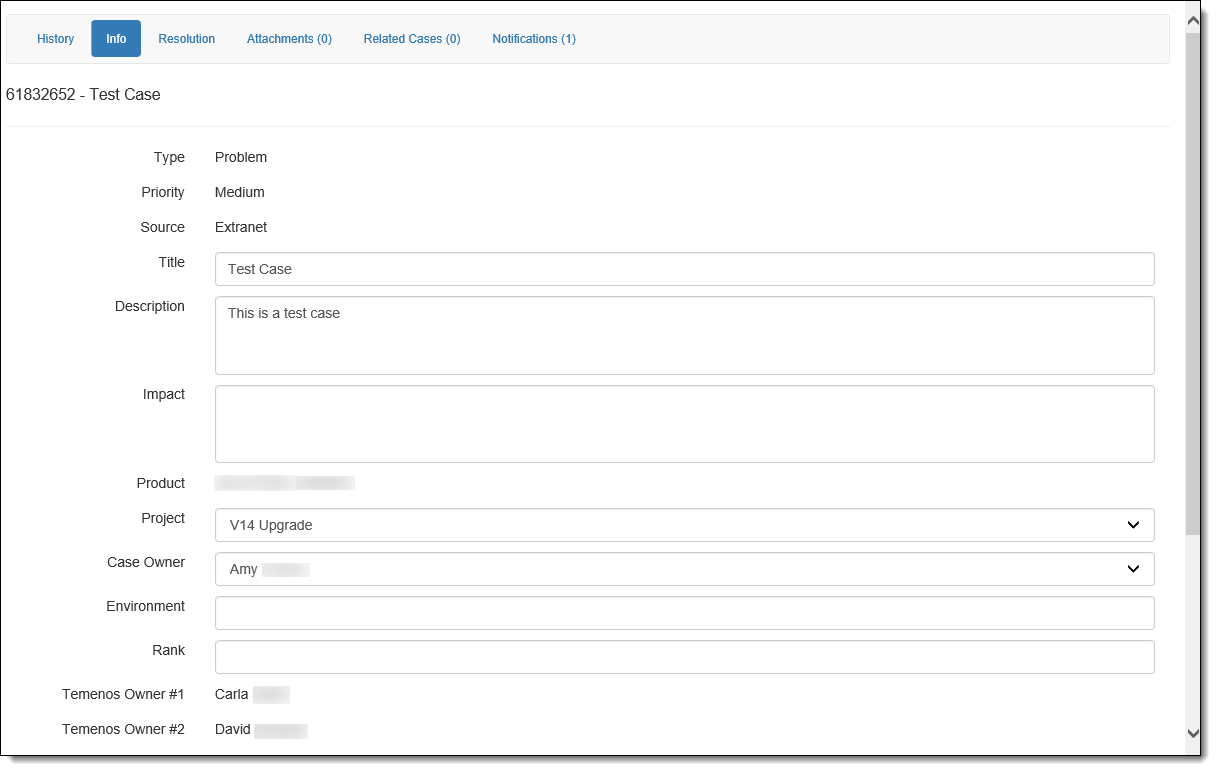
When finished updating the basic case information, click the Save link in the left navigation panel.
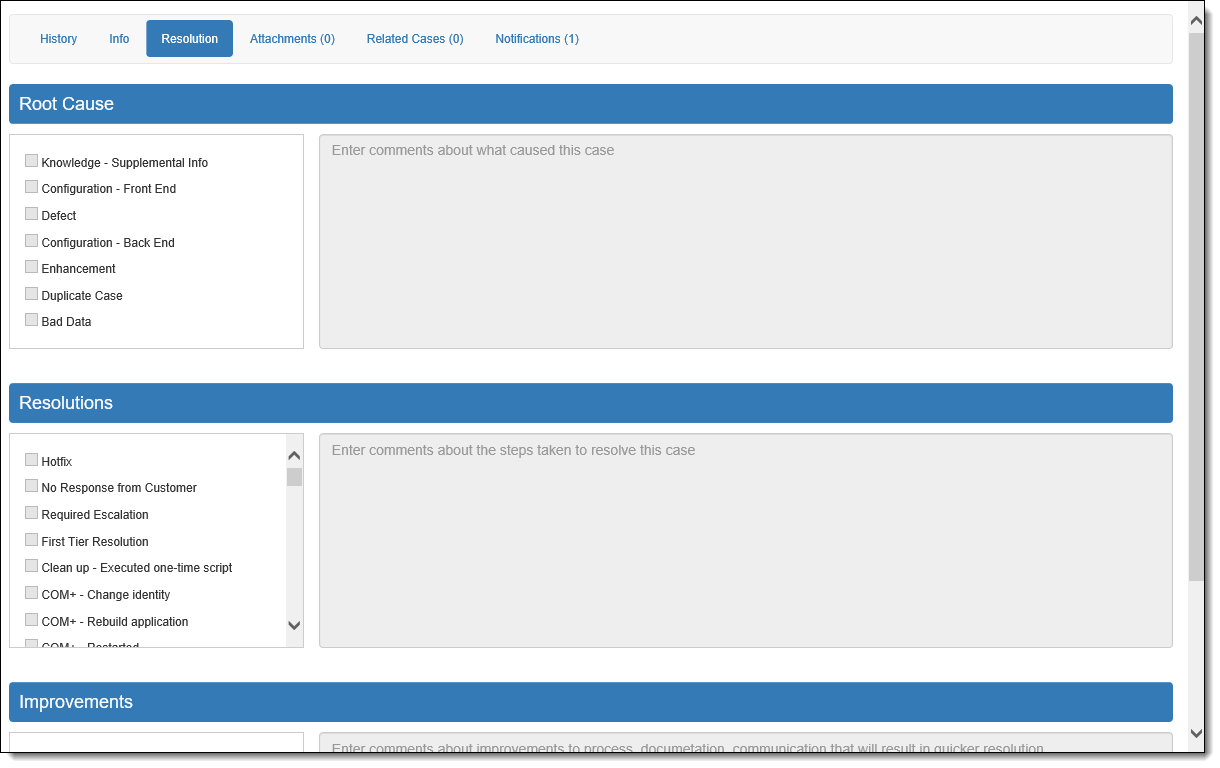
The Resolution tab displays the information that is required for completion in order to resolve a case. When the case has been worked and is ready to be resolved, Temenos Customer Care completes the Root Cause, Resolutions, and Improvements sections of the screen to provide details on what caused the case, resolution steps, and any suggestions for how this case can be avoided in the future.
|
The Resolution tab cannot be edited by a Portal user at a financial institution. |
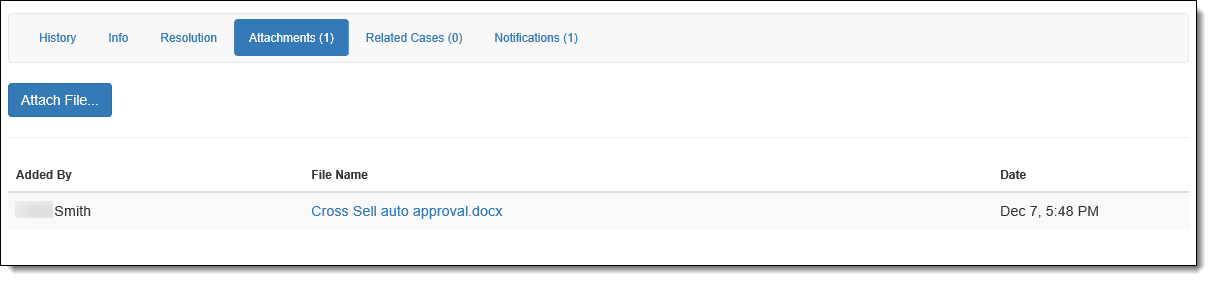
The Attachments tab displays any supporting documents currently loaded to the case and provides users with the ability to attach additional documents to the case.
To add a new attachment to the case,
Upon clicking Attach, the document is listed within the Attachments tab and can be viewed by clicking the desired File Name link. The number in parenthesis within the Attachments tab is also updated to reflect the new number of attachments on the case.
Cases can be related to each other if they are regarding the same thing, making it easier for Temenos to work the case and look up prior case actions and resolutions.
To relate an existing case to the current case, select the Relate Case link in the left nagivation panel. Within the Relate Case window, enter the number of the related case and a description of why the cases are being related. When finished, click Relate.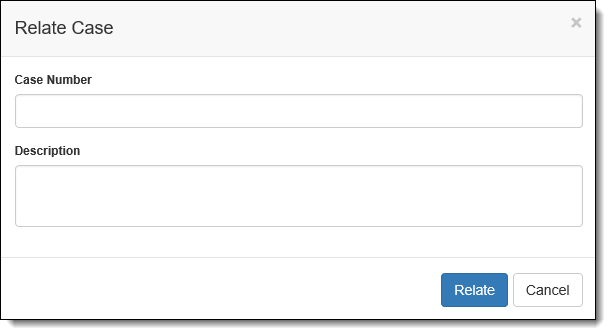
Upon clicking Relate, the case is listed within the Related Cases tab and can be viewed by clicking the desired Case # link. The number in parenthesis within the Related Cases tab is also updated to reflect the new number of relationships on the case.

The Notifications tab displays the Portal users who receive notifications when comments are added or the case status changes.
To add additional users to notifications, locate the desired user by scrolling through the list or enter the user’s name within the filter box. Once the user has been located, click the toggle button to the On position ( ).
).
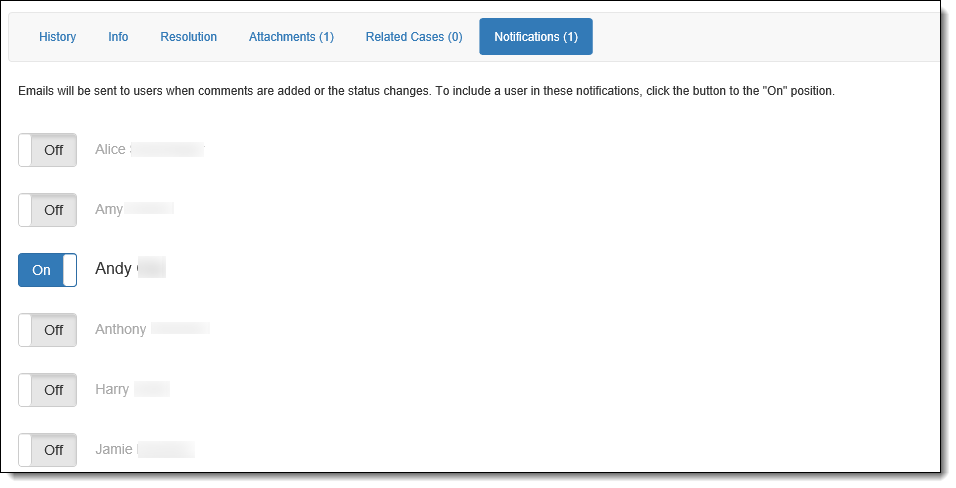
Upon adding a user to notifications, the number in parenthesis within the Notifications tab is also updated to reflect the new number of notifications on the case.
When finished, click the Save link in the left navigation panel.
A support case is worked by entering comments, changing next action owners, and updating next action dates. Once a support case has been completed and the issue, question, or request has been resolved, the resolution must be accepted or rejected.
|
If a resolution is not accepted or rejected within 30 days of the resolution date, the resolution is automatically accepted and the case is closed. |
Accepting and Rejecting Resolutions
Once a case is in a Resolved status, users must either approve the resolution if it meets Temenos’ or the financial institution's standards, or reject the resolution if it is not acceptable.
To accept the resolution on a case, locate the case and click the Accept Resolution link in the case's left navigation panel. If desired, within the Accept Resolution window, enter details about the resolution. Click Accept to accept the resolution and move the case to a Closed status.

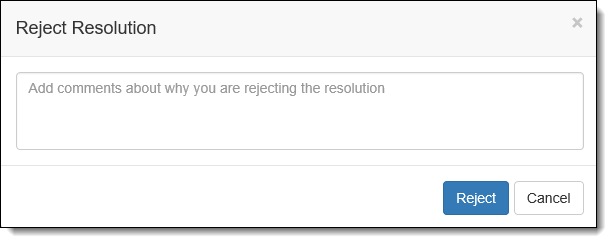
To reject the resolution, click the Reject Resolution link in the case's left navigation panel. Within the Reject Resolution window, enter details about the rejection. Click Reject to reject the resolution. Upon rejection, case status updates to Active and is assigned to be worked by the last Action owner.
 1 - Top Ribbon Bar
 to change the columns displayed within the Search page, export the results to Excel, or to open the search page in a new window.
 within the Case Search screen and selecting the desired search from the My Searches window.