
| Technical Guide > Server Manager Introduction > Processes |
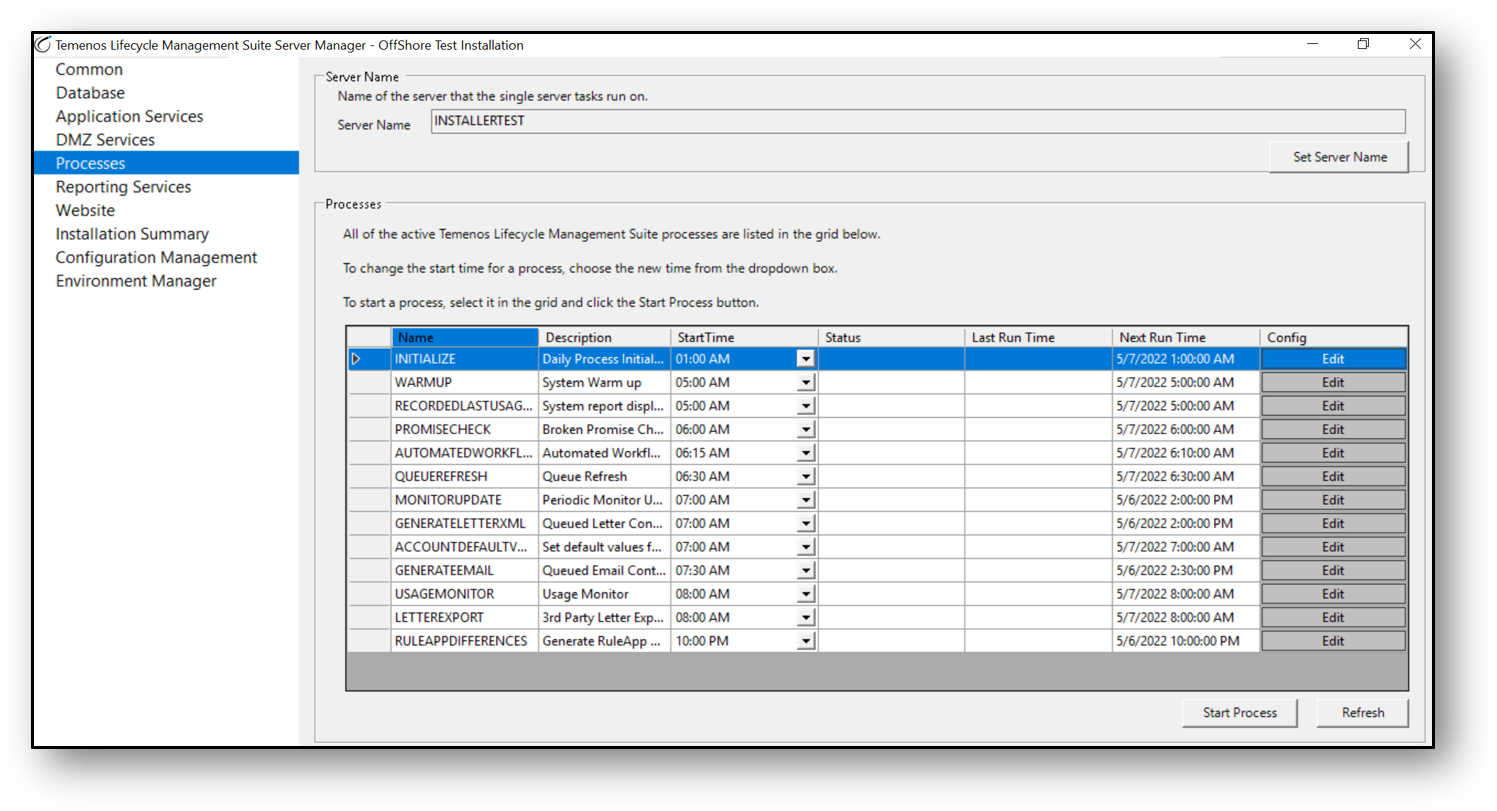
The Processes section enables the configuration of various Temenos processes.

The Processes grid allows server administrators to:
The Start Process button may also be used to initiate a failed process.
Refresh the processes grid by clicking the Refresh button.
To access a process’s configuration file for advanced editing, such as to turn on tracing, click the Edit button.
 |
Processes are intended be executed off hours and completed prior to the start of the next business day. Depending on the amount of data being processed, the run times for each process can vary between institutions. By staggering the various process start times, an institution’s ideal configuration can be achieved. |
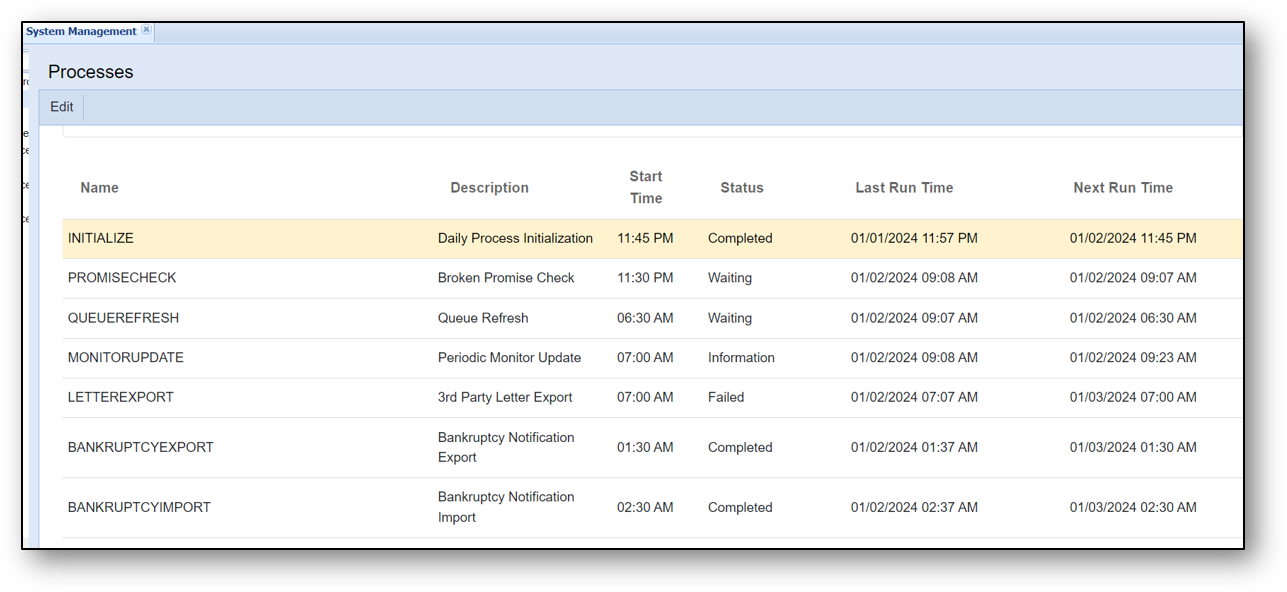
Without accessing the Server Manager, users can now access the various processes through System Management in Temenos Infinity.
Users can configure their own start times within System Management. Users with the permission ‘Process Scheduling’ should have either ‘View’ or ‘Change’ in order to view or make changes to the Processes defined in Server Manager.
 |
Refer User Permissions in the admin guide to make appropriate changes. The Processes screen lists all the active processes that have been defined. |
Below is a sample screenshot of how the processes have been listed.

The Processes screen consists of the below rows.
| Parameter | Description | ||
| Name | Displays the name of the processes | ||
| Description | Displays the description of the processes | ||
| Start Time |
Displays the Start Time that currently exists for a process.
|
||
| Status | Displays the status of the process. | ||
| Last Run Time | Displays the last run time of the process. | ||
| Next Run Time | Displays the next run time of the process. |

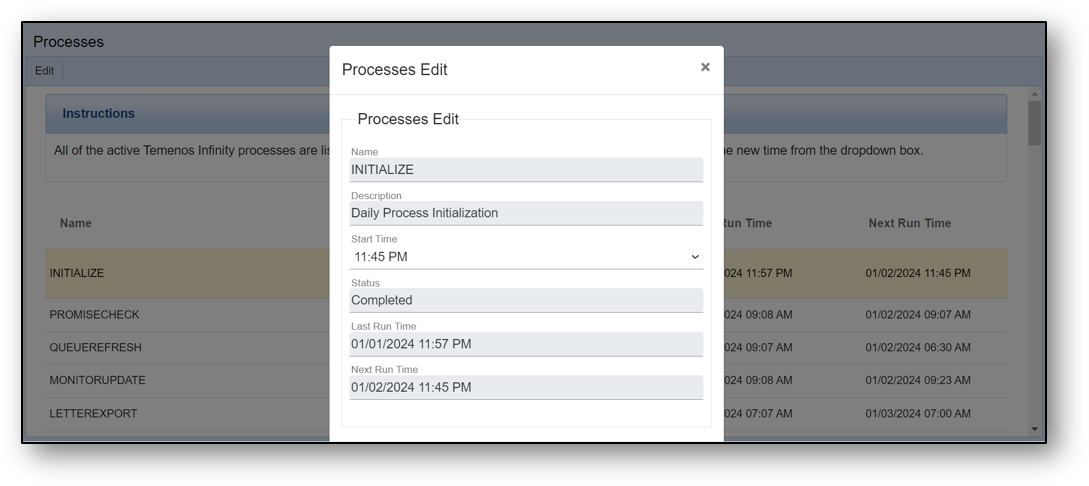
Upon clicking Edit button on any of the Processes, the user can change the Start Time of the processes as per convenience so that the process starts at that configured time.