The Focus allows users to generate views with advanced analytics and graphic representations of data. To generate a view, click the Focus icon.

Upon clicking the Focus icon, a menu opens on the left side of the Spotlight Workspace.

Within this menu, users are able to select Product or Profitability Analysis Presentation to begin selecting view criteria focus area.
| Focus Area | Description |
| Product | Product enables users to view the actives and data associated all financial instruments or services that can be offered to consumers. |
| Profitability Analysis Presentation | Profitability Analysis Presentation enables users to access the 42-page report that is comprised of 19 separate analytics which compares the last completed quarter with the previous full quarter. |
Product
Once Product is selected, users are directed to the Product Management Summary view. Click All Products by Month to apply filters and submit a view request.

The Spotlight workspace displays the following filter panels:

Select a Product
Select a Product allows users to specify which products are included within the view. In the Select a Product panel, select the desired products by navigating through the product tree.
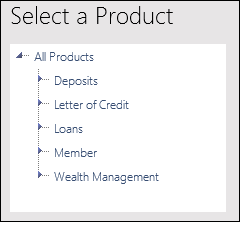
The following products are included within the Select a Product tree:
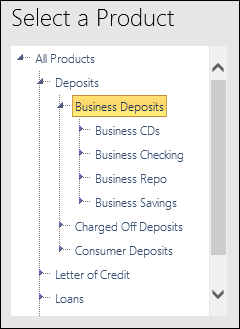
Deposits
Deposits allows users to generate views based upon the funds on deposit at an institution. Users can generate views based upon all deposits, specific deposit Categories such as business deposits or consumer deposits and Account Types such as Business Free Checking or Consumer Free Checking.
 |
Deposits always appears within the Select a Product tree, however the product categories and account types that appear within deposits varies from institution to institution. For example, if an institution does not contain any 30 Month CD account types that account type does not appear within the tree. |
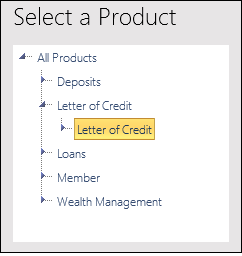
Letter of Credit
Letter of Credit allows users to generate views based upon the letters of credit held by an institution. Users can generate views based upon all letters of credit, specific categories or account type.
|
Letter of Credit always appears within the Select a Product tree, however the product categories and account types that appear within letter of credit varies from institution to institution. For example, if an institution does not offer letters of credit no product categories or account types appear within the tree. |
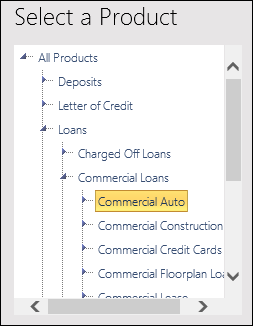
Loans
|
Loans always appears within the Select a Product tree, however the product categories and account types that appear within loans varies from institution to institution. For example, if an institution does not contain any Commercial Construction loans that account type does not appear within the tree. |
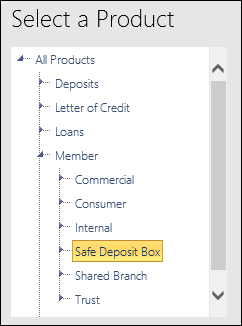
Member/Customer
Member/Customer allows users to select the member/customer products, product categories and account types to be included within the view.
|
By default Member is displayed, however institutions are able customize how this is displayed within Institution Administration. |
|
Member/Customer always appears within the Select a Product tree, however the product categories and account types that appear within loans varies from institution to institution. For example, if an institution does not offer Safe Deposit Boxes that product category does not appear within the tree. |
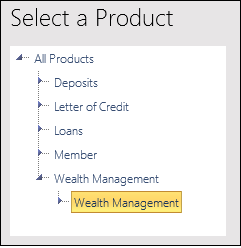
Wealth Management
Wealth Management allows users to generate views based upon an institution's wealth management products. Users can generate views based upon all wealth management products, specific categories such as investment, trust or insurance products and specific account type.
|
Wealth Management always appears within the Select a Product tree, however the product categories and account types that appear within wealth management varies from institution to institution. For example, if an institution does not offer Trust services that product category does not appear within the tree. |
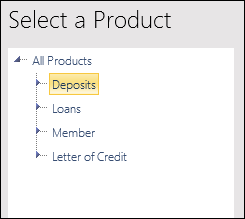
The Select a Product tree is organized into the following hierarchy:
| Level | Description |
| Product | Product is the first level of the Select a Product tree. It is broken down into five product types: deposits, letter of credit, loans, member and wealth management. |
| Product Category | Product category is the second level in the tree. The entries within this level vary from institution to institution. |
| Account Type | Account type is the third level of the tree or any subsequent level under product category. The account type level allows users to select the lowest share or loan code under a given product category. |
Refining the Product Tree
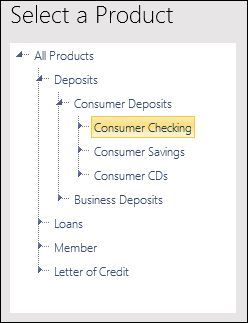
Users are able to refine the Product tree, by clicking the arrow associated with the desired product.
Upon clicking the product it expands to display the associated product categories. Users are then able to select the desired product category to display the associated account types.
Once the desired account type is located, click the name of the account type. The selected account name populates within the Current Criteria panel.
|
Users are able to select entire products, product categories or account types to include all subordinate items. For example, highlighting Deposits selects all deposit product categories and account types. Users are also able to select All Products to generate an institution-wide P&L view. |
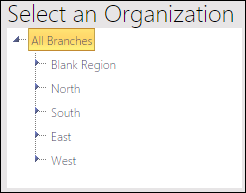
Select an Organization
Select an Organization allows users to specify which Branch Regions are included within the view. In the Select an Organization panel, select the desired branch or region by navigating through the branch tree.
The Select an Organization filter is not available for all Product Views. If this filter is not available for a View, the Branch tree appears grayed out and cannot be selected.
 |
The Select an Organization filter is currently available for the P&L view. |
|
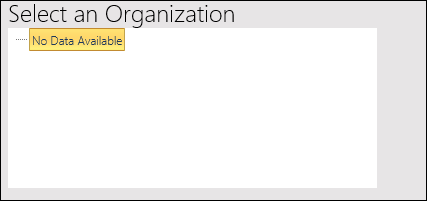
If a user selects a branch or region with no data or if an institution does not provide Organization Id's within Branch Locations, Spotlight displays the following message within the analytic: "No Data Available."
|
Select a Date Range
Select a Date Range allows users to specify the date range for the view.
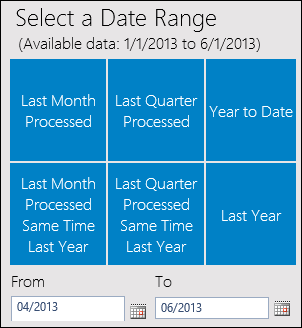
Within the Select a Date Range panel, users are able to enter a custom date range using the From and To fields or they are able select one of the six pre-defined date ranges:
- Last Month Processed
- Last Quarter Processed
- Year to Date
- Last Month Processed Same Time Last Year
- Last Quarter Processed Same Time Last Year
- Last Year
Selecting a pre-defined date range automatically populates the To and From fields with the date range.
|
Spotlight prevents users from selecting dates for which view data is not available. 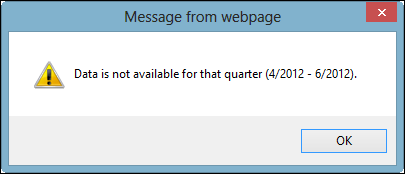 |
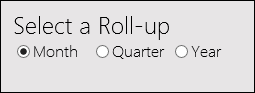
Select a Roll-up
The Select a Roll-up filter enables users to group analytics by month, quarter or year. The available options within this filter dynamically change according to the date range selected.
|
When choosing the “year” roll-up, the period must begin with January and end with December |
Click here to see the differences between the roll-up selections.
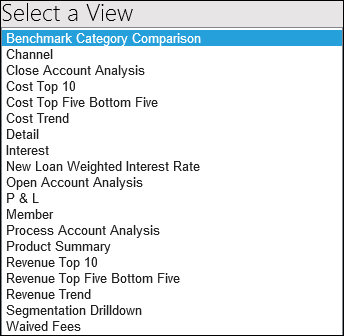
Select a View
Select a View enables users to select the view to be rendered. To select a view, click the down arrow to display the views drop-down.
|
The list of available views filters according to product selected. For example, the Interest view is not available for the Member product. |
For a complete list of views, refer to the View Definitions topic within this guide.
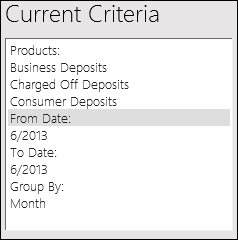
Current Criteria
Current Criteria is a read-only panel that displays a summary of all the filters applied to the view being created.
 |
To generate a view, a Product, Date Range and View must be selected. |
Once filters have been applied, click OK to generate the view. Click Cancel to reset the filters.