The Collection Element search function allows users to interrupt their current work flow to search for and display another account. It also allows users to create a separate Search Queue and work it in the workspace.
While in search mode, the search indicator is displayed at the top right corner of the Workspace.

 |
The Search Workspace can be left open while working in the Collection Element. Current search results are available unless the page is closed. |
The Search function also allows users to:
- Create and save an unlimited number of custom searches.
- Generate "ad hoc reports" with up to three levels of grouping and totaling.
- Create complex search conditions - including And, Or and Group By logic. For example, a search can be created for all delinquent loans between 15 and 60 days past due belonging to worklist A or worklist B.
- Export search results to csv (Excel) files.
- Update key client or loan information for all of the selected loans.
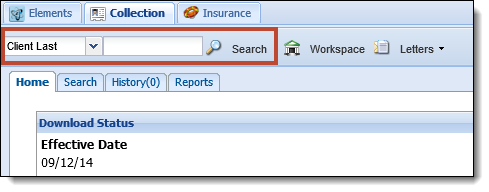
All users have access to the search function. There are two ways to access Search. Use the Quick Search option on the toolbar
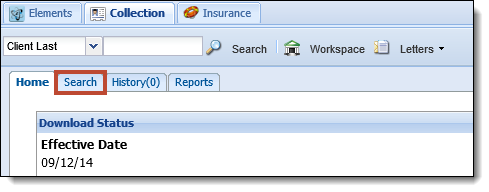
or select the Search tab on the Desktop,
Quick Search
A quick search option is located on the Elements toolbar to allow users to easily search for accounts. Simply select the desired field to search by in the first drop-down and enter the value for that field in the text box. Then click Search.

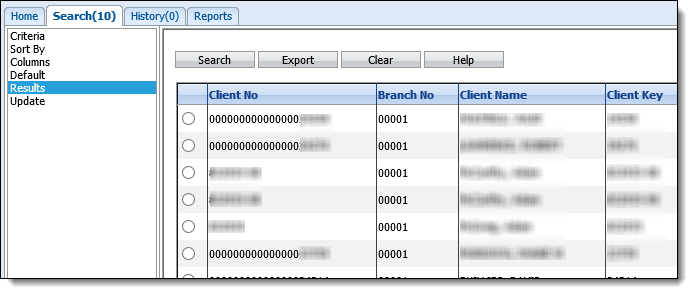
The results are displayed on the Results page.
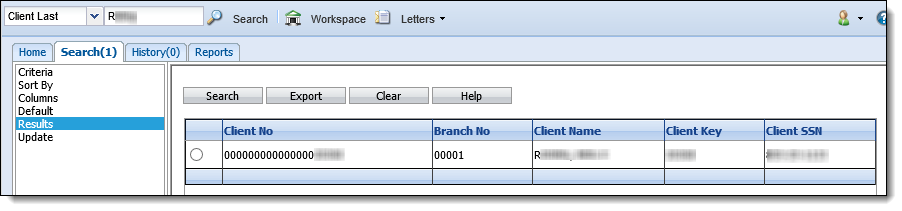
Select a result's radio button to open that account in the workspace.
|
If only one result is returned in any search, the account automatically opens in the workspace. |
Search Tab
Criteria
When the Search tab is selected, the Criteria page is displayed where search criteria is defined.

Build the criteria for the search using the fields defined below:
| Field | Description | ||
| Table | Select the category to be Client, Contact or Loan. These categories dictate what field selections are available. The Client category allows client-level fields, such as name and address, to be available. The Contact category allows contact-level fields, such as contact name and address, to be available. The Loan category allows loan-level fields, such as delinquency status and current balance, to be available. | ||
| Field | Select the desired field from the drop-down. The available values are displayed based on the chosen Table. For example, if Client is the Table, Loan fields such as Loan Type or Days Delinquent are not available in the Field drop-down. Only Client-related fields, such as Client Last or First Name, would be available. | ||
| NOT | Select this checkbox to use "NOT" in conjunction with the selected operator. | ||
| Operator |
Select the desired Operator (Less Than, More Than, Equal To, etc.). The available values are displayed based on the type of Field chosen. For example, Equal To is the only Operator value available for flag fields.
|
||
| Value | Select the Value for the field. The type of value (date, flag, character) that can be entered is based on the Field and Operator chosen. For example, a value of True or False are the only allowed values for flag fields. | ||
| Logical |
Select the Logical value.
|
|
Criteria for searches is defined the same way as criteria for Worklist Assignment. |
Repeat for as many lines of criteria as desired.
To delete a condition, click the checkbox next to the condition and click Delete.
When finished building criteria click Search. The results are displayed on the Results page. Click a result's radio button to open the account in the workspace.
|
Once in the workspace, the Previous and Next buttons can be used to work all of the search results in a queue format. |
If desired, click Export to export the results to Excel.
|
At least one Loan level search condition must be included in order for loan details to display on the Results page. For example, if the only search criteria is "Client Last Equal to SMITH," all of the clients with the last name Smith are displayed but none of their loans are displayed. If the search criteria is "Client Last Equal to SMITH AND Current Balance More Than 0," all of the loans each client has where the balance is greater than 0 are displayed. |
Complex Search Criteria
Create more sophisticated search criteria by using the Group condition. Grouping is useful if a user wants to perform a search in which several conditions must be true and one of several other conditions must also be true.
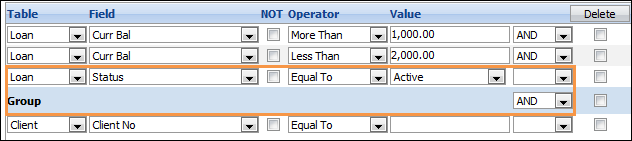
For example, a user wants to search for all active accounts with a balance between 1000.01 and 1999.99 that are delinquent or locked.
Correct Search Criteria
- Specify the balance restriction first by selecting Curr Bal More Than 1,000 and Curr Bal Less Than 2,000 and link these together with an AND. This means that both conditions must be met.
- Select AND from the Logical drop-down to add a third condition line.

- Specify the condition Status Equal to Active.
- Select GROUP from the Logical drop-down to add a blue Group line.
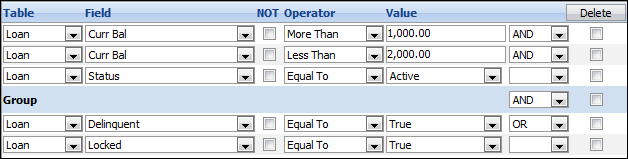
- On the Group line, select AND from the drop-down to add a new condition line.
- Select the Loan field Delinquent and specify that it must be equal to True.
- Select OR from the Logical drop-down to add the next condition line.

- Select the Loan field Locked and specify that it must also be equal to True.
- By linking the Delinquent and Locked conditions with an OR, it is required that one or the other of the conditions must be met.
- By adding the Group line, the loans that are returned by the search must meet the conditions of the search above the line PLUS they must also meet one of the conditions below the line.
- Click Search.
- The results are active loans with a balance between 1000 and 2000. They are also delinquent or locked. Inactive or Charged-off loans with balances between 1000 and 2000 are not included; nor are non-delinquent or unlocked loans.
Incorrect Search Conditions
- Enter the exact same search conditions as in the Correct Search Condition example above but without the GROUP line.
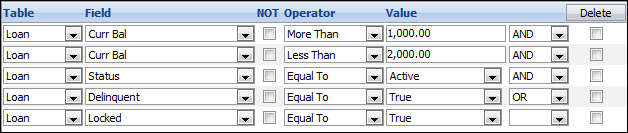
- Click Search.
- This would return more loans since the criteria includes loans that are Locked but the balances do not fall between 1000 and 2000 and loans that are not Active.
- The reason for this is that the search is asking for all loans that meet the first 4 conditions (i.e. the balance is between 1000 and 2000, that they are active and that they are delinquent) OR that the fifth condition is met (i.e. the loan is locked). The use of GROUP is very important in order to return the desired search results.
Sort By
By default, search results are displayed in increasing client number order, however a custom sort order can be defined. After criteria is defined, click Sort By. The Sort Order page is displayed.
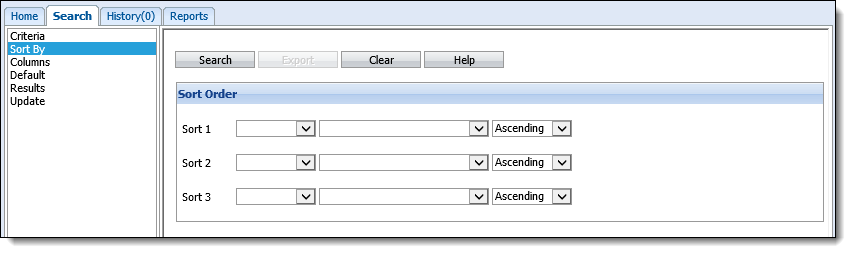
Select Client, Contact or Loan from the first drop-down next to Sort 1.
Select the field to sort by from the second drop-down. The fields in the second drop-down are displayed based on the selection in the first drop-down. For example, if Client is selected in the first drop-down, only client level fields are displayed for selection in the second drop-down.
Select the order to be Ascending or Descending from the third drop-down. For example, an alphabetical list by last name starting with A is Ascending order.

Repeat for Sort 2 and Sort 3, if desired.
Click Search to enable the Sort Order and display the results on the Results page.
Columns
If desired, the search output, or columns displayed on the Results page and in Excel, can be modified. Click Columns. The Columns page is displayed.
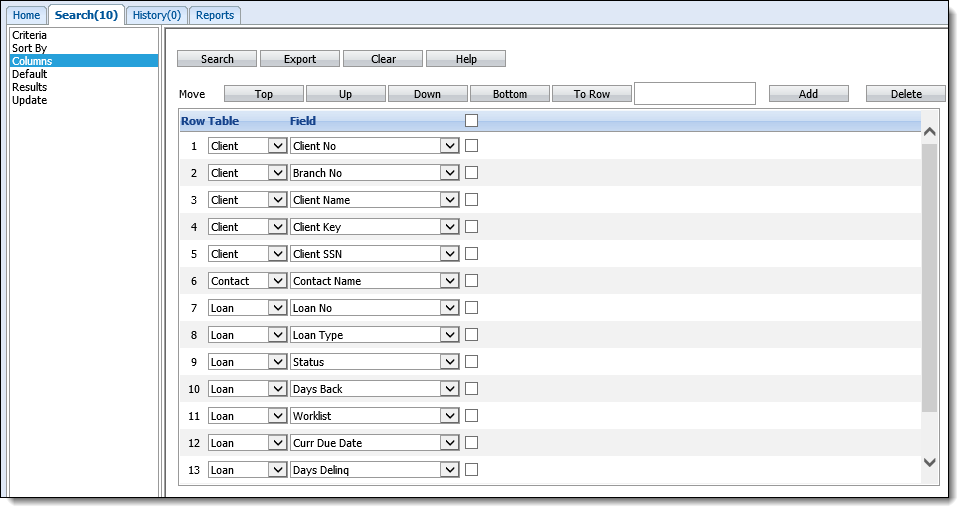
To edit an existing column, select Client, Contact or Loan from the Table drop-down. Then, select the field from the Field column.
The order in which columns are displayed in the output (left to right) is the order in which they are displayed on this page (top to bottom). To move a field in this list, click the checkbox next to the desired field and click the Up or Down buttons to move the field up or down one spot. Click Top or Bottom to move the field to the first or last place in the list. Enter a row number in the text box and click To Row to move the field to a specific row.
To add a new column, click the Add button. A new row is added to the bottom of the list.

Select the Table and the Field from the drop-downs and move the field to the desired location using the Up, Down, Top, Bottom or To Row buttons.
To delete a column, click the checkbox next to the desired field and click the Delete button.

When finished defining the Columns, click Search to enable the new output.
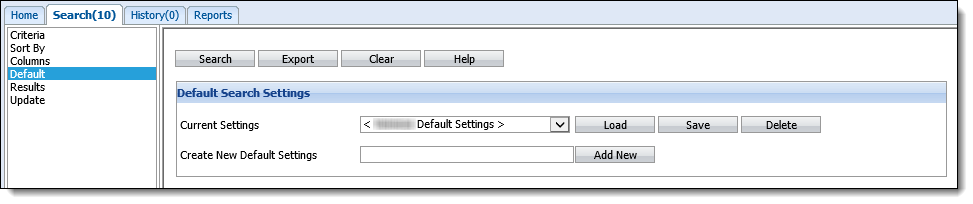
Default
To save the search options currently defined on the Criteria, Sort By and Columns pages for later use, click Default. The Default Search Settings page displays.
|
Each Elements user creates their own default searches. User A cannot see User B's default searches in the Current Settings drop-down. |
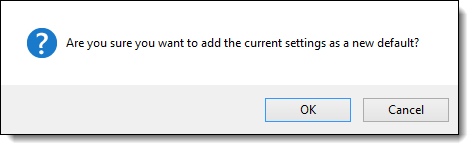
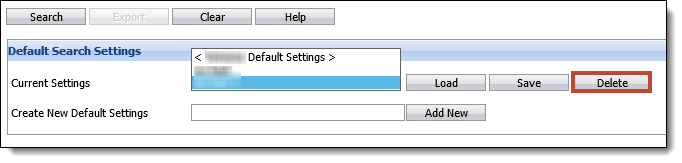
In the Create New Default Settings text box, enter a descriptive name for the settings and click Add New. A prompt appears confirming that the current settings should be saved as a default. Click OK. Click Cancel to cancel adding the current settings as a default.
The new default appears in the Current Settings drop-down.
To load a default, select a default from the Current Settings drop-down and click Load.
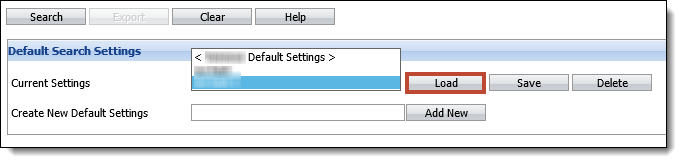
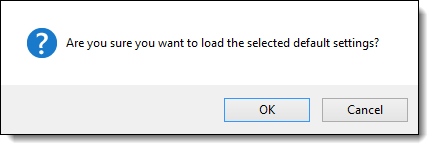
A prompt appears confirming that the selected settings should be loaded. Click OK to load or click Cancel to disregard loading the settings.
Once OK is selected, the criteria for that default search is loaded on the Criteria page. Click Search to search for accounts.
To delete a default search, select the search from the Current Settings drop-down and click Delete.
A prompt appears confirming that the default settings should be deleted. Click OK to proceed with the deletion or click Cancel to disregard the deletion.

Update
Once a search is performed, information for all of the search results can be updated at the same time. This prevents a user from having to open each search result one by one to update the same field. When results are displayed on the Results page, click Update to open the Update page. A list of possible fields to update is displayed.
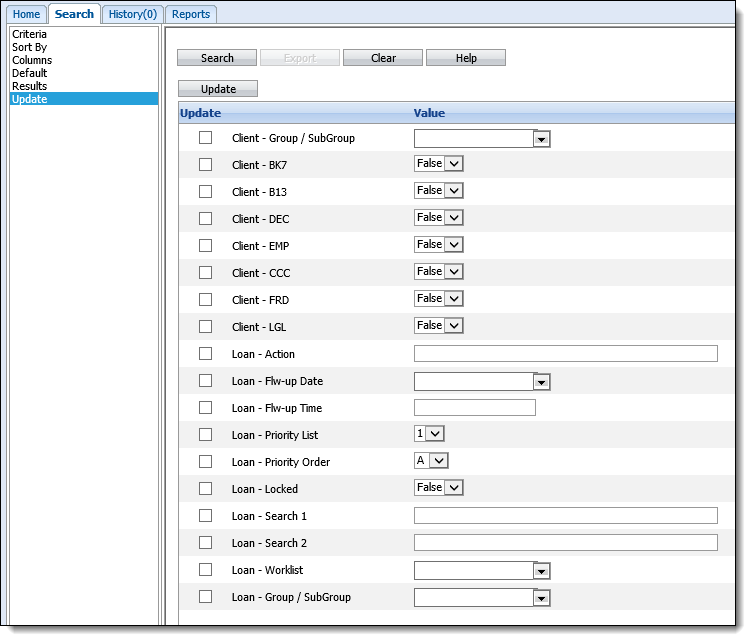
To update a field on all of the accounts on the Results page, click the checkbox next to the field and select or enter the desired value in the Value column. Click Update.
|
Only one table (Client or Loan) can be updated at a time. Multiple Client-level fields can be updated at the same time, but a second update is needed to modify Loan-level fields. |