The Create section of the Framework Ribbon Bar contains functionality that allows users to create new accounts or run a non-person workflow. This section explains how to use these two features.

Create Actions
Creating an Account
To create a new account in the Framework, click the Create drop-down within the Framework Ribbon Bar and select Create Account.

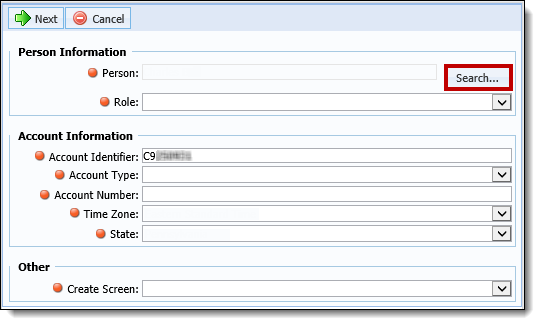
The Create Account window opens with the Set-up page displayed. Click Search to locate the person that the new account is to be created for using the Framework Search functionality.
Upon selecting Search, a Basic Search window opens. Enter the search criteria and click the Search icon in the results area.
 |
When creating an account, only a Person Search may be performed, therefore, the Accounts and Cases radio buttons do not appear. |
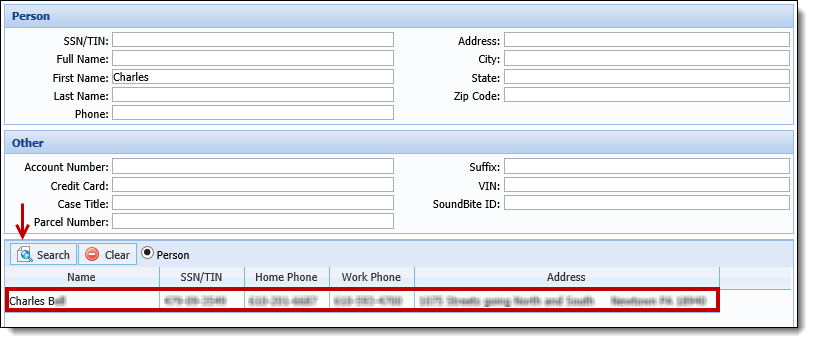
Double-click on a Search result to select the person for this account. For more information about Search functionality, click here.
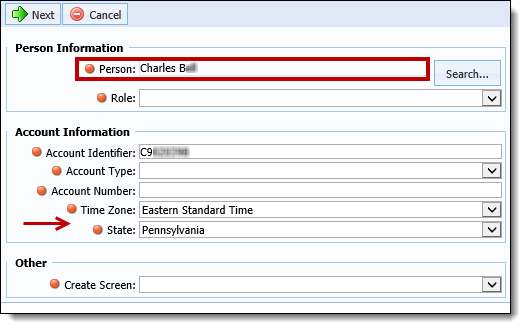
After an existing person is selected, the Person field populates with the person’s full name and the field becomes read-only.
|
The Time Zone and State fields within the Account Information section also populate with information using the postal code from the person’s default address. |
Identify the person’s role on the account using the Role drop-down.
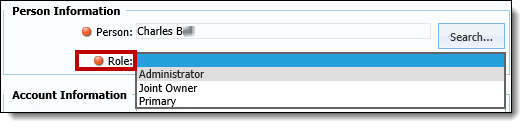
This drop-down contains the Primary roles configured by the system administrator in System Management > Role Types.
|
Roles with a defined Primary Priority can be viewed on the Primary tab of the Role Mappings page. To access this page, click Role Mappings on the Role Types Management screen.
For more information on Role Types, click here. |

The Account Identifier pre-populates with an auto-generated value, but is editable. If a value other than the one pre-populated is desired, enter a new value for the Account Identifier within this field.

|
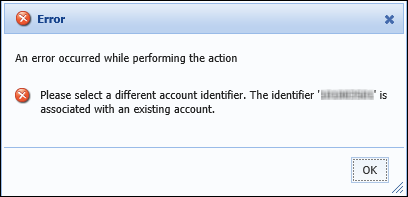
Upon clicking Next, the value of the Account Identifier is validated against existing accounts to ensure it is unique. If the Account Identifier already exists in the Framework, the following error is received:
|
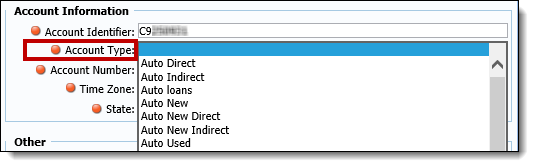
Identify the type of account being created in the Account Type drop-down. This drop-down contains the account types configured by system administrators in System Management > Account Types.
|
The screen identified in the Create Screen drop-down corresponds with the account type selected within this drop-down. |
The Account Number is an editable field and defaults to a blank value. Enter a number for the account in this field.

Identify the Time Zone and State in which the person on the account is located. As aforementioned, these fields pre-populate with information using the postal code from the person’s default home address when the person is located through a Search. The Time Zone and State fields can be modified, however, using the drop-downs that display.

|
The Contact start/end times for the account are determined using the Time Zone and State values defined within these drop-downs. |
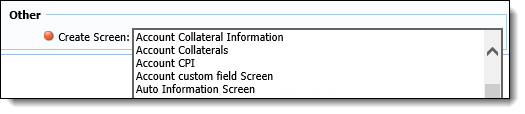
Select a screen from the Create Screen drop-down to enter information for the new account. This drop-down contains all user-defined Account screens mapped to the account type selected within the Account Information section. These screens are created by system administrators in System Management > Screens.
|
The screens available within this drop-down refresh as a new account type is selected. |
Once all fields are complete, click Next to enter the account information within the screen selected for this account.
Upon clicking Next, the Create screen opens:
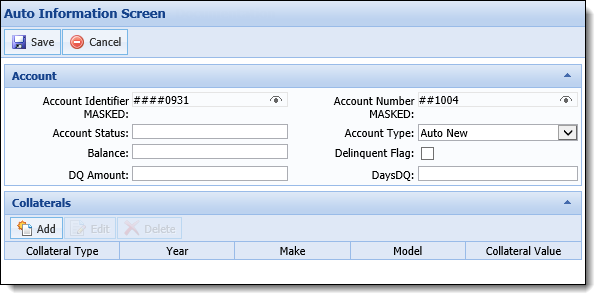
Enter information for the account within the fields that display.
|
When creating an account, the selected screen does not honor screen field restrictions. If a field is marked as read-only when the screen is created in System Management > Screens, it remains editable within the create screen despite that restriction. |
The fields configured to appear on this screen are defined when the screen is created by system administrators. If any of the fields from the Set-up page appear on the screen, the values defined on that page pre-populate when the create screen opens. For example, in the screenshot above, the selected screen includes the Account Type, Account Number and Account Identifier fields, therefore, the value defined within the those fields on the Set-up page are automatically displayed.
|
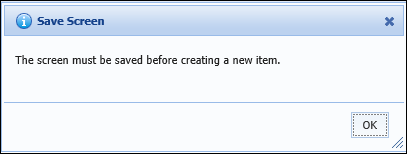
If the selected screen contains a grid panel, like the Collaterals panel in the screenshot above, then account information, such as collateral, cannot be added until the account is created. Clicking Add to open the Edit Screen for the panel displays the following message:
|
Once all fields are complete, click Save to save the new account. Select Cancel to return to the Framework without saving.
Upon clicking Save, a unique value for the Account Identifier is verified. As aforementioned, if the Account Identifier does not contain a unique value, an error message is received. If the Save is successful, the new account is created and a success message displays:
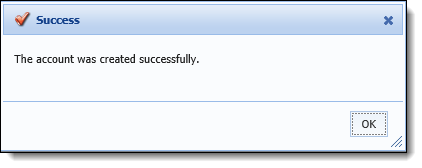
Click OK to close the success message and open the person workspace with the new account in context.
Run Non-Person Workflow
The Run Non-Person workflow feature allows users to run workflows in the Framework outside of an account. For example, institutions can build a non-person workflow that can be used for people who aren't yet account holders. It can be designed to include a screen that captures all of their information and then is sent to another department as a referral.
- Click the Create drop down.
- Select Run Non-Person Workflow.
- The Run Non-Person Workflow screen appears.
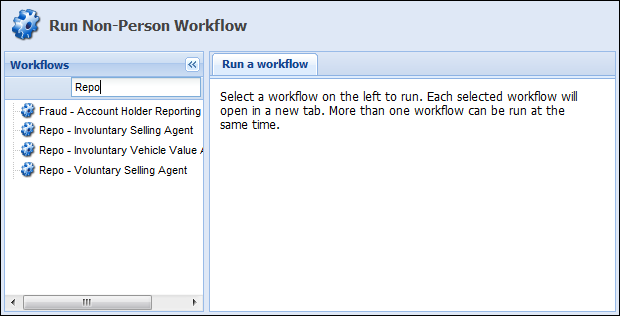
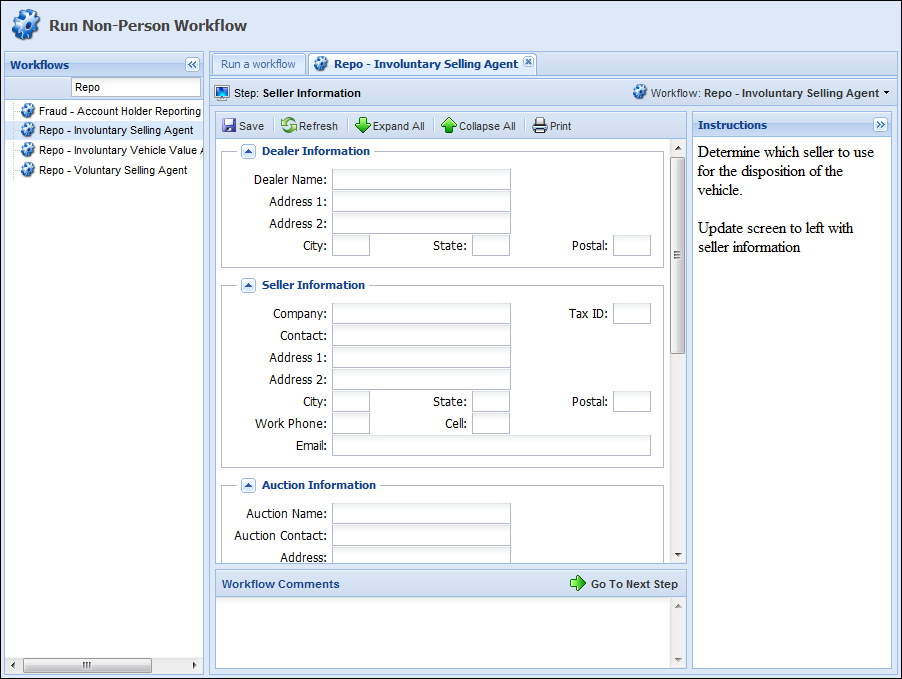
- Select a workflow on the left side to run. Each selected workflow opens in a new tab. More than one workflow can be run at the same time.
Only workflows with a Context of "None" are available in the Run Non-Person Workflow window.
|
Active non-person workflows cannot be cancelled from the front end of the system once they are exited. For assistance, please contact an Akcelerant Customer Care Representative. |