The Promises screen displays all promises made on any accounts related to the person in context. From this screen users can edit and cancel open promises. Promises are created via the Promise to Pay Workflow or by a third party connector.
 |
The ability to edit promise payments promise statuses is based on user permissions. |
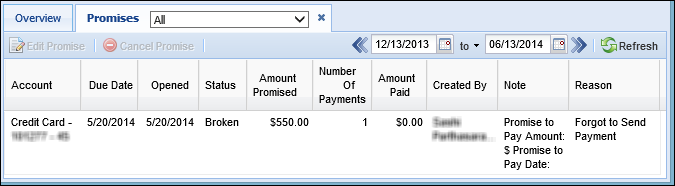
The following columns display on the promises screen:
| Column Name | Description |
| Account | Displays the account on which the promise exists. |
| Due Date | Displays the date the promise was to be fulfilled by. |
| Opened | Displays the date the promise was opened. |
| Status | Displays the status of the promise (Paid, Open, Cancelled, Broken). This is determined by looking at the payment amount in the Payment import file and is also used to determine a user's performance for performance reporting. |
| Amount Promised | Displays the amount committed to the promise. |
| Number of Payments | Displays the number of payments committed to with the promise |
| Amount Paid | Displays the amount paid. This value is populated based on the amount of the promise compared to the promise history to see if a payment has been received. |
| Created By | Displays the name of the user who received the promise. |
| Notes | Displays any comments left in the Workflow Comments textbox when the Promise To pay workflow step is executed. |
| Reason | Displays the reason the account holder provided for being delinquent. |
Filter Promises by Date
By default, the Promises screen displays all promises made within the last 30 days, however users are able to refine this table by modifying the date range. Use the date range function above the list area to filter the promises displayed on the screen by the date in which the promise was opened.

- Click the
 button to change the date range to the previous 30 days.
 - Click the
 button to change the date range to the next 30 days.
 - The Promises screen also contains a variety of pre-configured date ranges that are available from the To drop-down list.
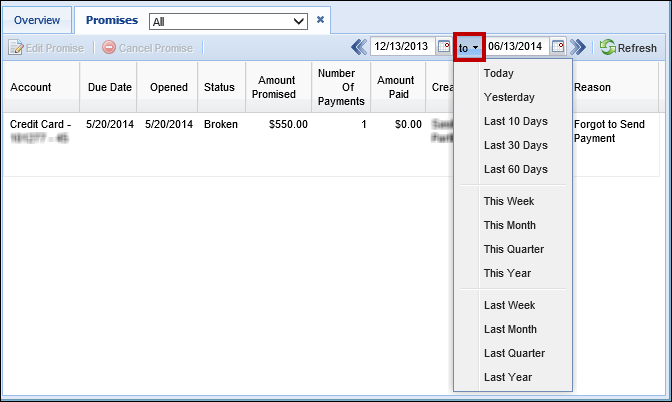
- Users may manually update the date range by updating the From/To dates. To manually update the From/To dates, enter the dates within the fields or use the associated calendar tools.

- Once the desired rate range is selected, click the Refresh button to update the list of promises.
Editing a Promise
In addition to displaying promises, users can edit promises, add payments, edit payments and remove payments from this screen.
Edit Promise
To edit a promise, highlight the desired promise and click Edit. The promise opens in a new window. The information displayed in the top panel is read-only and updates based on the payment details edited in the lower payment panel.
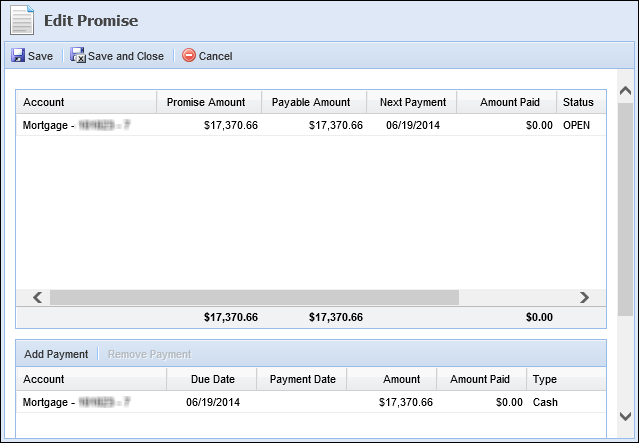
In the payment panel, users may add a new payment and edit or remove an open promise payment.
Add Payment
To add a payment click Add Payment.

The Add a Payment window opens. Identify the account, due date, amount and payment type. Click Create to add the payment.
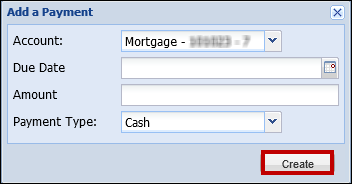
A new line appears in the Payment panel. Once added, users are able to edit the payment information.
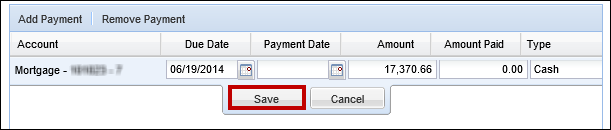
Edit Payment
To edit an existing payment, select the desired payment. Once selected, users are able to edit the payment information. Click Save when all payment information has been updated.
Remove Payment
To edit an existing payment, select the desired payment. Once selected, click Remove Payment. The payment deletes immediately.
|
At least one payment must exist on a promise. If a user attempts to remove the only payment on a promise, an error message is received.
|

|
If a user makes a change that exceeds the individual user's promise settings, a message appears stating that the promise requires approval. |
|
When a promise is edited within the screen, the adjustment of the next contact date is at the discretion of the administrator. The following are the configurable options that can be set:
|
Canceling a Promise
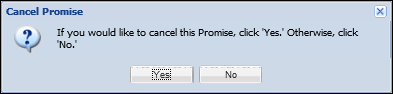
To cancel a promise, highlight the desired promise and click Cancel. A confirmation message appears. Click Yes to cancel the promise. Click No to retain the promise.
|
If the promise is “Cancelled” or “Broken,” the remaining promise payments are canceled or broken. If it is desired to add a new promise to pay, run the Promise to Pay workflow step again. |