Temenos Lifecycle Management Suite - Loan Origination Product Guide
Manual Decisions
| End-User Guide > Application Processing > Underwriting > Decision Processing > Manual Decisions |
If an application decision is unable to be reached by the automated decision process, users with the appropriate permissions are able to manually approve or decline an application, as well as issue a loan counteroffer.
Users are able to bypass the conventional automated decision process to render an approved decision by clicking  within the following locations in an application:
This button is only enabled for applications requiring a decision and when the User/Security Group is granted the appropriate permissions to approve an application.
 |
In addition to the application requiring a decision, in order for
|
When a loan application is submitted for approval, the Approve Loan screen appears upon clicking to provide the ability to manually Approve or Suggest Approval for the loan application.
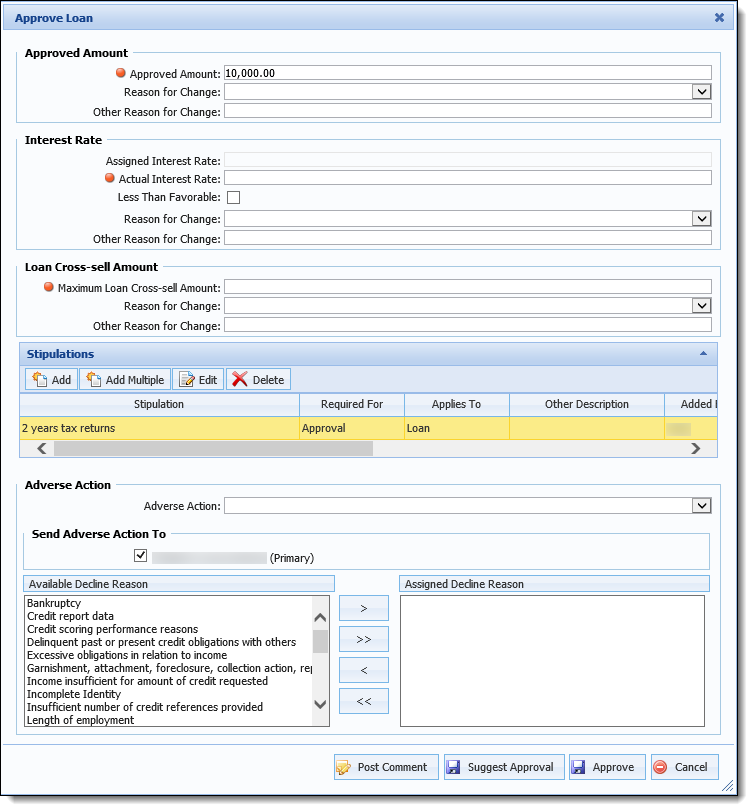
The following panels and fields are available in the Approve Loan screen for a user to input Approval criteria:
| Field Name | Description |
| Approved Amount |
Enter the Approve Amount of the current loan application. |
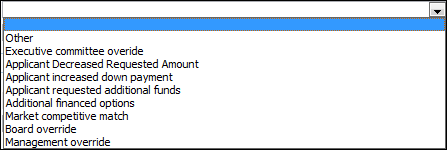
| Reason for Change |
Use the drop-down menu to select the Approval Reason.
|
| Other Reason for Change | If Other was selected in the previous field, enter a custom description to record the Approval Reason. |
| Field Name | Description | ||||
| Assigned Interest Rate | Read-Only field that populates the Interest Rate assigned by Pricing. | ||||
| Actual Interest Rate |
Enter the Actual Interest Rate used to approve the current application.
The Actual Interest Rate may be set manually or by Pricing Rules.
|
||||
| Less Than Favorable | Select the check box if the Actual Interest Rate was determined because the application was approved, despite less than favorable factors. | ||||
| Reason for Change |
Use the drop-down menu to select a reason for the change in the Interest Rate.
|
||||
| Other Reason for Change | If Other was selected in the previous field, enter a custom description to record the Reason for Change. |
| Field Name | Description |
| Maximum Loan Cross-sell Amount | Enter the total amount that the sum of all of an application’s new/replacement Cross-sell offers cannot exceed. |
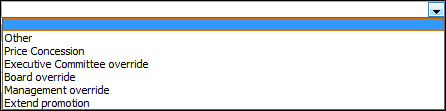
| Reason for Change |
Use the drop-down menu to select the appropriate reason the Maximum Loan Cross-sell Amount was changed.
|
| Other Reason for Change | If Other was selected in the previous field, enter a custom description to record the Reason for Change. |
The Stipulations section of the Approve Loan screen displays any stipulations previously added to the application and provides users with the ability to add new stipulations during the manual loan approval process.
 |
The Stipulations grid is displayed within the Approve Loan screen when the Include Stipulations on Approval Window solution parameter is set to Yes in System Management > Solutions > Origination > Underwriting. |
|
When the Stipulations grid is configured to display within the Approve Loan screen, the screen may take additional time to render due to the amount of stipulation data presented within the screen. |
|
The Stipulations section provides the same functionality as the Stipulations panel. Please see the Stipulations Panel topic of this guide for information on the fields displayed within the grid as well as instructions for adding, editing, and deleting stipulations. |
| Field Name | Description |
| Adverse Action |
Use the drop-down menu to select the appropriate Adverse Action/Decline decision when issuing a Counteroffer.
|
| Send Adverse Action To | Select the check box that corresponds with the appropriate Adverse Action notification recipient(s). |
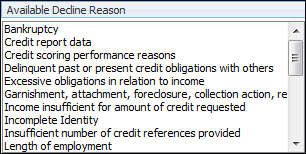
| Available Decline Reason |
Use the Available Decline Reason and the Criteria Builder to select the reason(s) for decline.
|
Once all applicable fields are complete, click one of the following options located at the bottom of the screen:
| Button | Description |
 |
Allows a user to add a comment related to the approval. Clicking opens the Post Comment window where users can indicate whether or not the comment is internal-only as well as enter any comment text. Upon saving the comment, the comment is displayed within the Comment History screen and in the Comments tab of the application workspace. |
 |
Allows a user to suggest the decision of Approve prior to the current application being reviewed by a Senior Loan Officer. |
 |
Allows a user with the appropriate permissions to Approve the current application. |
 |
Allows a user to leave the screen without issuing a decision. |
|
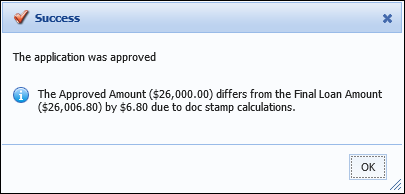
When the approved amount is outside of the approval tolerance set by the system administrator, a message is received upon clicking
|
Upon clicking , the following occurs:
After the loan application is manually approved, the application Decision is set to LO Approved.
|
If the Decisioned By and Decision Date fields are configured to appear within an Application screen, the name of the user who decisioned the loan and the date that the loan was decisioned populate within those fields. |
Users are able to bypass the conventional automated decision process to render a declined decision by clicking  within the following locations in an application:
This button is only enabled for applications requiring a decision and when the User/Security Group is granted the appropriate permissions to approve an application.
|
In addition to the application requiring a decision, in order for
|
When a loan application is submitted for declination, the Decline Loan screen appears in the workspace. This screen provides the ability to manually Decline or Suggest Decline the current loan application.
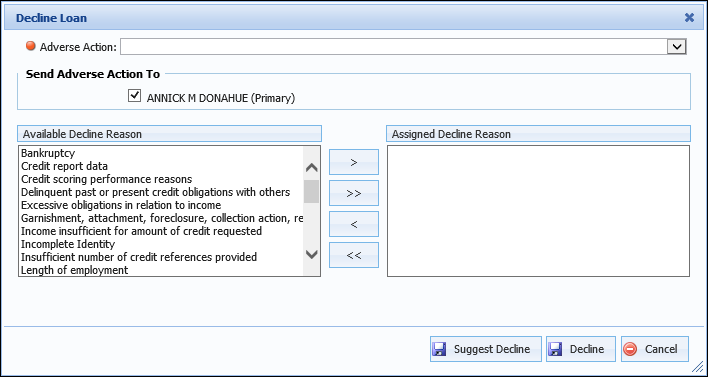
The following fields are available in the Decline Loan screen for a user to input Decline criteria:
| Field Name | Description | ||
| Adverse Action |
Use the drop down menu to select the appropriate Adverse Action/Decline decision when declining the current application.
|
||
| Send Adverse Action To | Select the check box that corresponds with the appropriate Adverse Action notification recipient(s). | ||
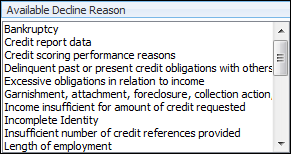
| Available Decline Reason |
Highlight an option within the list to identify the reason the loan is being declined and use the arrows to move the reason to the Assigned Reasons box.
|
||
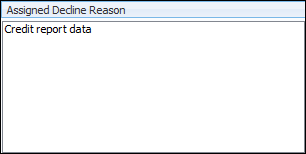
| Assigned Decline Reason |
Displays the Decline Reason assigned to the application.
|
Once all applicable fields have been completed, the user has two options at the bottom of the screen:
| Button | Description |
 |
Allows a user to suggest the decision of Decline prior to the current application being reviewed by a Senior Loan Officer. Clicking Suggest Decline does the following actions:
|
 |
Allows a user with the appropriate permissions to Decline the current application. Clicking Decline does the following actions:
|
 |
Allows a user to leave the screen without issuing a decision |
Once  or is clicked, a success message appears to confirm the loan was declined.

 Approved Amount