
Temenos Lifecycle Management Suite - Loan Origination Product Guide
How to Configure Merchant Lending within the Lifecycle Management Suite
| Administrator Guide > Virtual Capture Overview > How to Configure Merchant Lending within the Lifecycle Management Suite |
Configuring Merchant Lending (Vendor Portal) can be completed in the following four simple steps from within System Management of the Lifecycle Management Suite:
System administrators can control the loan products that are available for use by a vendor within the Vendor Portal in System Management > Origination > Virtual Capture > Virtual Capture Settings.
 .
. .
.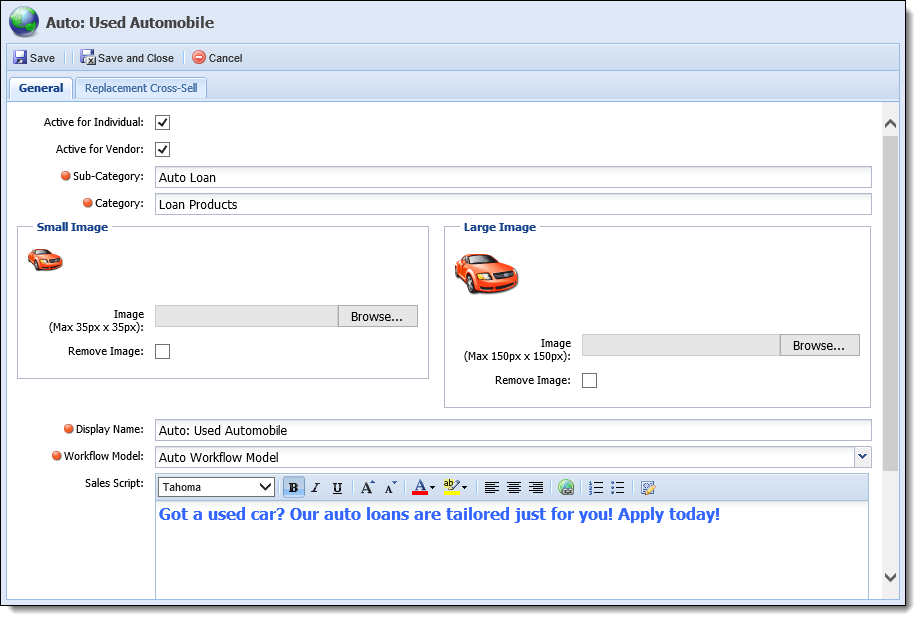
For more information on configuring products for use in Virtual Capture and the Vendor Portal, please see the Virtual Capture Settings topic of the Lifecycle Management Suite Administrator Guide.
To provide a vendor with the ability to use the Virtual Capture Vendor Portal to create and submit applications for their customers, access to the portal must be granted for each desired vendor within System Management > Origination > Loan > Vendor Management.
 .
.
The loan application types that appear within the Available box are populated based on the Active for Vendor setting on the Product Selection tab in Virtual Capture Settings.
3. Click .
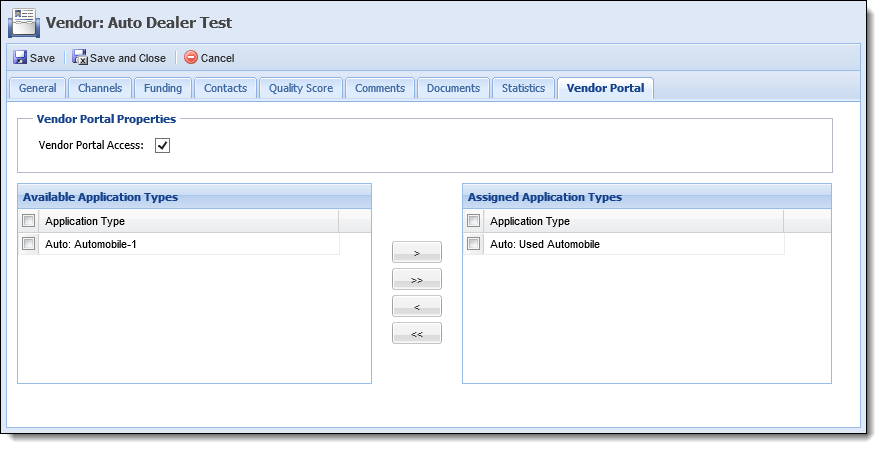
For more information on the Vendor Portal tab, please see the Vendor Management topic of the Lifecycle Management Suite Administrator Guide.
In addition to granting access to the Vendor Portal at the vendor level, access must be granted and credentials must be defined for individual contacts at the vendor within System Management > Origination > Loan > Vendor Management.
...
For more information on enabling the Vendor Portal for individual vendor contacts, please see the Vendor Management topic of the Lifecycle Management Suite Administrator Guide.
System administrators have the ability to customize the look and feel and the login properties of the Vendor Portal within System Management > Origination > Virtual Capture > Virtual Capture Settings.
 |
General and login settings are applied to the Vendor Portal as a whole and cannot be tailored to individual vendors. |
.
For more information on the fields within the Vendor Portal General and Vendor Portal Login tabs, please see the Virtual Capture Settings topic of the Lifecycle Management Suite Administrator Guide.