The Contacts page is accessed by clicking Contact Management within the Name drop-down in the Navigation Bar. This page provides vendors the ability to view and manage their contacts within their vendor instance.
 |
The Contact Management option only displays in Vendor instances, for vendor contacts with the Contact Management rights. For more information on this vendor contact permission, please see the Contacts section within the Vendor Management topic or the Edit Contact section within this topic. |
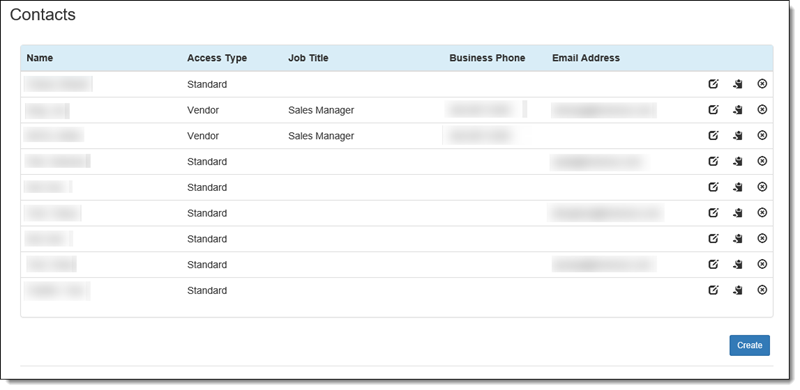
Within Contact Manager, users with the appropriate permissions are able to maintain a Vendor's contacts. From the list of contacts, users are able to perform the following actions:
|
For more information on these actions, please see the Actions section within this topic. |
Edit Contact Screen
The Edit Contact screen is accessed by clicking  ,
,  , or
, or  on the Contacts page.
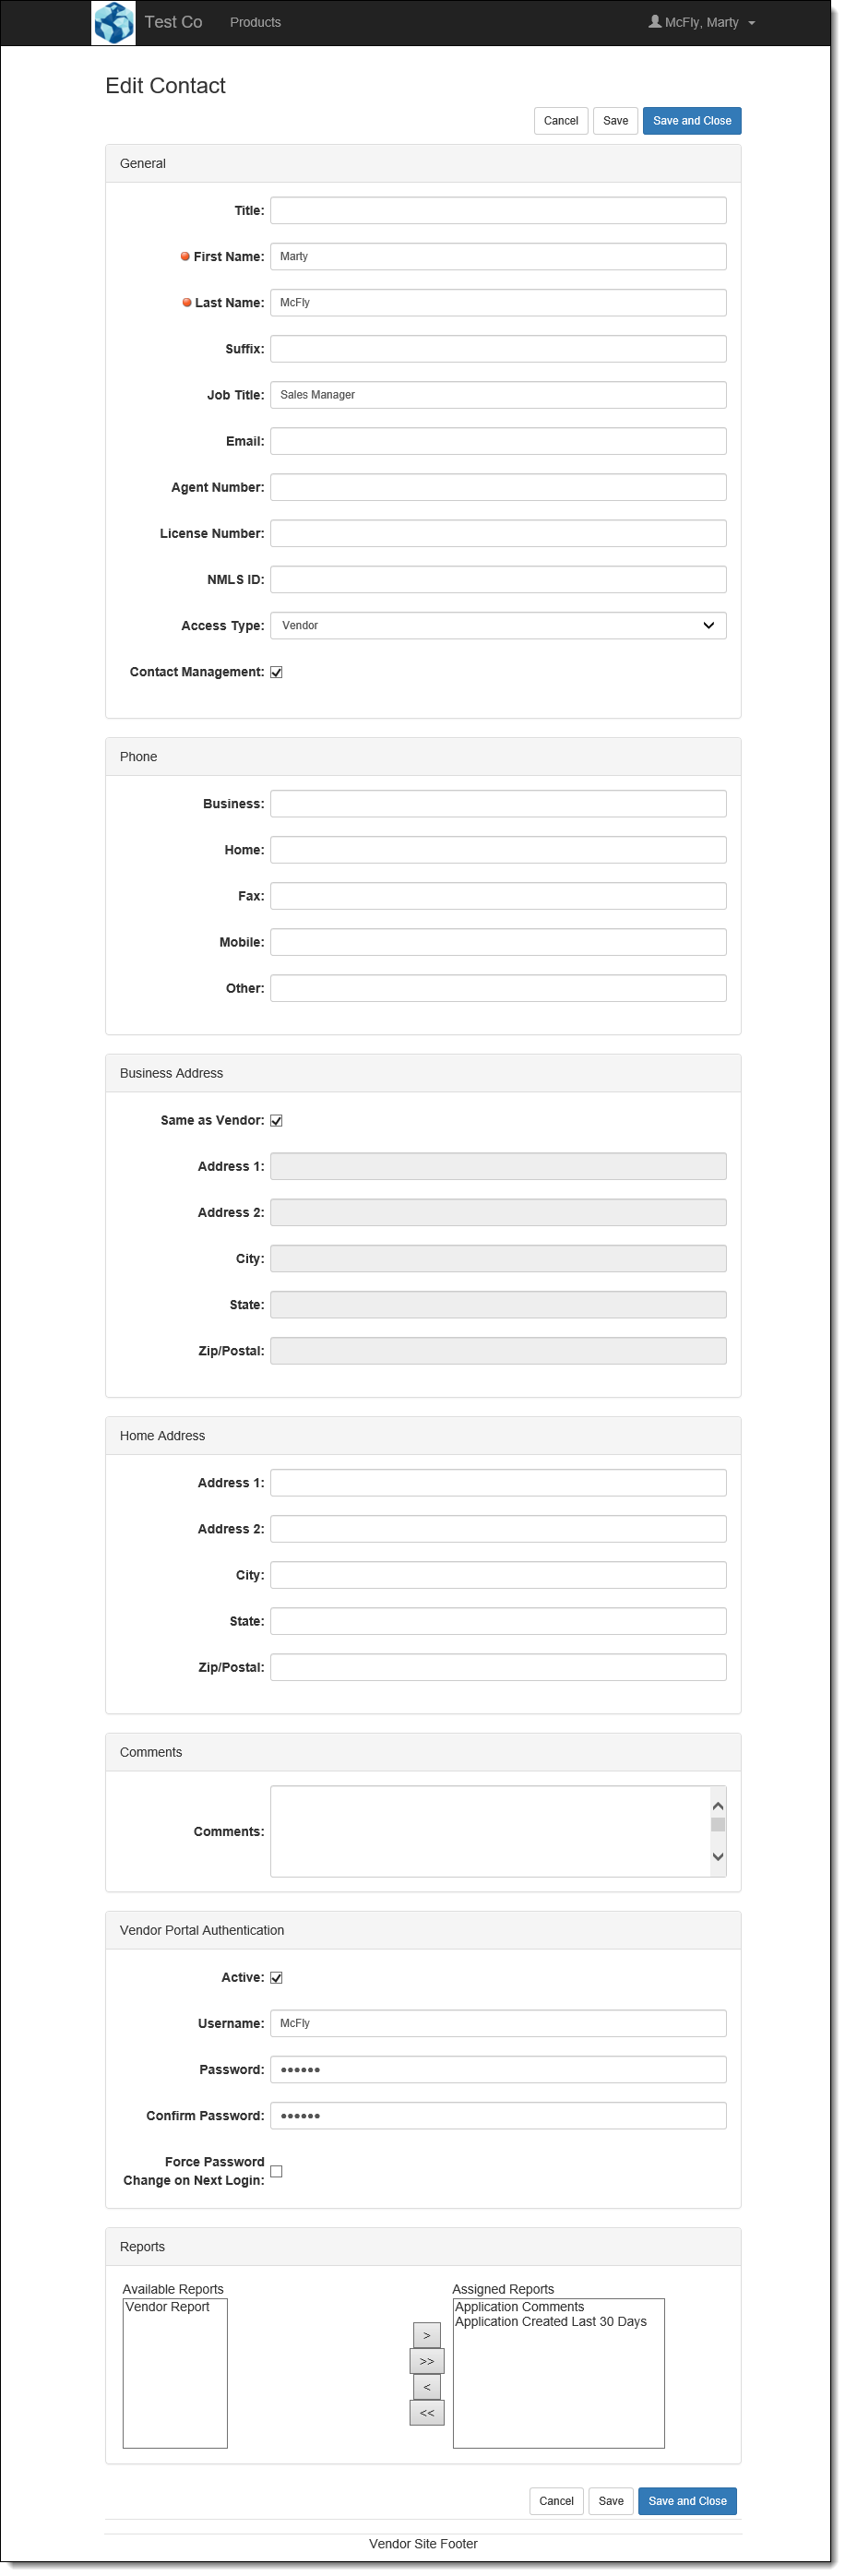
This screen provides vendors the ability to add or edit the following vendor contact attributes:
| Attribute |
Description |
| General |
The general contact information includes the following fields:
| Field |
Description |
| Title |
Provide a title for the contact. |
| First Name |
Provide the first name of the contact. This is a required field. |
| Last Name |
Provide the last name of the contact. This is a required field. |
| Suffix |
Provide a suffix in the name of the contact. |
| Job Title |
Provide a job title for the contact. |
| Email |
Provide an email address for the contact. |
| Agent Number |
Provide an agent number for the contact. |
| License Number |
Provide a license number for the contact. |
| NMLS ID |
Provide an NMLS ID for the contact. |
| Access Type |
Use the drop-down list to select the contact's access level for the Vendor Portal. This drop-down contains the following options:
|
By default, the Access Type is set to Standard. |
| Option |
Description |
| Limited |
Restricted access that allows the contact to only access an application once. After exiting an application session, the contact cannot return. |
| Standard |
Allows the contact to submit and return to applications he or she submitted. |
| Vendor |
Allows the contact access to all applications submitted by the vendor, and provides the ability to switch the vendor assigned to the application. |
 |
If desired, the Vendor Signer Contact field can be added to a Virtual Capture screen to determine the contact who receives a DocuSign envelope. This field is a lookup field that allows vendor applicants to select from list of all contacts who are assigned Standard or Vendor access for the vendor. For more information, please see the section titled Vendor Signer Contact for a DocuSign Envelope in the Configuring the Connector topic of the DocuSign connector guide. |
 |
If a shared terminal is used to access the Vendor Portal, it is advised that institutions do not store credentials in the browser's cookies to mitigate the risk of a standard or limited user logging in with a vendors credentials. |
|
| Contact Management |
This parameter determines whether the contact has access to contact management for the vendor. If the check box is selected, the contact is able to access Contact Management in the Vendor Portal. If this check box is not selected, the contact is unable to access Contact Management. |
|
| Phone |
Provide any or all of the contact's Business, Home, Fax, Mobile, and Other numbers. |
| Business Address |
Provide a business address for the contact.
|
Users are able to select the Same as Vendor check box to recycle the vendor's address as the contact's address. |
|
| Home Address |
Provide a home address for the contact. |
| Other Address |
Provide any other address for the contact. |
| Comments |
Provide comments for the contact. |
| Vendor Portal Authentication |
The Vendor Portal Authentication section provides the ability to grant each contact at a vendor access to the vendor instances of Virtual Capture. Within this section, administrators are able to define the credentials for a contact to use to create and submit applications for a customer through a vendor instance of Virtual Capture This section includes the following attributes:
| Field |
Description |
| Active |
Select this check box to activate the contact's ability to access vendor instances of Virtual Capture. |
| Username |
Enter a username for the contact. The contact is required to enter this username while logging in to a vendor instance of Virtual Capture.
|
The username for each contact must be unique across all vendors; therefore, if the value entered for the username matches that of another vendor contact, an error is received when trying to save the contact. Additionally, when the Active check box is selected within the Vendor Portal Authentication section, the username must contain a value, or an error is received upon saving the contact details. |
|
| Password |
Enter a password for the contact. The contact is required to enter this password while logging in to a vendor instance of Virtual Capture. |
| Confirm Password |
Re-enter the contact's password. |
| Force Password Change On Next Login |
Select this check box to require the contact's password to be changed the next time he or she logs in to a vendor instance of Virtual Capture.
|
This check box is automatically cleared after the contact changes his or her password during the vendor log in process. |
|
|
| Reports |
Use the two-box control to determine which Vendor Portal Reports are available to a contact within the Vendor Portal. The contact has access to all assigned reports within the Vendor Portal Reports page.
|
The available reports are limited to those assigned in the Vendor Portal Reports tab in Vendor Management |
|
Actions
Within the Contacts screen, vendors are able to perform the following actions:
Creating Vendor Contacts
To create a vendor contact:
- Click Create. The Edit Contact screen opens.
- Enter information into each applicable field in the Edit Contact screen.
- Assign the applicable reports.
- Click Save or Save and Close to retain the contact information.
Editing Vendor Contacts
To edit a vendor contact:
- Select the desired vendor contact from the list of contacts.
- Click
 . The Edit Contact screen opens.
- Update the applicable field in the Edit Contact screen.
- Assign the applicable reports.
- Click Save or Save and Close to retain the updated contact information.
Copying Vendor Contacts
To copy a vendor contact:
- Select the desired vendor contact from the list of contacts.
- Click
 . The Edit Contact screen opens.
- Update the existing contact's information to reflect the new contact's information in the Edit Contact screen.
- Assign the applicable reports.
- Click Save or Save and Close to retain the updated contact information.
Deleting Vendor Contacts
To delete a vendor contact:
- Select the desired vendor contact from the list of contacts.
- Click
 .
.
- Confirm the contact's deletion.

