From System Management, select Collection > Worklists from the Worklist/Queues Group on the Configure tab. A list of the worklists configured in the system is displayed.
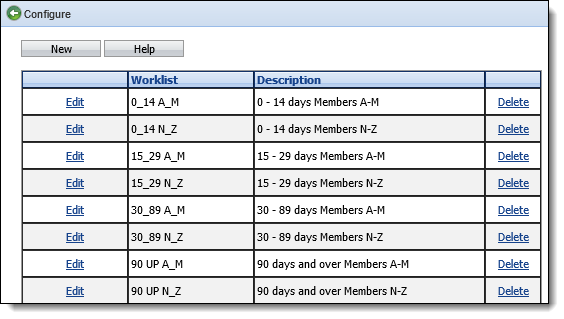
From this page users can create, edit or delete a worklist. Access to this section is controlled by Security Profiles.
Create a New Worklist
- Click New.
- Enter a unique worklist name. The name could reflect the number of days delinquent and last initial of a client (e.g. "30_60 days A-M") or some characteristic of the clients who will be placed in the worklist (e.g. "Bankrupt" for clients filed for bankruptcy). The worklist name field is an alphanumeric field of 10 characters. All letters are automatically capitalized.
- Enter a description of the worklist (e.g. "30-60 Days A-M" or "Bankrupt"). The description field is an alphanumeric field of 40 characters.

- Click the Save link to save the new worklist or click Cancel to cancel the new worklist.
Edit a Worklist
- Click the Edit link next to the Worklist to edit. Only the worklist description can be changed.

- Click the Save link to save the changes or click Cancel to cancel the changes.
Delete a Worklist
- Click the Delete link next to the worklist to delete.

- If there are no loans or users linked to the selected worklist, the worklist is deleted immediately.
- If there are loans and/or users linked to the selected worklist, a prompt appears requesting the user to select a different worklist to house the existing loans. Select another worklist and click Delete to continue or click Cancel to cancel the deletion. If you choose to delete the worklist, all users/loans linked to this worklist are reassigned to the new one that was just selected.