One or more checklists can be linked to an individual client record. Checklists can also be linked to an individual loan. The purpose of the checklist determines whether it is appropriate to link it to a loan. For example, a bankruptcy affects all of a client's loans so a bankruptcy checklist should not be linked to a specific loan. However, a vehicle repossession checklist should be linked to a specific vehicle loan.
From the Checklists tab on the workspace, users can create a new checklist and lookup a checklist, as well as unlink and re-link a checklist.
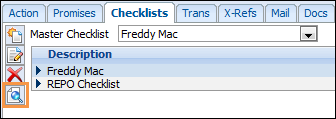
Add a New Checklist
- To link the checklist to a loan, select the loan in the Loan Grid on the workspace.
- Click the Checklists tab.
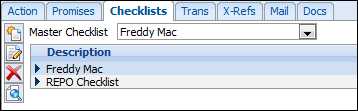
- If filtering the display by loan, checklists for the client that are not linked to any loan, plus all checklists linked to the selected loan are displayed on the Checklists tab.
- If not filtering the display by loan, all checklists are displayed on the Checklists tab, regardless of which loan they are linked to.
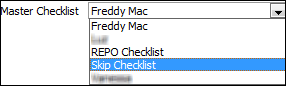
- Select the Master Checklist from the Master Checklist drop-down to link a checklist to the client/loan.
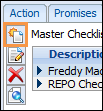
- Click the New Checklist button to add the selected checklist.
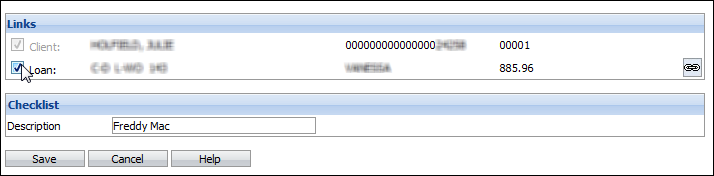
- By default, the checklist is linked to the highlighted loan.
- If the checklist should not be linked to the loan, clear the checkbox next to the loan number in the Links section of the Checklist Maintenance form.
Re-Link a Checklist
To re-link a checklist to a different loan:
- Select the loan in the Loan Grid on the workspace.
- If selected, remove the Filter by Loan option.
- Select the Checklists tab.
- Select the Checklist to re-link.
- Click the Edit Checklist button on the Checklists tab.
- Click the Link button
 to link the checklist to the current loan.

- Click Save.
Unlink a Checklist
To remove the link between the checklist and the loan:
- If selected, remove the Filter by Loan option. This is the checkbox below the Loan Grid on the workspace.
- Select the Checklists tab.
- Select the Checklist to unlink.
- Click the Edit Checklist button.

-
Clear the checkmark next to the loan number in the Links section of the form.

- Click Save.
Working a Checklist
Once a checklist is linked to a client or loan, it can be used as the basis of collection activities. It serves both to remind the user of things that need to do and also provides a framework for recording when they were completed.
- Select the loan that is linked to the checklist, if appropriate.
- Click to highlight the desired checklist.
- Click the Look-up Checklist button.
- Click to select the Step to flag as complete.

- Click the Yes button to indicate the step was completed by the logged in user. The User ID and the date are recorded in the Tagged by and Tag Date fields to indicate the step is complete. Click the No button to indicate that the step was not completed. Click the N/A (not applicable) button to indicate the step is not applicable to complete for the client/loan.

- Click the Clear button to clear name and date data for the step.
- To enter a note related to the selected step, click the Edit Text link to the right of the step. Enter the relevant information and click Save.

- Repeat for as many Steps as required.
- Once finished click Save to return to the Workspace.