Users may choose to print all of the letters generated on accounts they have worked on at one time, instead of having to go to the printer each time a letter is generated on an account. When generating a letter on an account, there is a Print Now and a Print Later option. If Print Later is selected, the letters are sent to Delayed Letter Printing.
To access Delayed Letter Printing to print the letters sent to the delayed queue, from the Collection Desktop toolbar select Letters > Delayed Letter Printing.
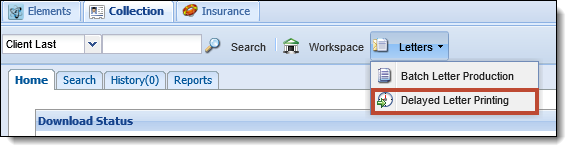
Printing Letters in Delayed Letter Printing
The Delayed Letter Printing window is displayed containing a filter and a list of the letters in the Delayed Letter Printing queue.
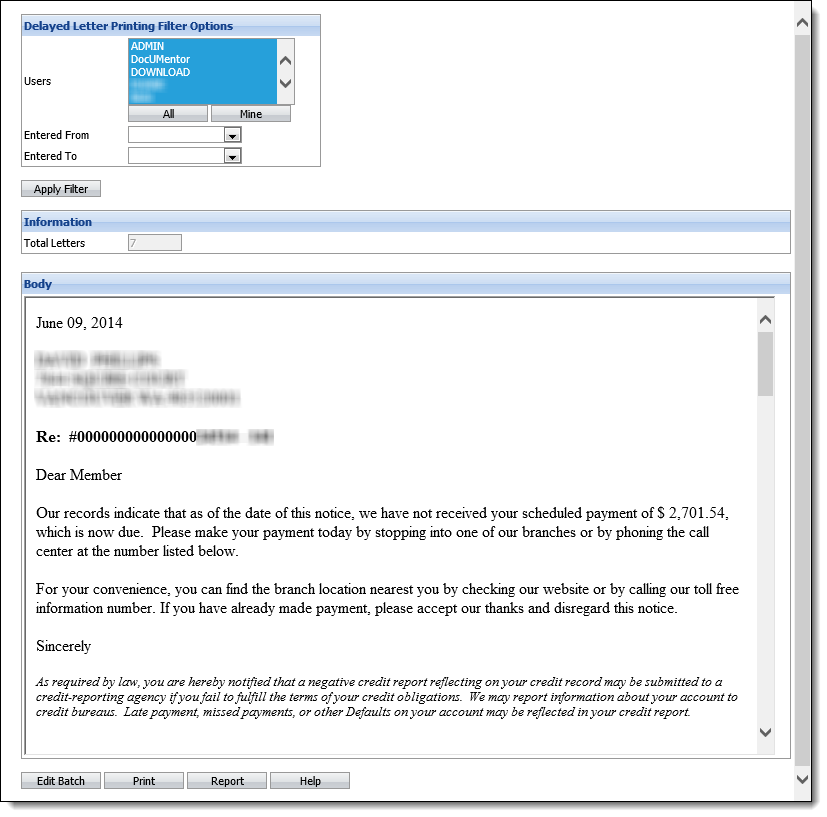
In the Filter section, define the letters to be displayed for printing using the following fields.
| Field | Description | ||
| Users |
Click to highlight the users whose letters should be displayed for printing.
|
||
| All | Click to select all users displayed in the Users box. | ||
| Mine | Click to select the logged in user in the Users box. | ||
| Entered From | Select the start date of the date range from the calendar drop-down. Letters requested before this date will not display for printing. | ||
| Entered To | Select the end date of the date range from the calendar drop-down. Letters requested after this date will not display for printing. |
 |
If the Entered From and Entered To date fields are blank, all letters can be printed. |
When finished defining the filters, click Apply Filter. The Information section displays the number of letters that can be printed.

|
If the number of letters exceeds 50, the queue is broken into groups of 50 and are displayed next to the total count as links (i.e. 1-50, 51-100, etc.). Click on the links to navigate between the groups. |
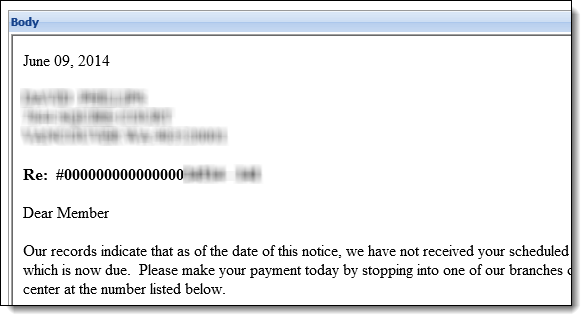
The Body section of the Delayed Letter Printing window updates to display the content of all letters that meet the filter criteria to be printed. The content cannot be changed from this window.
Click Print.
|
Before printing letters, remove the automatic headers and footers that display in pages printed from Internet Explorer. If not removed, the footer displays the URL of the institution's Elements. |
|
If letters are printed onto letterhead, ensure the appropriate letterhead is loaded into the printer before printing. |
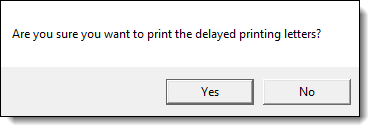
A prompt appears to confirm that the delayed printing letters should be printed. Click Yes to print the letters. Click No to disregard the printing.
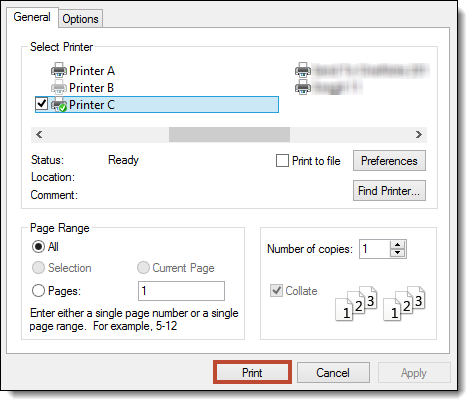
The Windows Print dialog box displays. Make any changes to the printer settings, if necessary, then click Print.
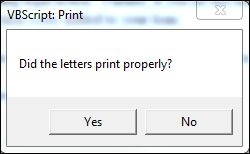
A prompt appears asking if the letters printed properly. Click Yes if the letters printed properly. Click No if the letters did not print properly.
|
If an automatic follow-up note was specified for the printed mail templates and Yes was selected at the previous prompt, a follow-up note is added to each client that received a letter. If the letter contained loan information, the follow-up note is linked to the appropriate loan. If the client received multiple letters, one follow-up note is added for each letter printed. |
When all letters have been printed, click the X at the top right corner of the Delayed Letter Printing window to close.
On the Mail tab of an account whose letter was printed, it can be identified whether or not the letter printed. Prior to printing, a printer icon displays next to a letter. After printing, the printer icon is replaced with the printed ( ) icon.

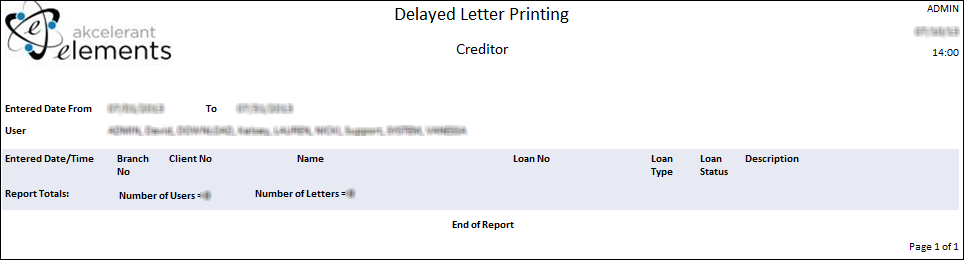
Delayed Letter Printing Report
Click the Report button on the Delayed Letter Printing window to access the Delayed Letter Printing report. This report lists all clients for whom the letters will be printed. The report lists the user that requested the letter, request date, client number, client name, loan number, loan type and status and the name of the letter that was requested. This provides administrators with a record of what is printed.