New reports can be created to view information about accounts in the Framework, Cases, Persons, Promises, Payments, End User performance and workflows. Reports can run and managed from the Work section in the Framework Ribbon Bar.
Clicking  in the Ribbon bar opens the Reports page. From this page, administrators are able to create, copy, edit and delete reports.

 |
The Design button is only enabled for Advanced Report building. For more information on this feature, contact an Akcelerant Account Manager and/or refer to the Advanced Report Builder section within this guide. |
Report Attributes
All reports share common attributes that are defined when creating, copying and editing a report.
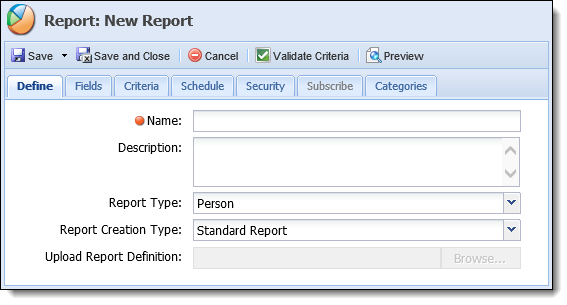
Define
Within the Define tab, enter the general information for the report.
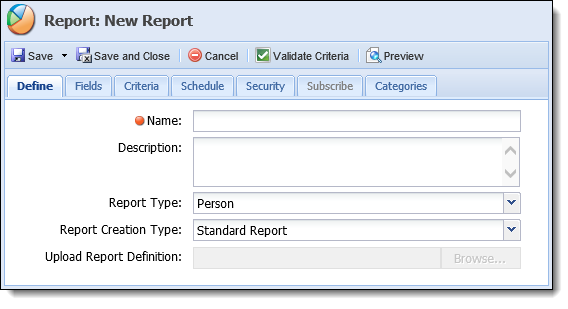
The following attributes are defined within this tab:
| Attribute | Description | ||||||||||||||||
| Name | Enter a name for the report. This is a required field. | ||||||||||||||||
| Description | If necessary, enter a description for the new report. | ||||||||||||||||
| Report Type |
Select a Report Type from the drop-down. This determines what fields are included within the report data. The following report types are available for selection:
|
||||||||||||||||
| Report Creation Type |
Select the Report Creation Type from the drop-down. The following options are available:
|
||||||||||||||||
| Upload Report Definition | Click Browse to upload a saved RDL file. This field is only enabled for Pre-defined reports. |
Fields
|
The Fields tab is only enabled when a Standard Report is being created. |
Field attributes enable administrators to select the fields that display in the report. The order that the fields are listed in this tab determines the order in which they appear within the report.
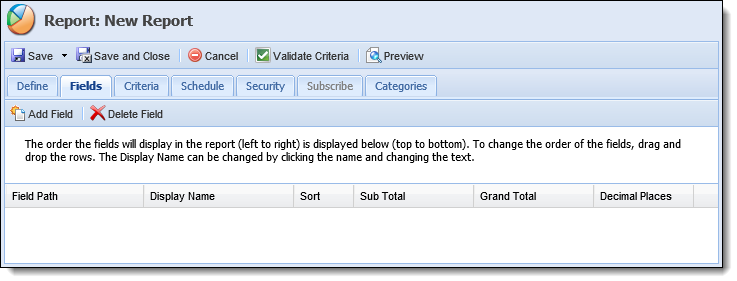
The Fields tab displays the following columns of information about each field:
| Column Name | Description | ||
| Field Path | Displays the path of the field in the database. | ||
| Display Name | The name of the field as it appears in the report. Users can change the name by clicking within the column. | ||
| Sort | Defines how the field data is displayed. Clicking within the column opens a drop-down in which the user can select None, Ascending or Descending. | ||
| Sub Total |
Performs calculations at a group level. Clicking within this column opens a drop-down including the following options:
|
||
| Grand Total |
Performs a total calculation for all records in the report according to the calculation type selected. Clicking within this column opens a drop-down including the following options:
|
||
| Decimal Places | Defines the number of decimal places. This column is used for interest rates only. |
Criteria
|
The Criteria tab is only enabled when a Standard Report is being created. |
Within the Criteria tab, use the criteria builder to specify what data is included in the report.
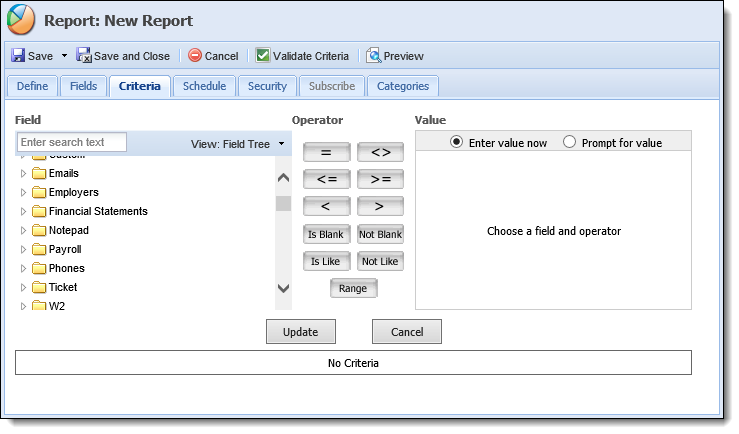
For more information on the Criteria Builder, see the Criteria Builder Help topic within this guide.
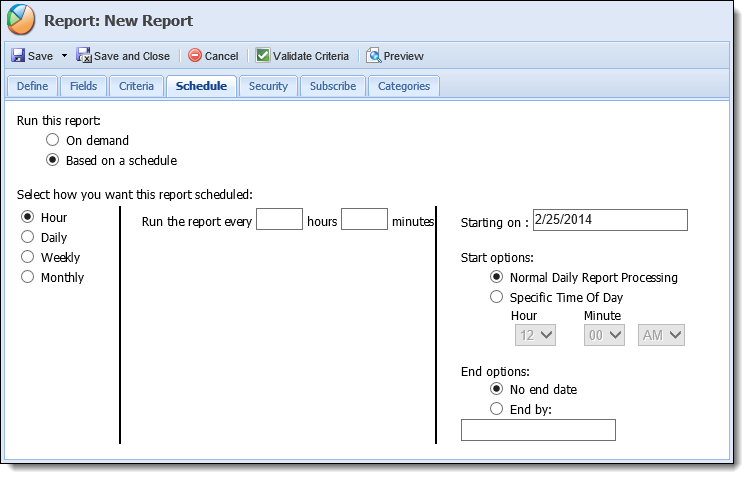
Schedule
Within the Schedule tab, determine if the new report is to run on demand or based on a schedule. If Based on a schedule is selected, users can define when the report is to be run as shown in the below example:
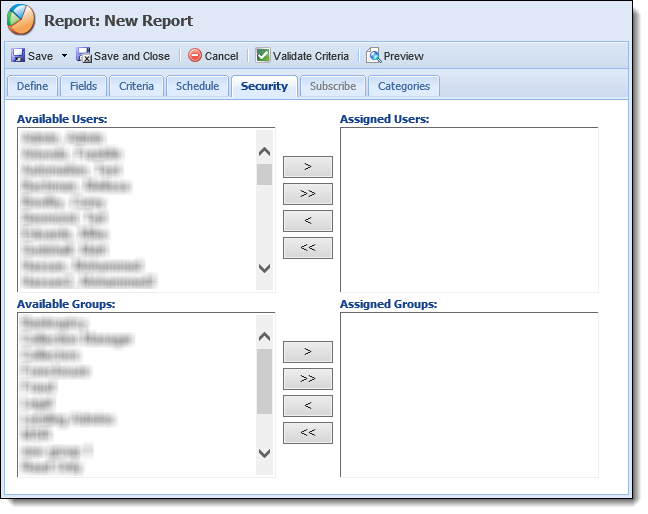
Security
Security attributes enable administrators to assign available Users and/or Groups access to the report.
The following Security attributes are defined within the Security tab:
| Attribute | Description |
| Assign Users | Select users from the Available Users list and move them to Assigned Users to provide users access to the report. |
| Assign Groups | Select groups from the Available Groups list and move them to Assigned Groups to provide groups access to the report. |
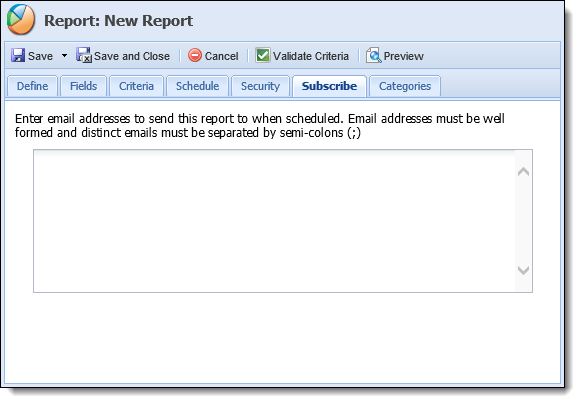
Subscribe
If Based on a schedule is selected in the Schedule tab, the Subscribe tab is enabled. Users can enter email addresses within the text area to receive the report results once the report is run. For this feature to work, system email settings must be configured in System Management > Administrative Settings > Email Settings.
Categories
The Categories tab provides administrators with the ability to assign the report to specific categories.

The following attribute is defined within the Category tab:
| Attribute | Description |
| Assign Categories | Select a category from the Available Categories list and move to the Assigned Categories list to make the report accessible to the category. |
Creating a Report
To create a report, click  within the Reports page.
The New Report screen appears:
Complete all Define attributes within the Define tab.
Once all Define attributes have been entered, navigate to the Fields tab and perform one of the following actions:
 Add Field
- To add a field, click
 .
.
- The field list displays.
The field list that displays is dependent on the Report Type selected in the Define tab.
If the Workflow/Comment Report Type is selected on the Define tab, an Account folder and a Person folder display in the field list, both containing person information. The fields in the Person folder pertain to the person on which the workflow was run. Because a workflow/comment is always tied to a person, and may be tied to one or more accounts and/or a case, the Report may display multiple rows for the same workflow/comment depending on the combination of Account, Person Case fields chosen. More information on the Field List can be found below.
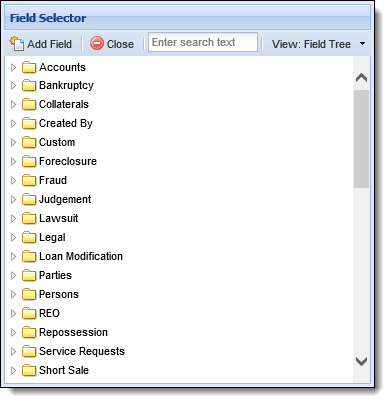
The field list is a feature used throughout the Framework to define the fields to display on reports, views and exports. It is also used in criteria building for reports, views, exports and searches. Every field in an institution's Framework system can be found in the field list, including custom fields.
Each field selector window looks the same regardless of how it is accessed. In the below example, the field selector has been accessed through the Fields tab when creating a new report.
By default, the field selector opens in a tree format with expandable folders and sub-folders. When using the Field Tree format, click the arrow next to the folder name to expand or collapse. Expand the folders until the desired field has been found, or search for the field by entering any text into the search text box and hitting Enter on the keyboard. Click on the field to highlight it blue and double-click or select
to exit the field selector window.
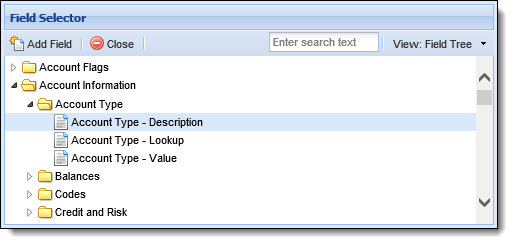
In the example below, the Account Information folder and the Account Type sub-folder have been expanded.
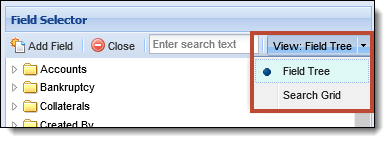
To change the view of the field selector from a tree to a search grid format, click the View drop-down and select Search Grid.
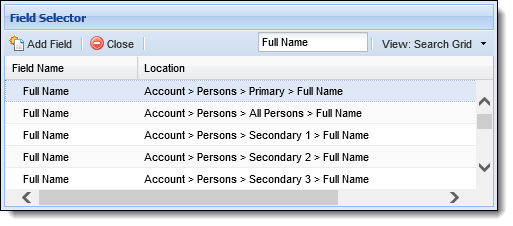
Locate the desired field by entering any search text into the text box and hit Enter on the keyboard. A list of results display including the field name and location. Click on the desired field to highlight it blue and double-click or select
- After fields have been added, the order the fields appear can be rearranged by clicking and dragging fields to their desired position. Certain field properties may also be edited by clicking within the columns.

- To delete a field, highlight the field within the grid on the Fields tab and click
 .
. - The field is automatically removed from the grid.
When all fields have been added, define the report criteria within the Criteria tab.
After the report criteria has been defined, navigate to the Schedule tab to determine a schedule for when the report is to be run.
Once a schedule has been set, assign users and/or groups access to the report from the Security tab.
If Based on a schedule was selected in the Schedule tab, navigate to the Subscribe tab and enter the email address(es) to receive the report results.
If desired, assign categories access to the report from the Categories tab.
Upon completion of all report attributes, system administrators have the option to use the following functions provided within the Reports page:
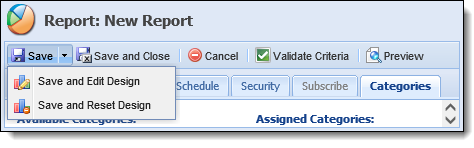
- When building a standard report and setting the criteria, click the Save drop-down and select Save and Edit Design or Save and Reset Design to retain the report settings and use the Advanced Report Builder.
- Validate the report criteria before running or previewing the report by clicking
 .
.
- Preview the new report by clicking
 . This feature is only available when the report is saved for the first time.
When finished all report configurations, click  or
or  to create the new report and return to the Reports page.
The new report populates within the grid in the Reports page and can be run/accessed by all users with appropriate permissions.
Copying a Report
- To copy a report, highlight the desired report within the Reports grid and click
 .
. - The Copy Report screen appears.
- Navigate through the tabs and make any necessary changes to the report.
- When finished, click or to retain all changes and finalize creation of the new report.
Editing a Report
- To edit a report, highlight the desired report within the Reports grid and click
 .
. - The Edit Report screen appears.
- Navigate through the tabs and make any necessary changes to the report.
If changes are made to the report Fields or Criteria, select Save and Edit Design or Save and Reset Design within the Save drop-down to overwrite the report's previous design.
- When finished, click or to retain the changes and return to the Reports page.
Deleting a Report
- To delete a report, highlight the desired report within the Reports grid and click
 .
. - A confirmation message appears. Click Yes to delete the report or No to return to the Reports page without deleting.