Temenos Lifecycle Management Suite - Recovery Product Guide
Areas
| Administrator Guide > Workspace Overview > Areas |
Workspaces are primarily configured through the use of Areas. Areas control the look, feel, and functionality of the workspace. Configuring different Areas is especially useful if different departments or functional areas use the Lifecycle Management Suite.
For example, if an organization has a back office processing department, the person verification functionality might not be necessary for them since the department is not making direct contact with account holders. If an organization uses the Service module, a different overview screen might be necessary than what is used for collectors.
Administrators can manage Areas by navigating to System Management > Areas.
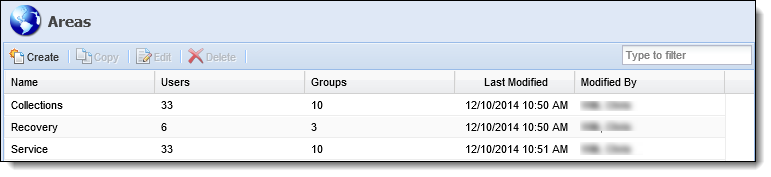
| Column Name | Description |
| Name | The name of the Area that is displayed throughout the Lifecycle Management Suite. |
| Users | The number of users assigned to that Area. |
| Groups | The number of groups assigned to that Area. |
| Last Modified | The date when the last modification was made on that Area. |
| Modified By | The name of the user who made the last modification on that Area. |
All areas share common attributes that are defined while creating, copying, or editing an area.
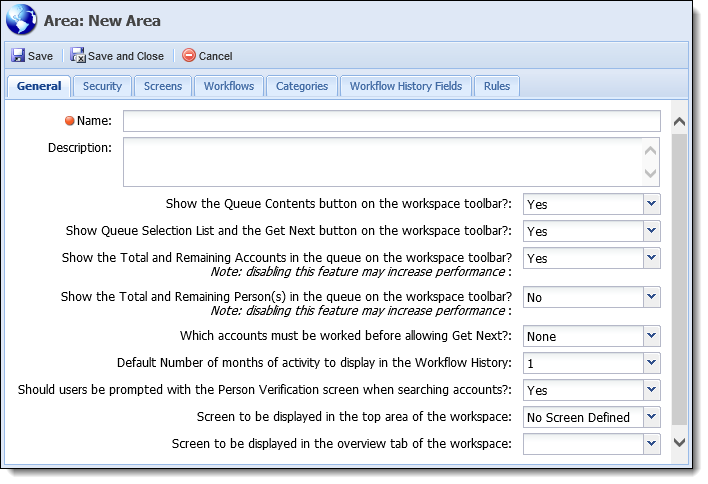
General attributes are located on the General tab:
| Attribute | Description | |||||||||||||||||||||||||
| Name |
Provide a name of the Area. This is a required field. |
|||||||||||||||||||||||||
| Description | Provide a description of the new area. | |||||||||||||||||||||||||
| Show the Queue Contents button on the workspace toolbar? |
This setting specifies whether the Queue Contents icon displays on the workspace toolbar when a person is accessed from a queue. This icon opens the list of accounts in the queue and allows users to access other accounts in the current queue.
|
|||||||||||||||||||||||||
| Show Queue Selection List and the Get Next button on the workspace toolbar? |
This setting specifies whether the Queue Selector drop-down and Get Next button are displayed on the workspace toolbar when a person is accessed from a queue. This setting provides users with the ability to seamlessly work a queue and navigate to other queues.
|
|||||||||||||||||||||||||
| Show the Total and Remaining Accounts in the queue on the workspace toolbar? |
This setting specifies whether an information icon is displayed next to the Queue Selector drop-down in the workspace toolbar. When this feature is enabled, hovering over the information icon displays a message containing the total number of accounts in the queue as of the last queue refresh and the remaining accounts to be worked. Enabling this feature provides users with real-time information about the queue they are currently working.
|
|||||||||||||||||||||||||
| Show the Total and Remaining Person(s) in the queue on the workspace toolbar? | This setting specifies whether an information icon is displayed next to the Queue Selector drop-down in the workspace toolbar. When this feature is enabled, hovering over the information icon displays a message containing the total number of persons in the queue as of the last queue refresh and the remaining persons to be worked. Enabling this feature provides users with real-time information about the queue they are currently working. | |||||||||||||||||||||||||
| Which accounts must be worked before allowing Get Next? |
This setting determines how the Get Next functionality operates. Select "All accounts in the current queue" to require the user to work all of the account holder's accounts assigned to the current queue prior to working another account holder. Select "All accounts in any queue" to require the user to work all of the account holder's accounts assigned to any queue prior to working another account holder. Select "None" to allow the user to work another account holder in the current queue without working any of the current account holder's other accounts.
If this setting is set to All accounts in the current queue or All accounts in any queue and the Related Accounts panel is configured to include the Queue Info column in System Management > Screens, then the following icons appear within a column in the panel to identify the accounts that must be worked before selecting Get Next:
See the Lifecycle Management Suite Workspace topic to learn more about the Queue information icons and Get Next functionality within the Lifecycle Management Suite. |
|||||||||||||||||||||||||
| Default Number of months of activity to display in the Workflow History | This setting specifies how many months of activity are displayed by default in the Workflow History screen. Users are able to manually change the date range on this screen. |
|||||||||||||||||||||||||
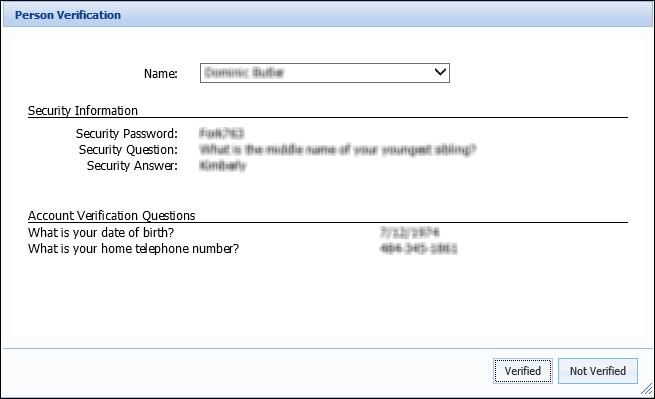
| Should users be prompted with the Person Verification screen when searching accounts? |
This setting specifies if the person verification prompt should appear in the workspace when a person is opened from a search. This provides a security feature prior to opening a person in the workspace.
The Person Verification Message consists of two sections:
|
|||||||||||||||||||||||||
| Screen to be displayed in the top area of the workspace |
This setting specifies the screen to be displayed in the top area of the workspace. The person screens displayed in this drop-down are configured in System Management > Screens.
|
|||||||||||||||||||||||||
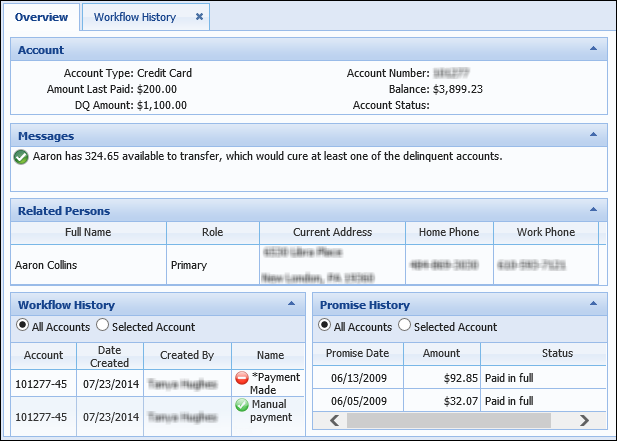
| Screen to be displayed in the Overview tab of the workspace |
This setting specifies the screen to be displayed in the overview screen of the workspace. The person screens displayed in this drop-down are configured in System Management > Screens.
When an account or is selected within the Related Accounts or Related panels in the top area screen, the information pertaining to the selected account or renders in the overview screen.
Additional information about configuring the overview screen can be found within the Workspace Overview topic. |
Assign individual users and groups access the area in the Security tab.
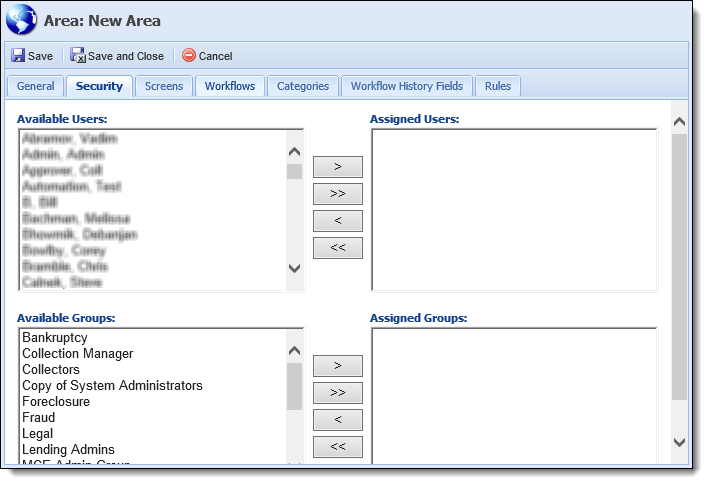
| Attribute | Description |
| Assign Users | Select users from the Available Users list and move them to Assigned Users to provide users access to the area in the Lifecycle Management Suite. |
| Assign Groups | Select Groups from the Available Groups list and move them to Assigned Groups to provide groups access to the area in the Lifecycle Management Suite. |
To create a new area, click Create.
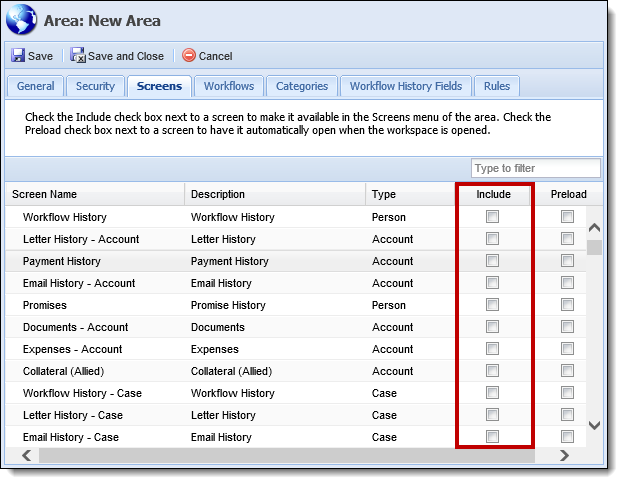
Within the Screens tab, select which screens should be available in the workspace for this Area. Check the Include checkbox next to a screen to make it available on the Screens tab in the Left Navigation Panel of the workspace.
Check the Preload checkbox next to a screen to have it automatically open when the workspace is opened.
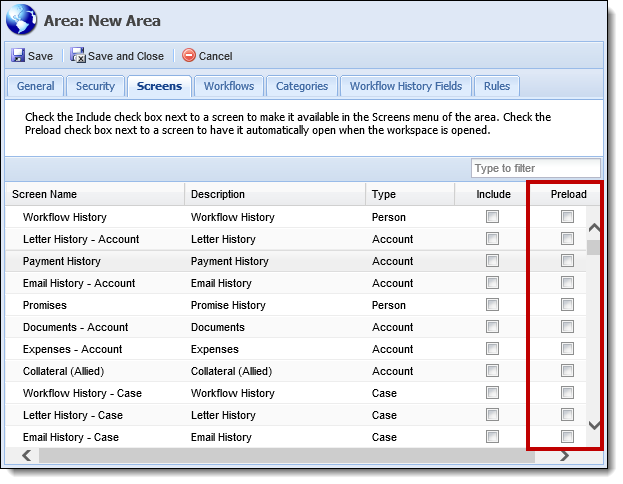
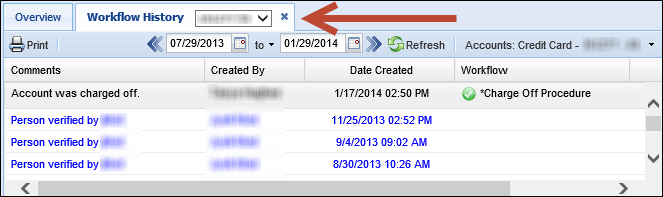
Screens assigned to preload when the workspace is opened populate next to the overview tab.
 |
Case screens configured to pre-load in the workspace choose an arbitrary case to load by default. If a person is not related to any cases, the case screen does not pre-load. |
Within the Workflows tab, assign workflows to have either View status or View & Execute status.
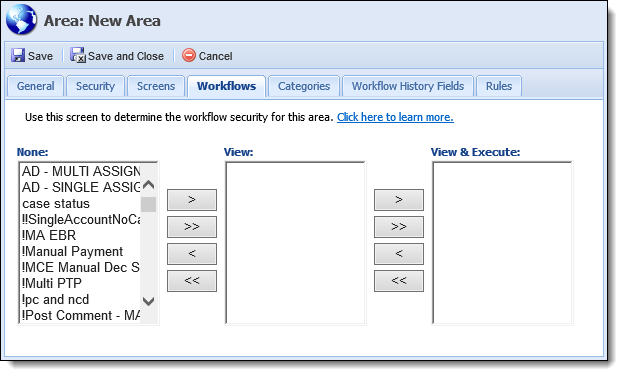
For access to a workflow, the workflow must be assigned to the area and the user must have direct security access to the workflow or access through a Security Group. This security only applies when a user enters the Workspace of an Area.
For example, if a workflow is not assigned to an Area, the workflow does not appear in the Area regardless of the security applied to the workflow.
When assigning a workflow to an area or assigning Users and Security Groups to a workflow, there are three levels of security:
None is the lowest level of security and View & Execute is the highest level of security.
| Permission | Description |
| None | The workflow is unavailable from the navigation panel and the workflow is omitted from Workflow History while the user is using the Area regardless of permissions. |
| View | The workflow is unavailable from the navigation panel; however, the workflow is visible in the Workflow History while the user is using the Area, if the user is granted at least view permission in the workflow's security settings. |
| View & Execute | The workflow is available from the navigation panel and the workflow is visible in the Workflow History while the user is using the Area, if the user is granted view and execute permissions in the workflow's security settings. |
Workflows can be assigned to Areas with two different methods:
Users and Security Groups can be assigned with the following methods:
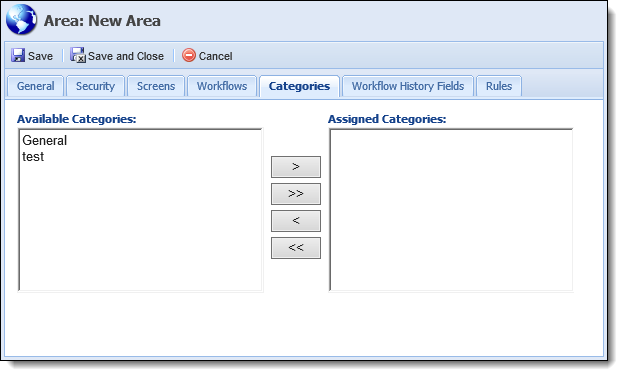
In the Categories tab, assign the categories to be used in this Area.
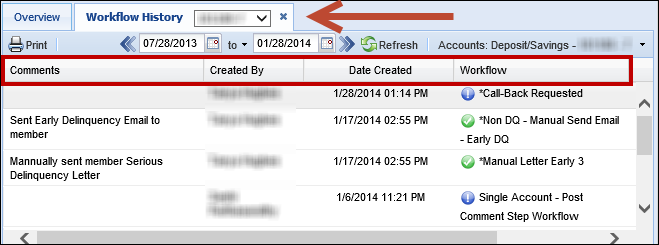
In the Workflow History Fields tab, determine the fields that display in the Workflow History screen when an account is open in the workspace. Check the Include check box next to the field to have it displayed on the Workflow History screen in the workspace of this Area.
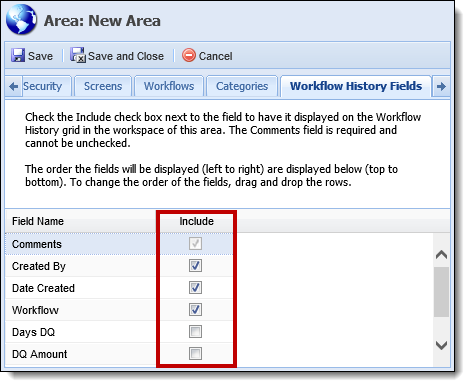
The order the fields are displayed on the Workflow History Screen (left to right) are displayed on this tab (top to bottom). Drag and drop the rows within the Workflow History Fields tab to change the order that the fields appear on the Workflow History screen.
From the Rules tab, assign the rules to execute within the Workspace Person Summary using the two boxes that display:
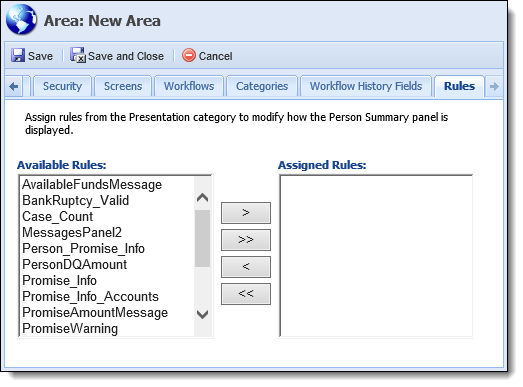
The Available Rules box contains all Presentation Rules configured in System Management > Collections > Rules Management. Administrators can assign rules to the Person Summary panel by clicking the arrows that display to move the desired rule(s) to the Assigned Rules box.
Rules in the Assigned Rules box execute upon loading a person workspace within the assigned Area and display the information in the Person Summary panel after the workspace has loaded.
See Workspace Overview for more information about the rule configuration for the Person Summary panel.
Please see the Rule Authoring topic within this Guide to learn more about authoring Business Rules.
Once all information for the Area has been configured, click Save.
A success message displays to confirm that the Area was saved successfully. Select OK.
Click Save and Close to save the new Area and return to the Areas page.
Select Cancel to abandon all changes made to the area. The following confirmation message displays:
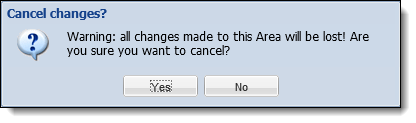
Click Yes to proceed with the cancellation process. Click No to return to the Areas page.
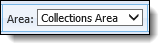
Upon saving the new Area, authorized users are able to access it in the Area drop-down when a workspace is open.
The new Area can now be assigned to other features throughout the Lifecycle Management Suite, such as Reports, Queues, etc.
 . The New Areas Screen appears.
 .
. . The Edit Area screen appears.
 .
.


 Configuring Person Verification Messages