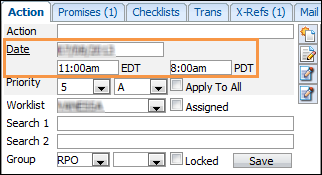
The Follow-up Date is the next time you wish to contact this member about this account. The Follow-up date can be automatically adjusted by applying a certain call type LMTC (Left Message to Call) which may advance the date by one day and LTR (Letter) may advance 7 days into the future enabling time for the letter to get to the member through the mail. This date can also be manually entered.
To manually enter the date you can either:
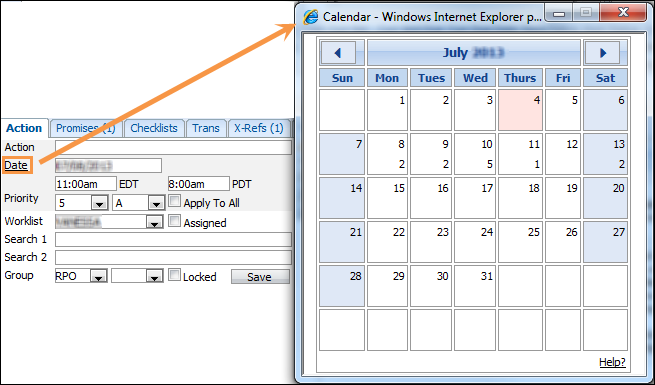
- Click the Date link to the left of the Follow-up Date field and select the appropriate follow-up date from the displayed Calendar.
- Key in the follow-up date manually. You must enter the date in the user-specified format.
Follow-up Dates can also be automatically advanced:
- Create a new follow-up note. Be sure to select a Call Type Code and link the note to a loan. The follow-up date will advance a number of days according to the selected Call Type Code.
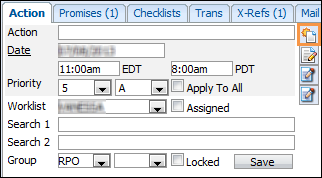
- Change the date, select "Apply to All" and then Save in the Action tab. This will update the follow-up date (and time, priority list, priority order and action) for all delinquent and locked loans with a worklist matching the currently selected loan.
- If you do not enter a follow-up date on a loan record in the priority queue, Elements will automatically enter a default Call Back time when you click Next to move to the next client. The Call Back Time is the number of minutes entered under User Preferences.

- If you click Next on a searched client, the follow-up date will not change.
- The date is used to calculate the Priority Queues so that the client is presented at the right time.
- The length of time between the current date and the follow-up date you can set can be limited by the System Administrator. This can be based on the Client Group, Loan Group or your own User ID.
- If you exceed the most restrictive limit, you will receive a warning message after you press the Save button that tells you which code is causing the limitation and which loan(s) are affected:
Warning The Follow-up Date/Time exceeds the Client Group/Loan Group/User ABC warning of x days in the future. Loan Number: xxxx. Changes have been saved. Error The Follow-up Date/Time exceeds the Client Group/Loan Group/User ABC maximum of x days in the future. Loan Number: xxxx. Changes will not be saved. 
There are several ways to enter a date into the Collection Element:
- A period will enter the current date.
- Enter a date value (e.g. 15) and press Tab. This will enter that date in the current month (e.g. 08/15/10). This date could be in the past.
- Enter the month and date (e.g. 0815) and press Tab. This will enter the specified month and date for the current year (e.g. 08/15/10).
- Highlight the date in the field and use the + (plus sign) to advance the date one day at a time.
- Highlight the date in the field and use the - (minus sign) to move it back one day at a time.
- Highlight the date in the field and use the Page Up button to move it back one month at a time.
- Highlight the date in the field and use the Page Down button to move it forward one month at a time.
- Click on the Date link next to the field and select the date from the calendar.